How to finish wooden handles: UBHF
- Gift wrapping:
- Options available
Description
Instructions: Uncle Bjorn’s Handle Finish (UBHF)
Neutral Finish. Resin Based Hard Wearing Handle Finish
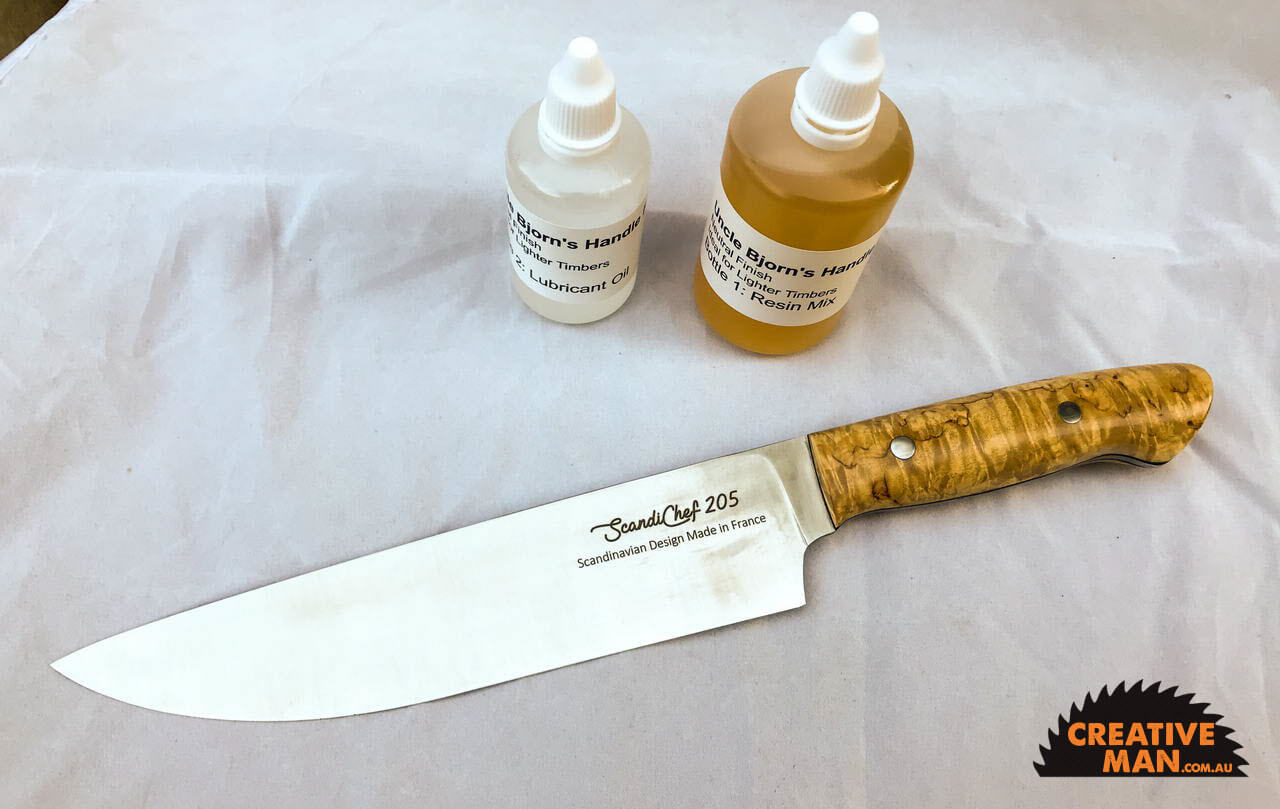
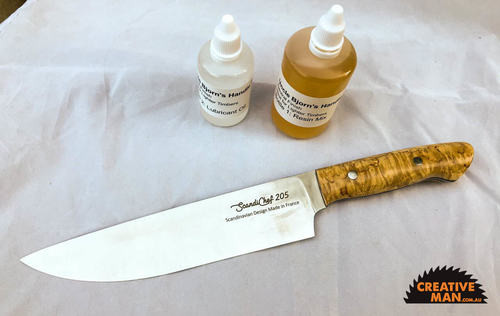
The kit consists of
- Bottle 1: the resin mix itself
- Bottle 2: lubricant oil
- Cotton fabric to apply the resin mix
- Sand paper
We recommend sealing any wooden handle to keep it looking good for longer, as well as protect it better from moisture. The below process creates several thin layers who combine into a glossy, hard wearing protection using natural tree and plant resins. The resin in dissolved in a carrier fluid that evaporates during application, leaving only the resin.
The process:
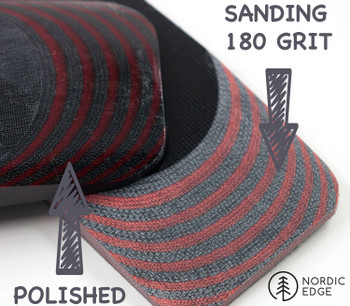
- Sand the handle to at least 1200 grit, the higher the better
- First do a couple of layers of Pore Filling, then 5+ layers of Polishing
- Pore Filling: Only use bottle 1 to fill the pores of the wood.
- Apply 5-6 drops of the Resin Mix on the cotton fabric
- Quickly wet the entire handle. Do not rub it out to dry, just make sure the entire handle is wet. Over the exposed tang and bolts are ok, just smear the entire handle from where the wood section starts. It is to gleam in wet resin.
- Place the cotton fabric in a small zip-lock bag to keep it moist. Wait 30 min
- Repeat this step so there are 2 or 3 layers of pure Resin mix on the handle
- LIGHTLY sand with an incredibly light touch the surface of the hard resin mix. This step can easily scratch the handle and any metal parts so be gentle. You just want to remove any bumps that may have formed in the resin mix that was left wet.
- Polishing: Use Bottle 1 and Bottle 2 to build a hard-wearing, shiny finish
- Apply 3-5 drops of Bottle 1 to the cotton fabric piece, then 1 tiny drop from Bottle 2.
- With light pressure wet the entire handle and polish/rub constantly without stopping for a minute or two. If the pad starts sticking, increase the speed and go lighter. You are now rubbing out the resin mix with the lubricant oil until it dries to a thin, shiny layer.
- Place the cotton piece back in the zip lock bag and wait 5-10 min.
- Repeat so you make at least 5 very thin layers. Go light on the resin as you don’t want a thick layer to build which may cause bumps. For a heavy wearing layer or high gloss, you may go to 10 layers.
- Leave the knife to dry for 24 hours before using it.
Notes:
- Hang the handle of the knife over a table edge to dry freely without touching anything. Place a plate or similar on the blade to make sure it stays.
- Any material that absorbs the resin mix can be used as an applicator. For instance, a piece of an old shirt works well as long as it is lint-free. You do not want pieces of it coming off on your handle.
- Sand the handle as high as possible, 1200 grit is a minimum to get effects of the wood grains. Micro-mesh sanding pads are great, starting where the 1200 grit paper stops.
- The Resin Mix is a combination of natural wood resins and shellac and made to float thinly and harden to a clear, hard wearing layer. The beauty of this is that if you later want to add layers, lightly touch it with a sand paper and then simply add more.
- The lubricant oil should be used sparingly. It is only there so you can rub the resin mix for longer without it drying and sticking. Using too much will look good until the next day when it dries and the handle is matt and dull. If so, just keep adding layers, this time with less lubricant oil.
- When you start the process, try to start with a clean, grease free handle. Try to handle the wood as little as possible during the process. Hold the tape wrapped blade, rub the handle and then hang it back over the edge of the table again. Try to leave it 24 hours before picking it up by the handle to let the resin mix set hard and clear.
- If unsure on the sanding of the pore filler, just leave it. This is only required if you have bumps from leaving the handle wet during pore filling. We recommend doing it, but very lightly, barely scratching the layer of oil to not touch the wood or bolts.
The handle sanded and ready for sealing:

The pore filler is applied generously, leaving the handle wet for it to soak in.

After a couple of layers of pore filling, only if there are bumps present; the handle is LIGHTLY sanded with the supplied sand paper to flatten the resin mix. If you scratch the bolts or wood at this stage it may be best to go back to sanding as the scratches will show in the finished product.

The handle after a couple of layers of Polishing. The handle is smooth and glossy. Each layer is allowed to dry (5-10 min) before the next thin layer is polished on for a minute or two while it dries. Light, fast polishing is the go.

Check out the handle finishing kit here: https://nordicedge.com.au/uncle-bjorns-handle-finish/


