

Description
Instructions for completing the Stainless Steel Damascus Knife Kits
These instructions use the SS Damascus Paring Knife kit, the instructions are the same for all kits in this series.
Tools required:
- File
- Sand paper
- Hammer
- Something heavy and solid to hammer against
- A way to cut the steel pins, like a vice and hacksaw, or a dremel tool
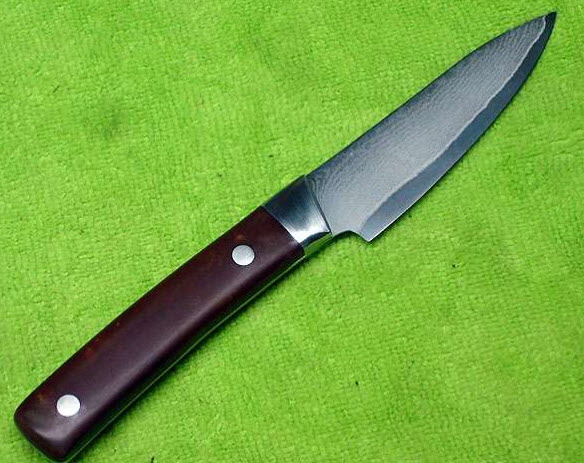
Showing the Damascus Paring Knife Kit with Regal wood handle scales, steel bolsters and handle rivets.
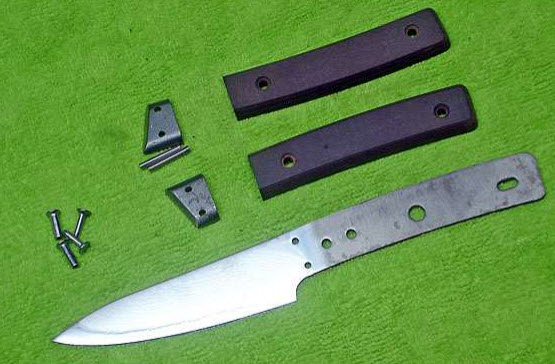
If required, shorten the steel pins for the bolsters so they stick max one pin thickness out on each side of the bolster. Leaving the pins too long might result in them bending over rather than peening or “mushrooming” out when hitting them with a hammer.
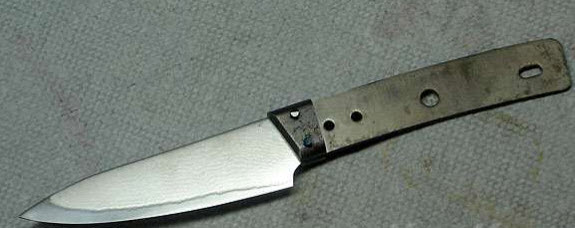
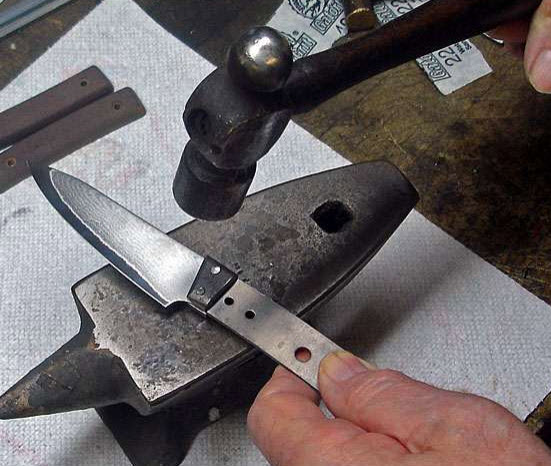
Place the knife with bolsters added and pins inserted on something solid, and start lightly tapping the end of the pins with the hammer. Turn the knife from side to side to make the peening even. The purpose is to hit the pins until they bloom out and down, creating a domed pin and locking the bolster solidly in place on the blade.
Showing the stainless steel pins successfully peened on the bolster:
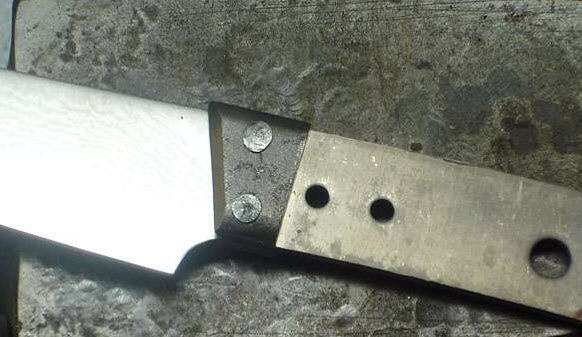
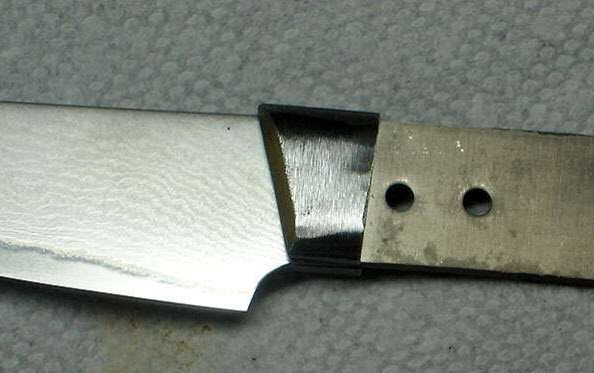
Now file or grind the pins carefully down flush with the bolster. Try not to remove more material from the boster than required. Sand with sandpaper until happy with the finish of the bolster and pins.
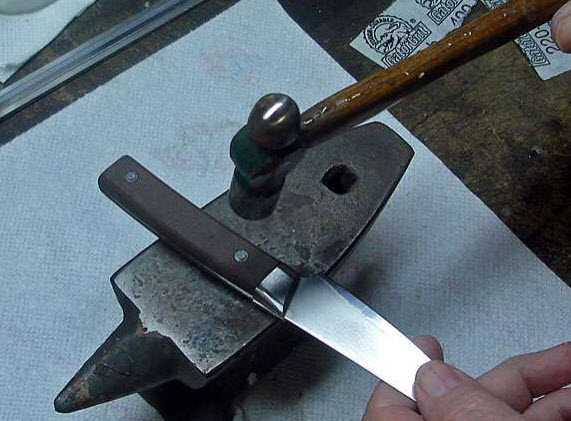
Insert the handle rivets and lightly hammer the rivets flush with the wooden handle scales:
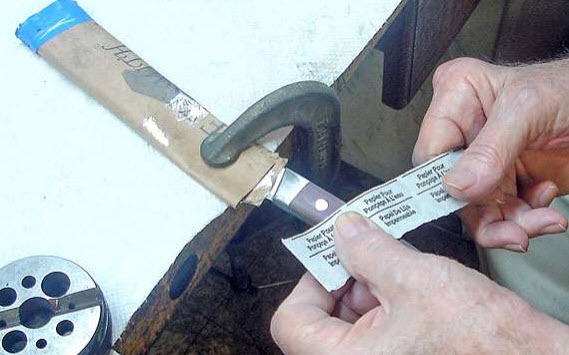
Sand the handle and bolster to desired finish, by clamping the blade to the end of a table. Shoeshining with a strip of sandpaper helps create an even, rounded finish.
Showing the finished Damascus paring knife with brown handle scales in regal wood: