
How To Etch Stainless Damascus Steel
By Bjorn Jacobsen, March 2023.
Here are some photos I took recently of making a stainless damascus steel paring knife.
Wanting to show how to etch stainless damascus steel in a way that will last in daily use.
What etchant to use?
Etching damascus is usually done in ferric chloride, this is not always working with stainless steels. Some stainless steels are hard to etch and others easy even in ferric chloride so it pays to experiment a bit. The below process is using hydrochloric acid which is a stronger etchant.
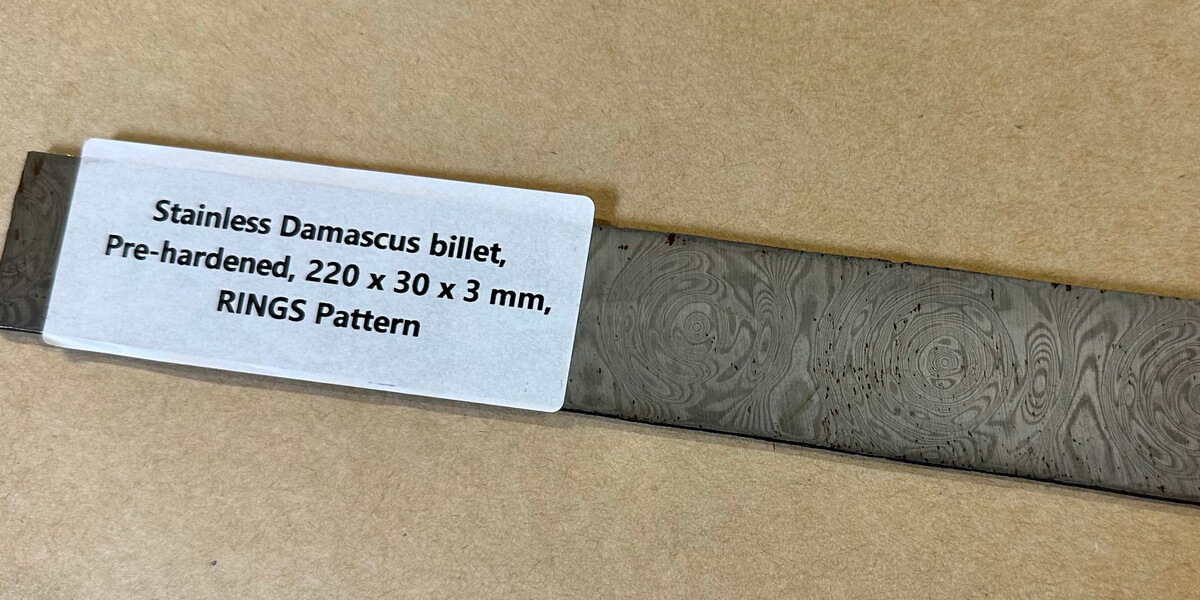
The steel used on this knife is pre-hardened stainless damascus in "Rings" pattern: LINK
Using pre-hardened steel to save a little time
This steel is already hardened and tempered and delivered at 58-60 HRC, ready to go. The only thing to really note is to make sure we keep it cool while grinding to not ruin the temper. That is of course true of all grinding done after heat treatment, but usually we don't need to worry about this during profiling. I like using these as they save a bit of time, just draw a shape and start grinding. They are easy to grind, easy to hand sand, and etch well in my opinion.
These bars come in 2 sizes and 2 different patterns and are made from 9Cr18Mov and 10Cr15CoMoV stainless steels. Heat treatment is a critical part of knife making but it is nice to be able to just grab a flat, hard bar of steel and grind away without having to worry about getting it right, does it need cryo treatment, etc.
Drawing on a shape from another blade we had lying around, going for a 70 mm tang or so. Then it is onto the grind room, using ceramic belts to grind to profile. Every few seconds the steel is dunked in water to make sure it stays cool
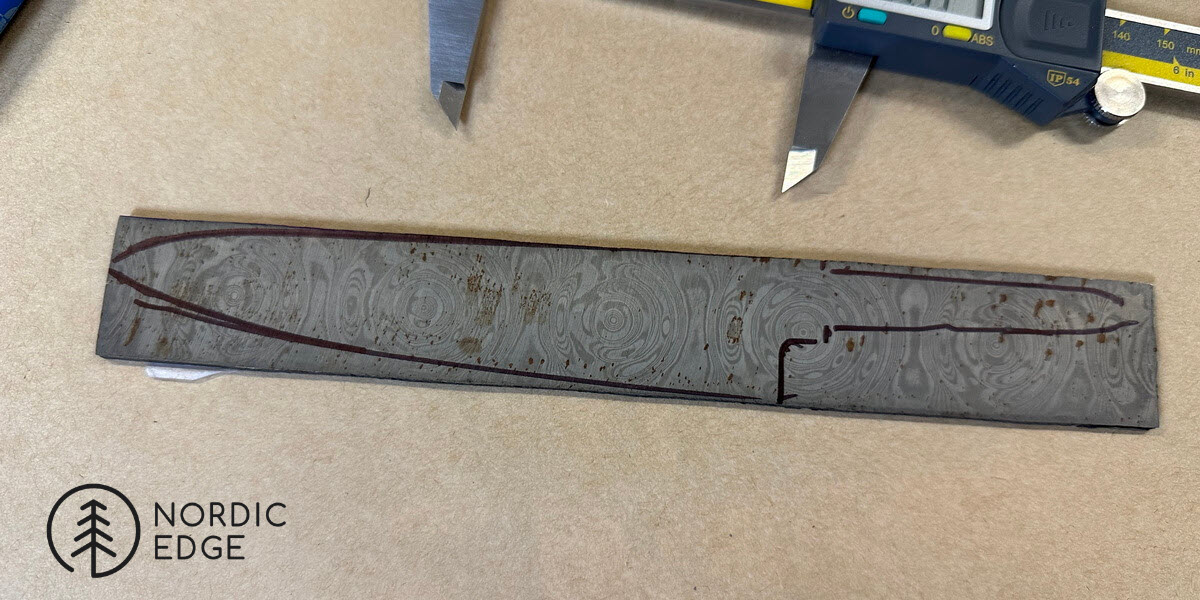
Profiling done
Here the profiling of the blade itself is done, but the tang is not cut out until later.
The tang end is just ground to a rounded, comfortable shape to hold. This gives more to hang onto while grinding, and quite a bit easier to get the right angle and pressure on, than when holding only the small tang itself.
What is a important point though is to grind the heel to ricasso line before grinding bevels.
If not it is easy to overshoot the bevels into the ricasso, washing out and thinning the ricasso.
So in the below image, the nexts step is to grind away the excess steel behind the heel (end of edge), up at least 10 mm from the edge to make it easy to see where to stop grinding even if the sharpy lines are washed or ground off
.
Grinder time
Here we have ground to the heel line and started rouging in the bevels.
The belt is a coarse 36 grit VSM ceramic belt, these remove metal FAST, and the coarse abrasive grains help keeping the blade from overheating together with dunking in water while the agressive profiling and rought stock removal of bevels happen. We have been using only these belts in the workshop for a couple of years now and they are good quality, long lasting belts.
Even just while grinding, the pattern in the steel is visible when angling the blade back and forth until the light hits it just right. This is going to be awesome, loving the pattern!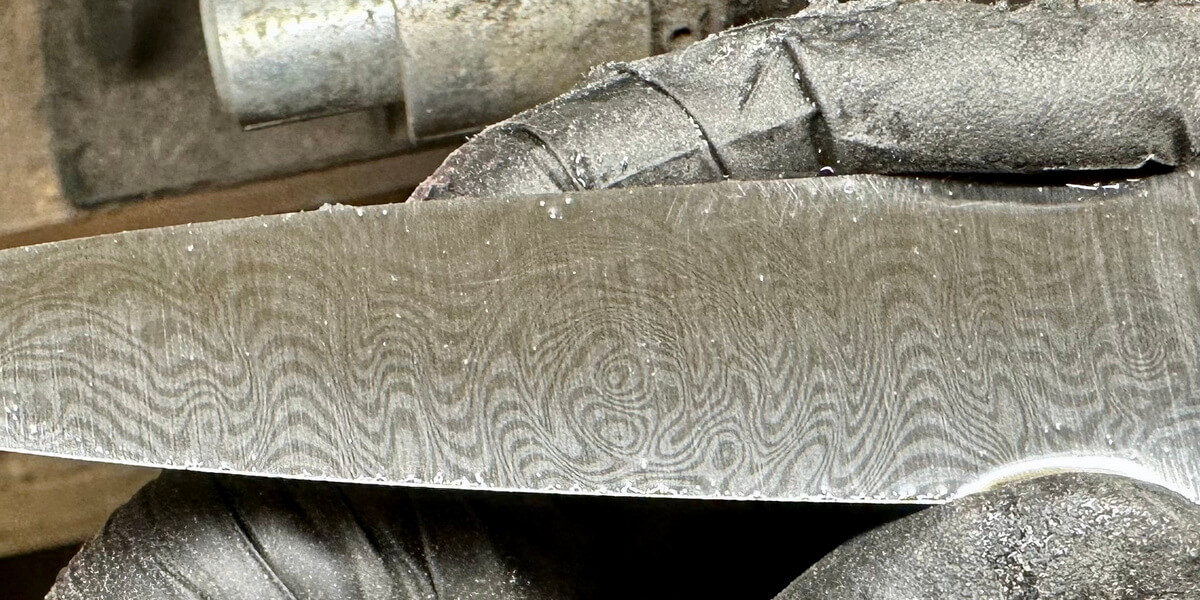
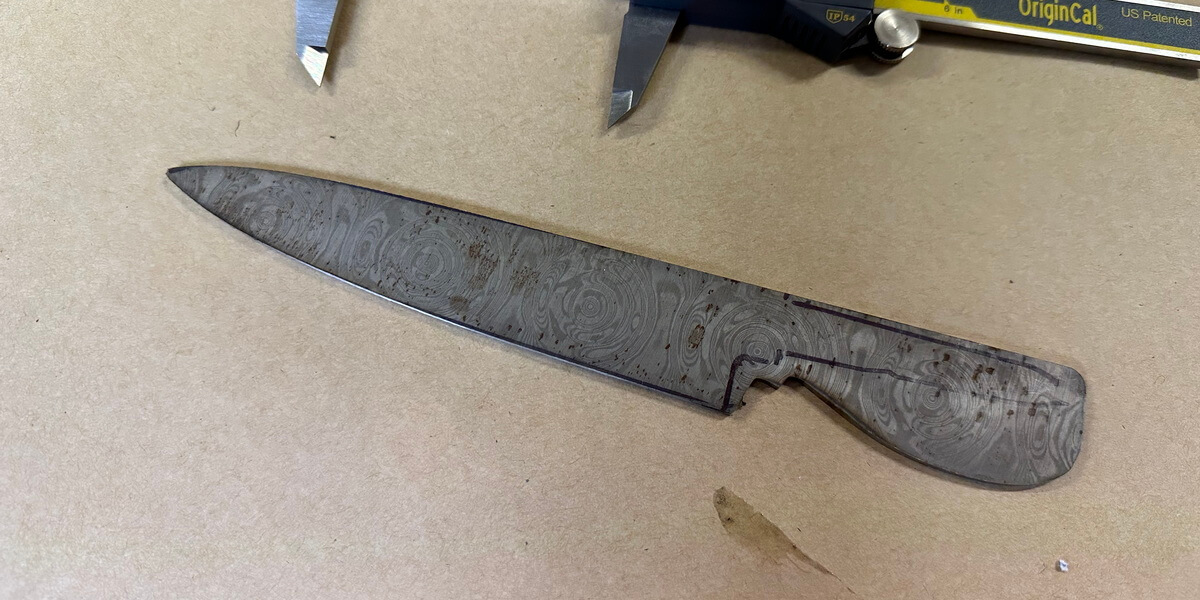
Grinding bevels
Grinding the bevels is done by rough removing material on the 36 grit belt, then bevels are ground flat on each side with a 60 grit VSM ceramic belt. To do this the blade is pressed flat against the belt at an angle. Tang pointing 45 degrees up to the right, tip down to the left. Edge up. Then the blade is ground until it is one flat plane, one scratch pattern from spine to edge from tip to heel. Holding the blade at an angle rather than straight across the platen gives a more rounded plunge line, blending from thin edge up to almost full thickness at the ricasso without getitng a sharp plunge line. (look at the last picture, there is no sharp plunge line from edge to ricasso)
Grit progression:
- Ceramic belts (full speed, edge up) 36, 60, 120 (36 is overkill, just helps with moving metal fast)
- Alu Oxide belts (half speed, edge up) 180, 400. I spend quite a bit of time on the 180 grit, often a belt or more per knife just going over the sides and evening everything out. 10 mins extra here saves how many hours of hand sanding? The 400 is probably just a waste but I like having a uniform scratch pattern off the grinder so when I start hand sanding, any issues show up straight away.
Grinding the tang on a file guide
Did not take any photos of this process but here is an older photo:
A line is drawn on the tang where the handle will start. This line is clamped - tang up - in a carbide faced file guide. The carbide strips stop the grinder belt from grinding past the line. The tang is ground about 13 x 70 mm and slightly undercut so the tang ends up thinner than the blade/ricasso. This is very helpful when fitting the blade in the handle, leaving a wider, flat shoulder for the blade to rest on the handle material on, for a clean fit.
The file guide is made from non-magnetic, stainless steel. This makes sure steel dust does not stick to it, and it will never rust from constantly being dunked in water during use.
Hand sanding before etching
As opposed to a carbon steel blade, an etched stainless steel damascus still is largely shiny. It is not a shadow play between shades of grey and black but more shiny steel with grey lines in it. Because of this it migth be worth it to take the time needed to have blade sides that are really flat and scratch free before the etch.
The blade is hand sanded to 1500 grit, after first being flattened with sanding sticks from Shane Savage in QLD. They worked really well at flattening the blade, like a thin sharpening stone that did not fill with steel gunk at all. Spraying it with soapy water rinsed off any black steel gunk - impressive!
Steps here were
- Sanding stone 150 grit
- Sanding stone 220 grit
- Rhynowet abrasive paper on G10 block with soft leather backing: 400, 600, 1000 and 1500 grits
Shane was very kind and sent us a whole set of the sharpening stones up to 1200 grits or so, I am sure they will do a great job but I here went with the soft backing for a quick and easy grit progression as the blade already was nice and flat from the first 2 stones.
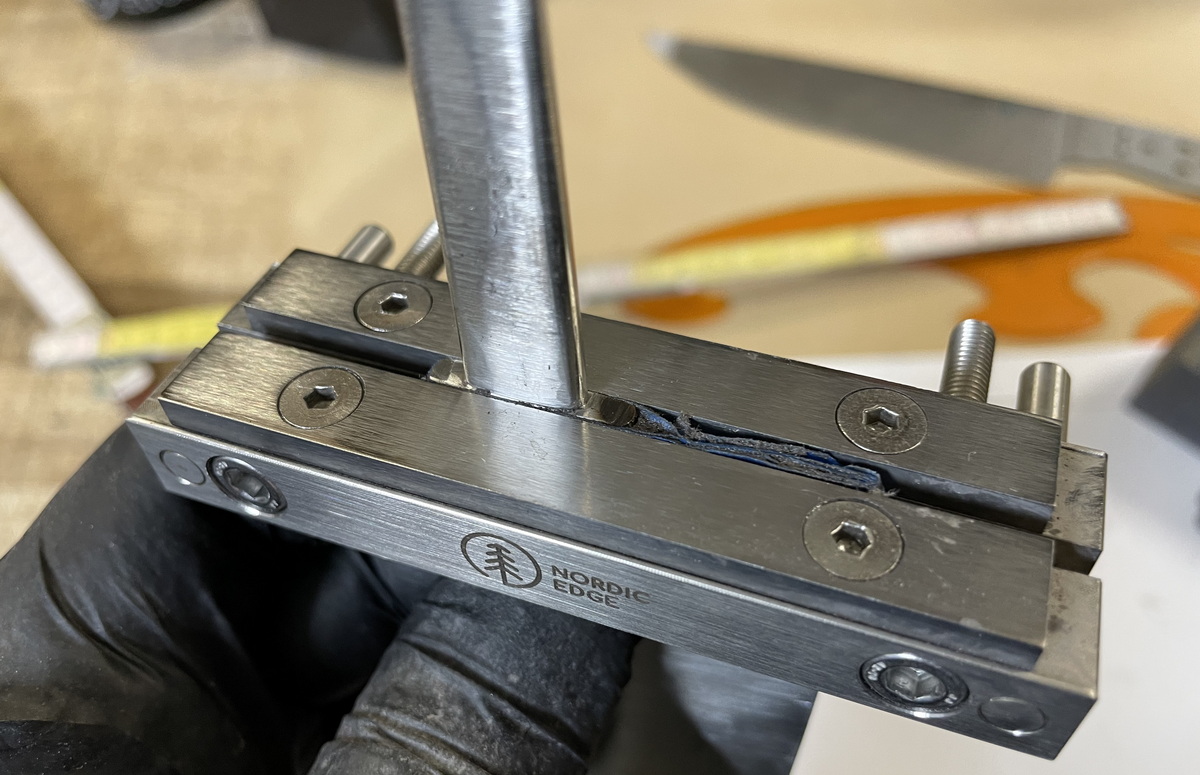
Hand sanding in the Nordic Edge blade vice is a breeze due to the adjustable blade support sliding in and out for the exact length of the blade. No more bent tips on thin blades, or risk of stabbing your hand in the tip hanging over the blade support.
After hand sanding the blade to 1500 grit on one side, the blade is washed to clean off any sanding residue. The sanded side is taped with 2 layers of blue masking tape and placed sanded side down back into the blade vice.
Hand sanding is hard work, the sharpening stones are very effective but certainly makes you word harder than a nice scotch brite grinder finish! Hopefully the end result is worth the couple of hours of hand sanding.
How high grit to hand sand before etching?
Was 1500 grit really ncessary? Usually when hand sanding I go to 600 grit, this gives a nice satin finish on both carbon and stainless steel blades. Because the stainless steel damascus is brighter after etching, showing the base fnish more than what a carbon steel damascus blade might do, I wanted to go the extra mile on this one. More experienced makers might have a better answer, to me it seemed to work well to go all the way to 1500 grit. As the higher grits are all done with soft backing and the blade is flat already, it does not cost very much extra time as a one-off blade.
Here is the blade ready from hand-sanding, ready for the next step!
How to etch stainless damascus
Etching steel is the process of using an etchant to eat away at the metal, creating an effect. Weak etchants like coffee can be used, for instance Jackson Rumble presented at the 2022 Guild Knife Camp that he etches carbon steel blades in a cold instant coffee mix in the fridge for up to 2 days. Saying a slow, weak etch is giving him greater contrast and that he also hand sands to 1200 grit to help the contrast really pop.
A stronger etchant is probably more common, at least for the initial etch. Ferric Chloride is a common way to etch carbon steel blades and the San Mai stainless steel bars we sell at Nordic Edge is also etched in ferric. 1084 and other carbon steels react with the etchant straight away, in just a few seconds you will get a reaction and in 20 sec you have a base etch. Often the blade is etched say 1-5 minutes, scrubbed with fine steelwoold and etched again for several dips.
Many makers say they get better results, as in more tones and play in the etch as opposed to a single uniform colour by using multiple short etching dips.
However, stainless is not always reacting with the ferric chlorid, needing a stronger etcant.
Hydrochloric acid is another etchant and the one we use at Nordic Edge for stainless steels.
Storing the hydrochloric in a glass jar it is easy to see as the results start coming through.
- Wash the blade thoroughly with hot soapy water
- Wipe with denatured alcohol, no touching the blade now
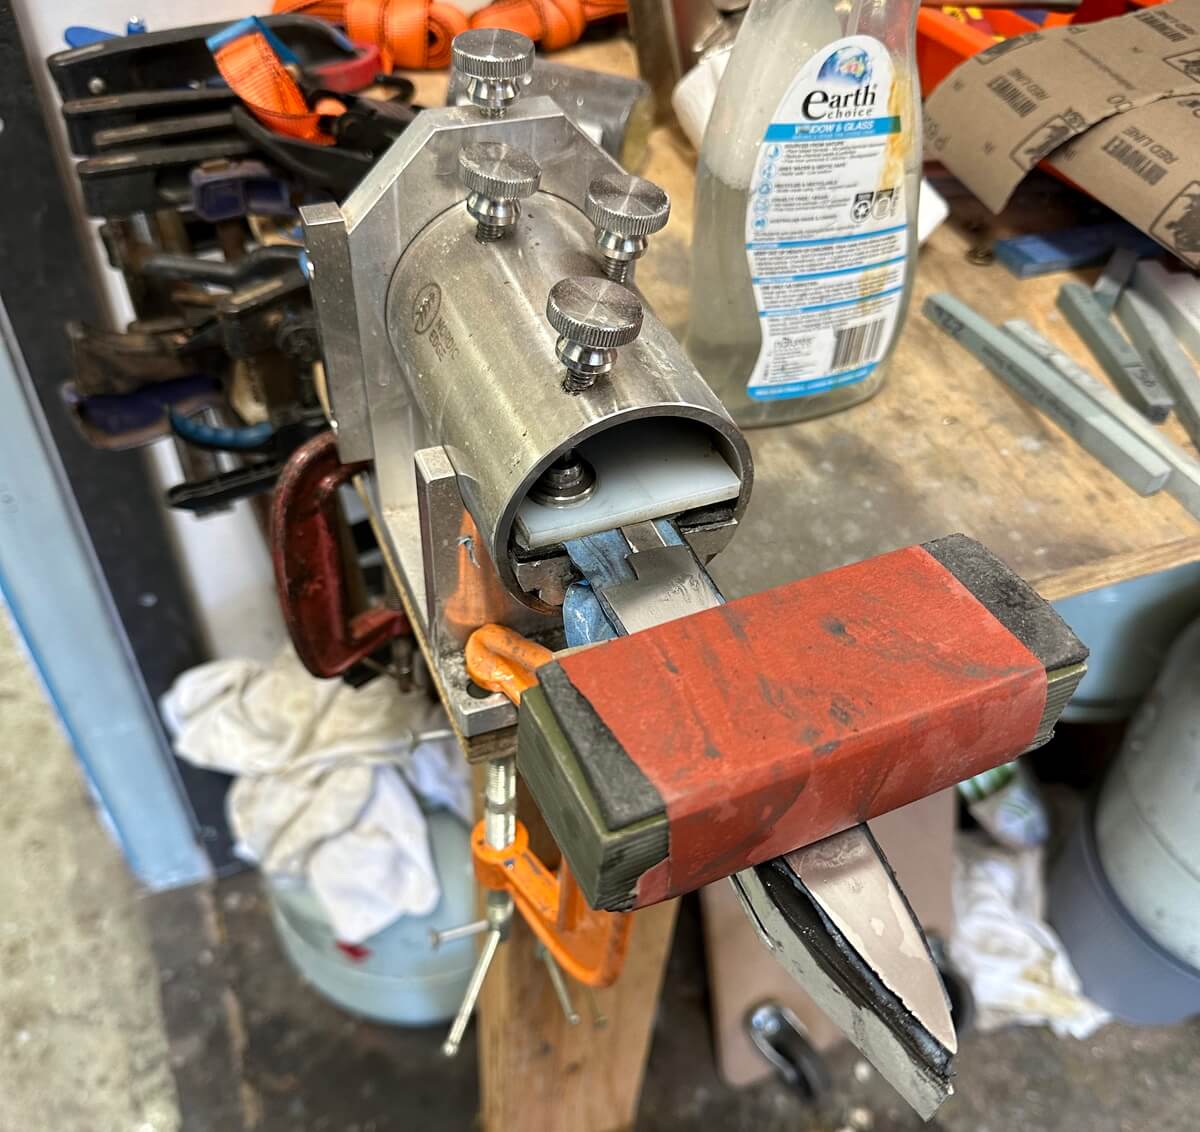
- place in hydrochloric acid, in this case the blade would not stick up over the etchant so I let it hang in piece of steel wire
- Etch for 10 mins, scrub under water with 0000 very fine steelwool wearing vinyl gloves to not get any oil from your fingers on the blade.
- Etch for 30 mins, scrub with steel wool again.
The 10 min + 30 mins here was just how it worked out while doing something else, experiment with what works better for you. The bubbles stop after a while, is there any point keeping the blade in solution then or would it been better to etch in 10 min dips for instance? Let us know what you learn by playing with this process.
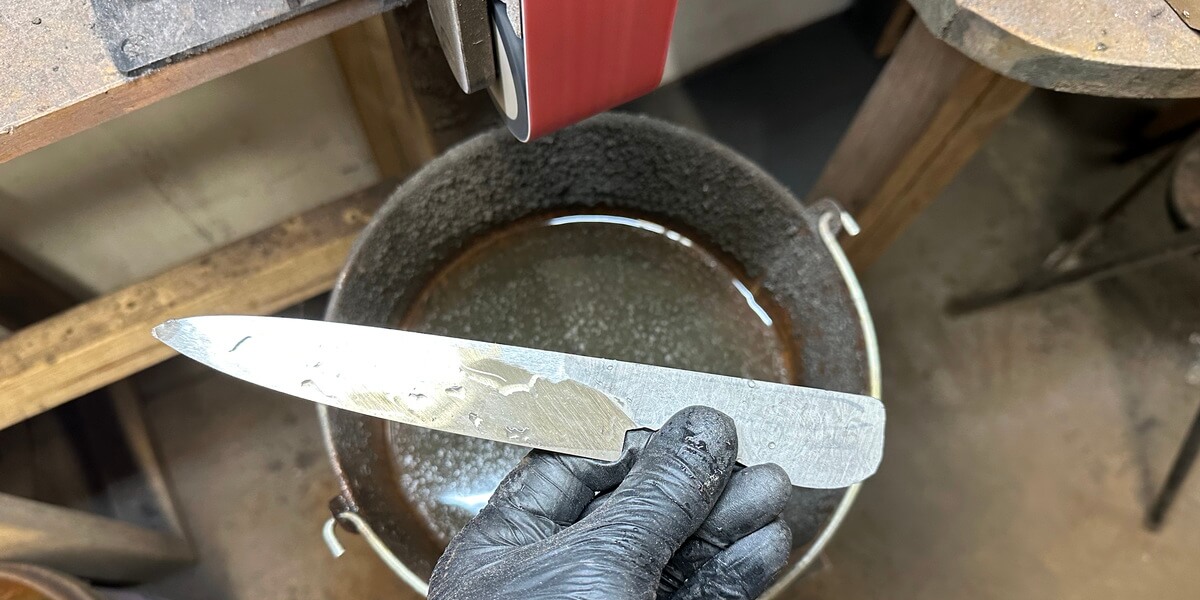
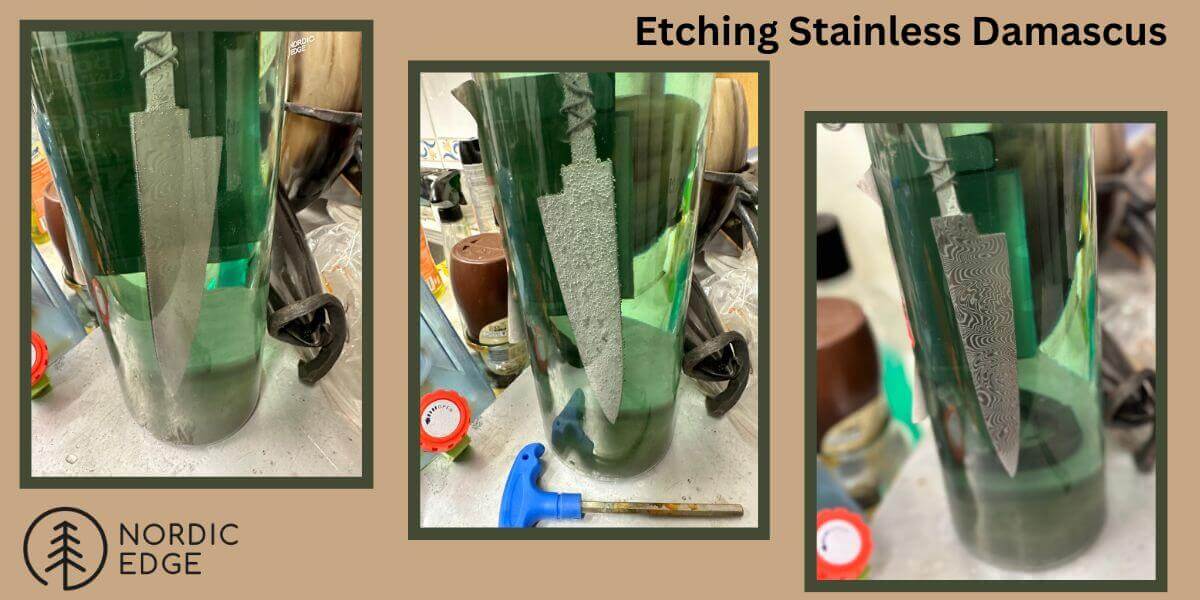
Photos:
Photo on left is the sanded blade just after suspending in the hydrochloric acid.
Photo in the middle is showing the bubbles forming around the blade as it is being etched.
Photo on the right shows the pattern being revealed from the etch.
Etching carbon vs stainless steel
One more thought in the etching bit; a little while ago I dunked a blade in Japanese ultra-high carbon steel in the hydrochloric acid. Thinking a quick 5 sec etch before grinding more, to see the pattern in the cladding. The hydrochloric acid did nothing! I had not expected that. Washed the blade again and dipped it in the ferric, the pattern popped out and the edge went black within 5 seconds. So the lesson here seems to be
- carbon steel = ferric chloride or coffee
- stainless steel = ferric chloride or hydrochloric acid
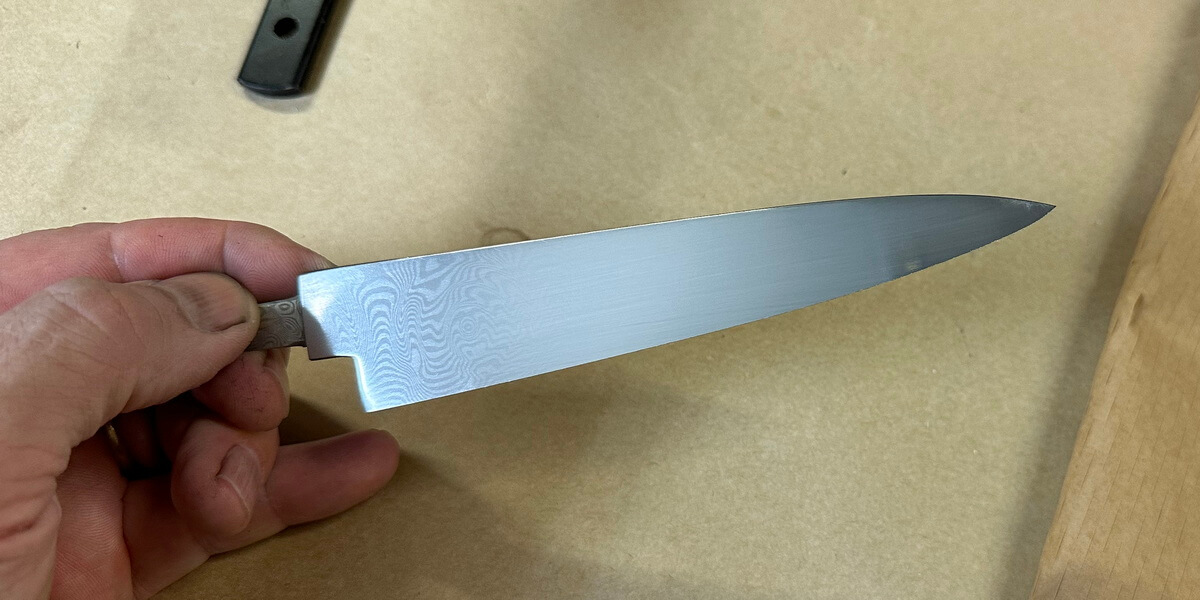
End result:
Blade is etched and scrubbed, rinsed well and washed with hot soapy water.
This is a etch that should hold up well in use in the kitchen, yet being shallow enough that the blade feels smooth and even to the touch.
The handle on this one is a "pancake style" construction, due to the tang being so thin. But that is a story for another day, making the Juma magma dragon and G10 pancake block.
Thank you for coming along for the ride, if you want to be part of the conversation around how this process can be improved, join us at the Australian Beginner Knifemaking Group on Facebook: LINK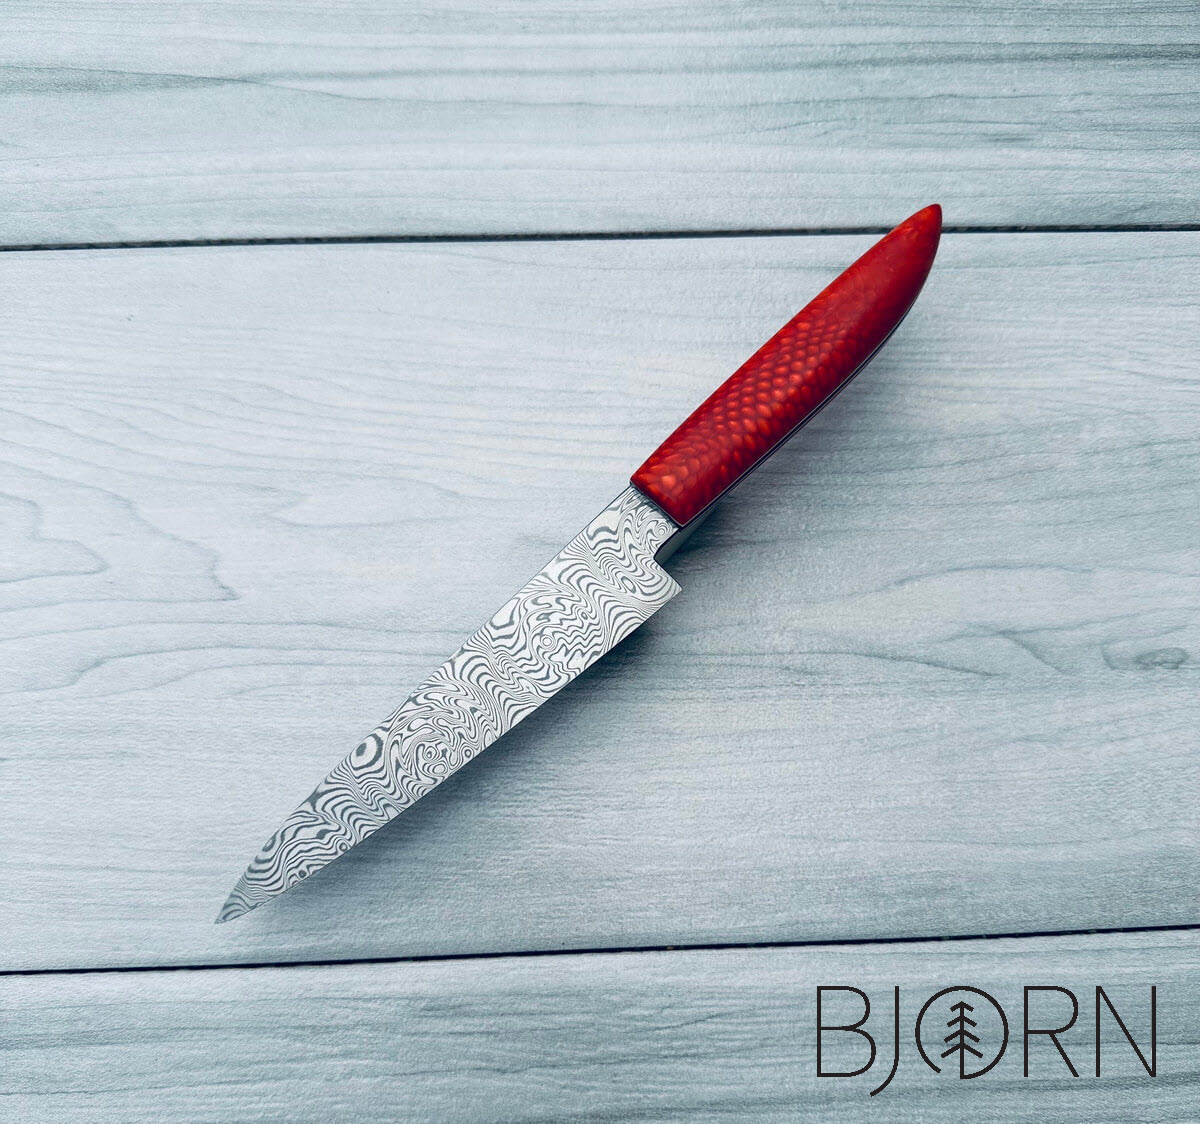
Recent Posts
-

The Etch Test: Ferric vs Hydrochloric vs Gator Piss
The Etch Test: Three Very Different Looks From One Steel One of the great things about knife making …3rd Jan 2026 -

Why Bed The Tang In Epoxy - Then Knock it OFF Again.
What is "Bedding the tang"? Bedding the tang means gluing a stick-tang blade into the handle block i …21st Mar 2025 -

Marble Leather - How to Dip Dye Veg Tanned Leather
This was my first experiment with hydrodipping or dip dying leather, and it came out pretty cool! I …14th Mar 2025