How to: Completing a Scandi Knife Kit
- Gift wrapping:
- Options available
Description
Instructions: Completing a Scandi Knife Kit
** If wanting these instructions printed and posted rather than reading them here, include them with your order. You will then also be sent a link for downloading them as a PDF file when your order is shipped **
2 basic knife blade shapes:
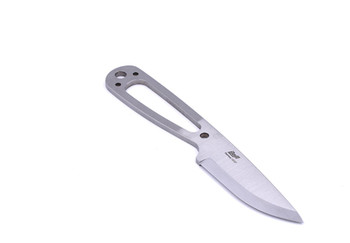
These instructions are for the "Scandi" or "stick tang" knife kits, as opposed to the fulltang blades used for most chef knives.

Making a knife from the knife kits can easily be done without a lot of tools.
There are many variations and alternatives, these instructions are shown as a suggestion for you to change and improve on as you see fit.
The more - and better - tools you have, generally the easier the build will be.
But you can very much do this on the balcony with a cordless drill, a file and some sand paper.
As well as a clamp to clamp the blade to a table, and some masking tape. A dremel is not required but makes things easier.
Completing a Knife Kit:
- Fitting the bolster to the blade
- Cutting the tang
- Drilling the handle block
- Gluing the handle and blade together
- Shaping the handle
- Sanding the handle
- Sealing the handle
These instructions are based on an EnZo Nordic knife kit, using the matching nickel silver bolster and will work for any standard knife kit.
Bolster: The front guard or piece of metal between the blade and the handle. This piece both makes for a stronger construction, and makes the build easier. As the hole in the handle can be bigger, hiding behind the bolster. (if unable to make a small, well fitting handle hole)
The bolster is optional, lost of knives have the blade inserted directly into the main handle block. If wanting to use a bolster it can be made from anything, another piece of wood, or a piece of steel, brass, copper or anything else you like the look of. These instructions use the matching bolster for the blade as this is easier than making one from scratch.
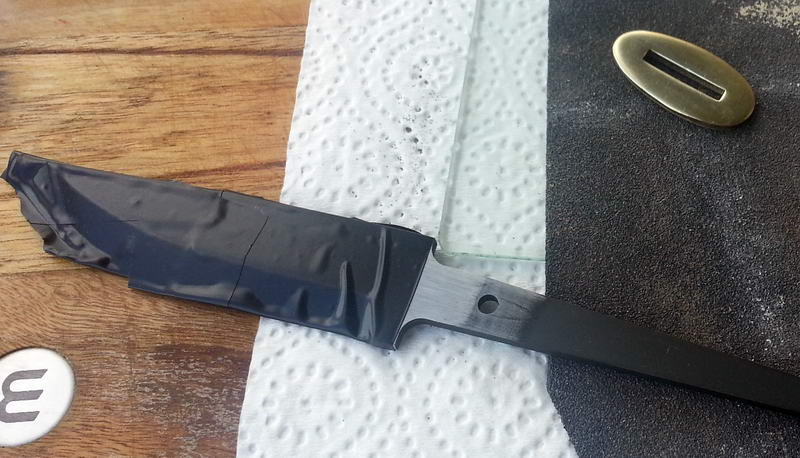
1: Tape up the blade to protect it from scratches, not to mention your fingers.
Several layers is recommended, as a belt sander rips through a layer of tape in no time. (Ask me how I know..)
Fitting the bolster to the blade:
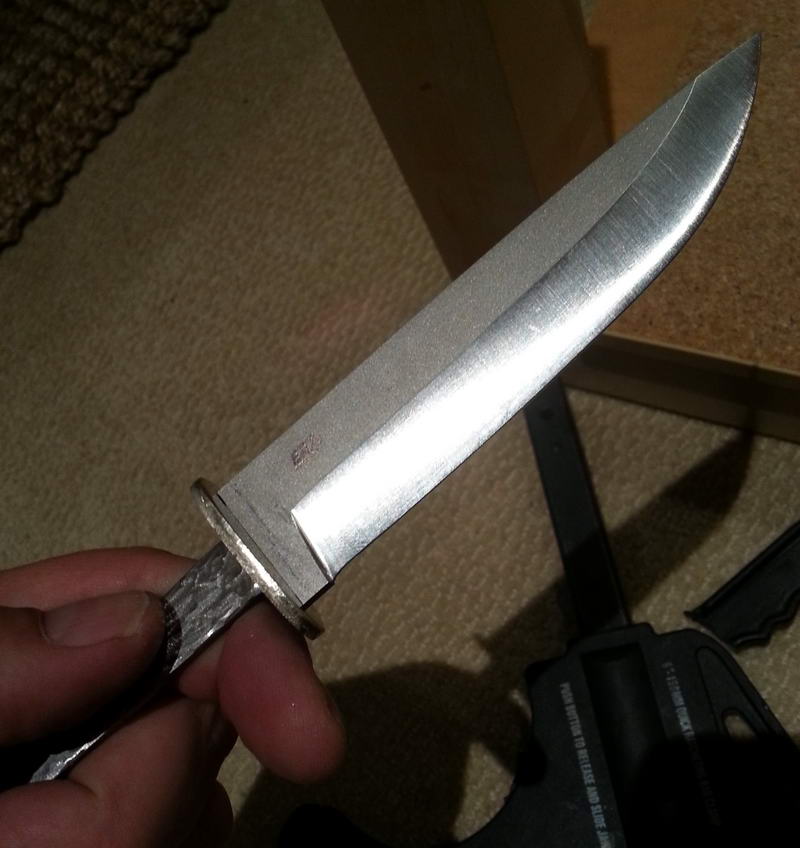
Most knife kits will require the tang to be filed, probably also the insides of the bolster before they will fit.
The bolsters are stamped out of brass or nickel silver sheeting slightly too small and you file the tang and/or inside of the bolster until they fit.
If you only have a large metal file, then you file the tang.
If you also have small thin needle files, file the inside of the bolster on an angle, keeping the front end of the hole (towards the blade) as small as possible. This way the fit and finish will be better.
On many blades (like the Polar blades) you may have to file the shoulders of the blade until they are at the same level, for an even fit.
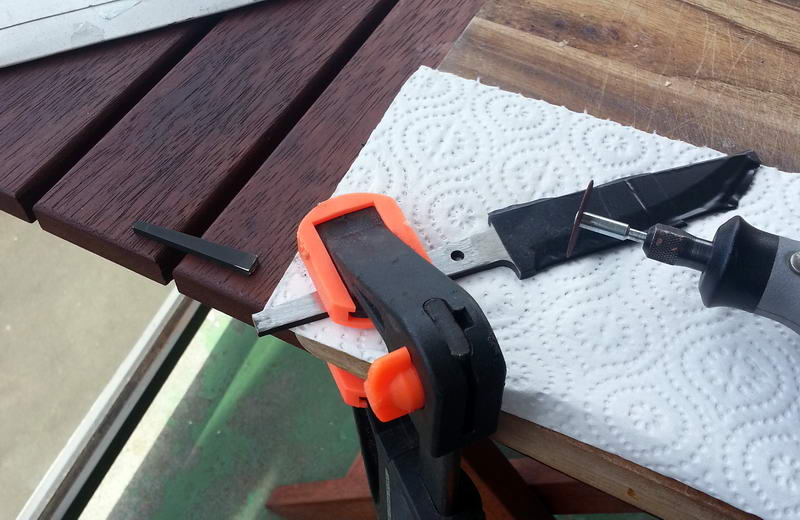
Usually the tang is too long, and you will need to cut it down with a hacksaw, dremel or just the edge of a big file.
The longer you leave the tang, the better.
Often it depends on how long drill bits you have available, and how long you want the handle to be. Aim for 2/3 of the handle length.
This first step of fitting the bolster, is the single most time consuming and difficult step.
Take it slow, file a little and try fitting the bolster. Then file a bit more, and try again.
If you can place the blade in a vice, you may be able to hammer the bolster on the blade, the last couple of mms.
Either way, take it easy and be patient.
The good news is that as soon as the bolster fits, the rest is a breeze!
Sanding the bolster: (Optional step)
If wanting a flat bolster front, (towards the blade), sand the bolster flat before attaching it to the blade. Being stamped out, the bolster will not be 100% flat when it reaches you.
Use finer and finer sand paper, placed on something flat like a piece of glass or tile. This is a lot easier before attaching the bolster to the blade than after.
If having a dreme or a bench grinder with a polishing wheel and some polishing paste, this creates a nice and shiny bolster.
If happy with the bolster finish "as-is", then this step can be skipped.
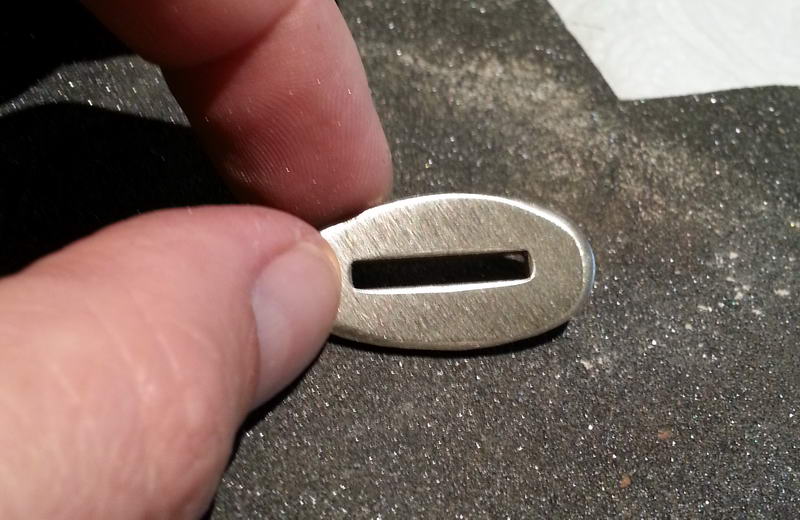
In this image note the bolster is not quite flat, the area closest to the slit, and the outside edges still need to be sanded more to create an even, flat surface.
This is done by placing coarse sand paper (here 80 grit) on a piece of glass and the bolster is rubbed back and forth until flat. Then finer and finer sandpaper to 1200 grit.
Gluing the bolster onto the blade: (Optional stel)
Either glue the bolster onto the blade first, or glue all the components in one go.
In the picture below, we are gluing the bolster to the blade with 5 min epoxy glue, then later the entire knife is glued up using a stronger, slow-setting 24 hour (or "Max Strength") epoxy.
If not confident that you can set the bolster straight on the blade, it might be easier to glue it all up together.
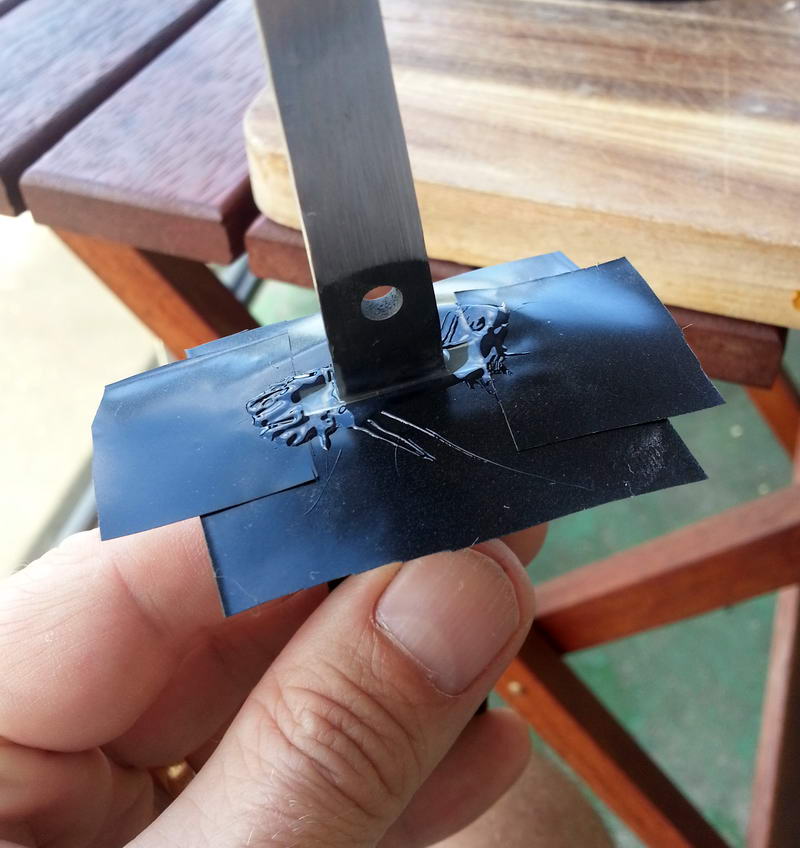
When buying epoxy, note that they tend to come in two versions "(5 min" vs "max strength") and the slower, stronger one might be a better bet.
To not have only a couple of minutes to get all the pieces together.
2: Preparing the handle block and fibre spacers:
Some handle blocks might require that the "face" is squared up, if not sawn on a 90 degree angle. Check with a steel square or anything else that has a 90 degree internal corner.
Decide which end will face the blade and mark with a pencil from corner to corner, both ways.
This creates a cross or X on the front of the handle block, and marks the centre of the handle block.
What tools do you have available?
- cordless drill only, use the process outlined below
- drill press, draw the tang onto the side of the handle block and accurately drill out holes that meet.
- If customizing the handle by cutting it in pieces and inserting another piece of wood, metal or antler this is a good time to divide the handle block. As you then can drill each piece separately rather than having to make the entire handle block hole in one go.
- knife rasp and drill: drill single hole and rasp out the exact tang hole. A knife rasp looks like a rat tail saw for drywall, but way smaller and can expand the single, drilled hole.
Cordless drill only:
Drill a hole in the centre of the handle block, where you marked the X.
Drill a hole slightly larger than the thickness of the blade tang. For a 3 mm blade, use a 4 mm drill bit.
Expand this hole length-wise using the drill bit until the tang fits.
There are several more elegant ways to do this, like using a small sharp rasp or a cutting drill bit or dremel with a long router bit.
Any way you can make the hole fit the tang works, the smaller diameter hole the better.
Making a big hole is not a disaster, as it will be hidden behind the bolster and completely filled with epoxy. But try to not make it bigger than it has to be.
Draw the tang onto the side of the blade to have guide lines to aim for, and again take it slow and keep test fitting the blade until the tang fits.
Spacer materials: (Optional step)
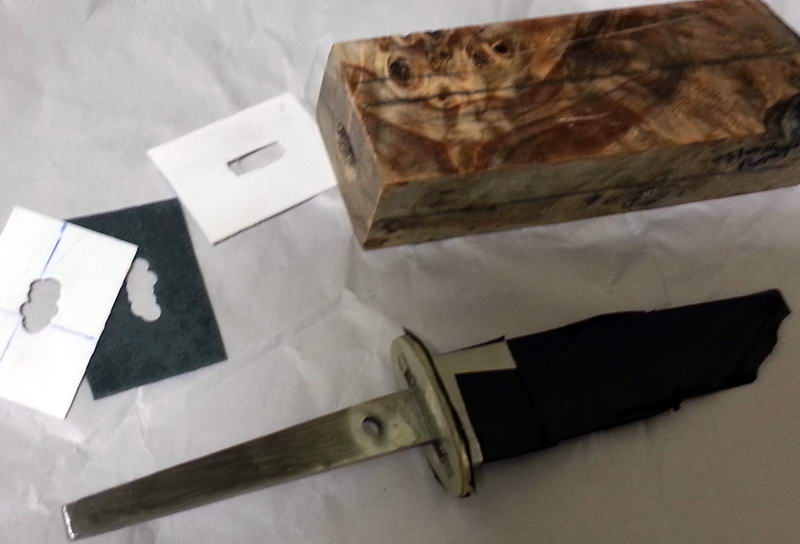
Using spacer materials such as vulcanised fibre spacers or metal spacers is part of personalising or customising your knife.
You can mix and match colors, or use a single color to create a clean, contrasted line between the bolster and handle for instance. Or use a mitre saw to cut the handle block in pieces and insert spacer materials between the pieces before gluing it all back together. If dividing the handle in two or more pieces, make sure the tang extends well into the last piece.
Using fibre spacers also has the advantage of giving a cleaner, "padded" break between the bolster and handle and will help hide small gaps between the materials.
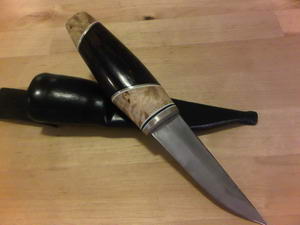
Example of combining materials by cutting the handle block in pieces. The end bit is of Coolabah burl while the main piece is scribbly gum. The main piece was also cut in two pieces on an angle, using a $15 bunnings mitre box. Between the parts, nickel silver spacers and black and white fibre spacers were inserted.
The second knife has a handle of Wenge and Curly Birch, with inserts of black and white fibre spacers for contrasting colors.
3: Gluing the knife together
Use "max strength" epoxy, this takes longer to set and leaves a stronger bond.
It also means you have more time to get everything right before it starts setting.
Clamp the pieces together for a stronger bond.
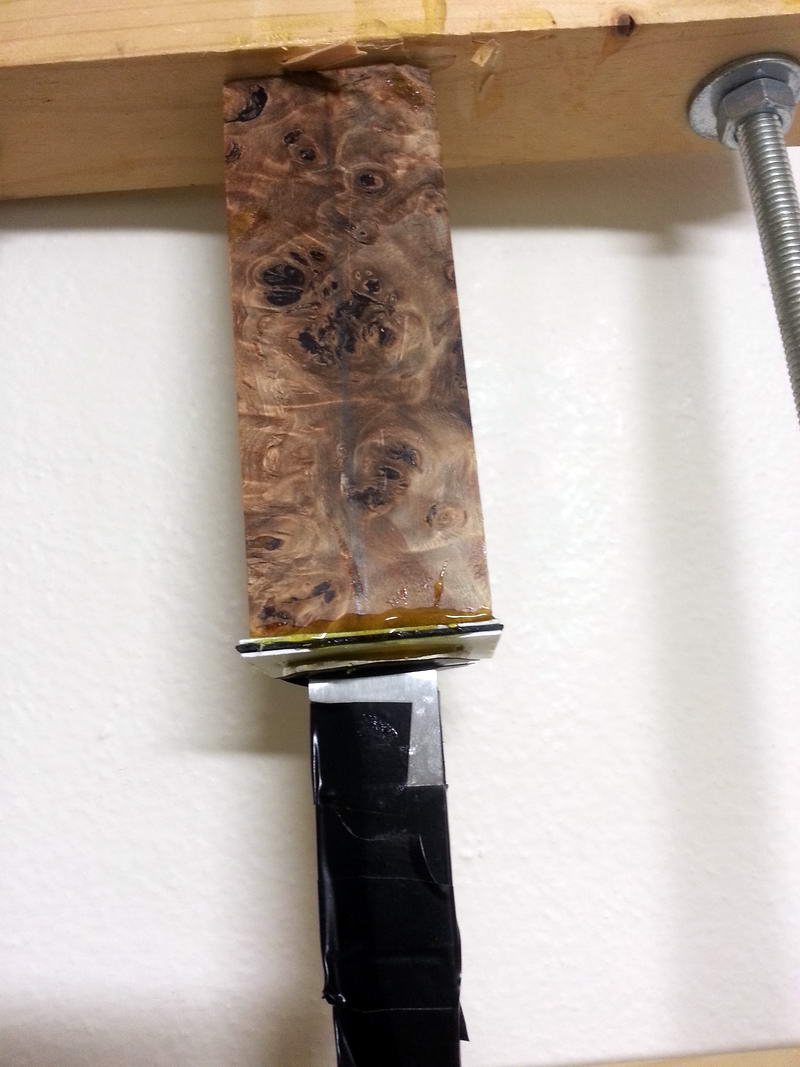
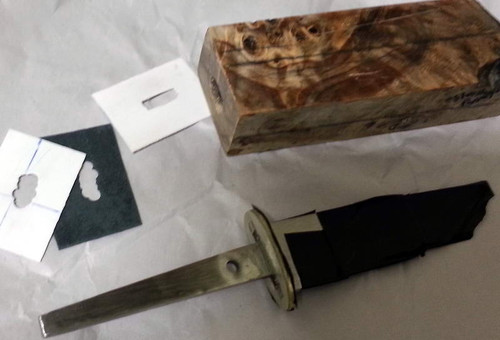
Here the knife blade, bolster, fibre spacers and handle block are ready for shaping.
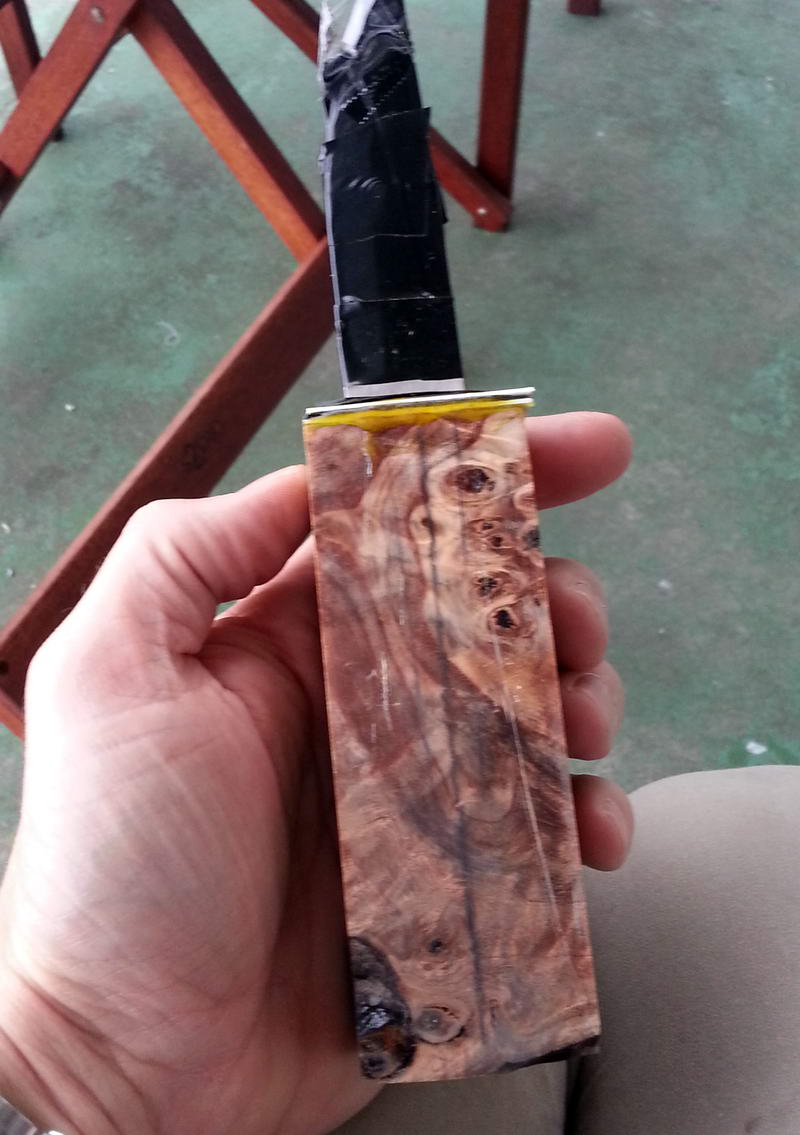
4: Shaping the handle
***** Important : Wear personal protection equipment whenever creating wood dust *****
Wood dust is bad for you. Seriously, get a proper fitting mask as a minimum and wear it for the shaping and sanding.
Power sanders create tiny particles that will negatively impact your health over time.
There are many ways to shape the handle, depending on what tools you have available and what feels the most natural to you.
The most basic would be to clamp the blade to a table and shape the handle with a wooden rasp. This may be easier than trying to whittle the handle using another knife.
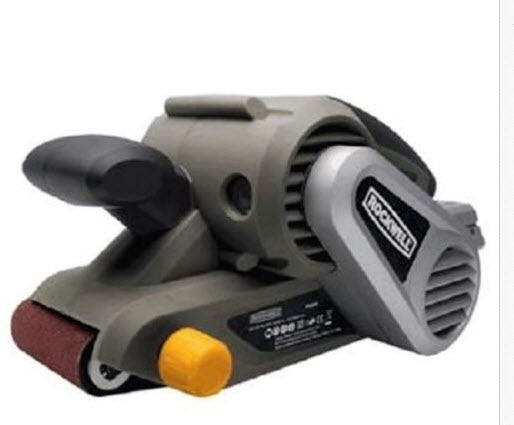
Another alternative I have used several times myself, is to use a belt sander upside down in my lap. It is loud and dusty, but it works.
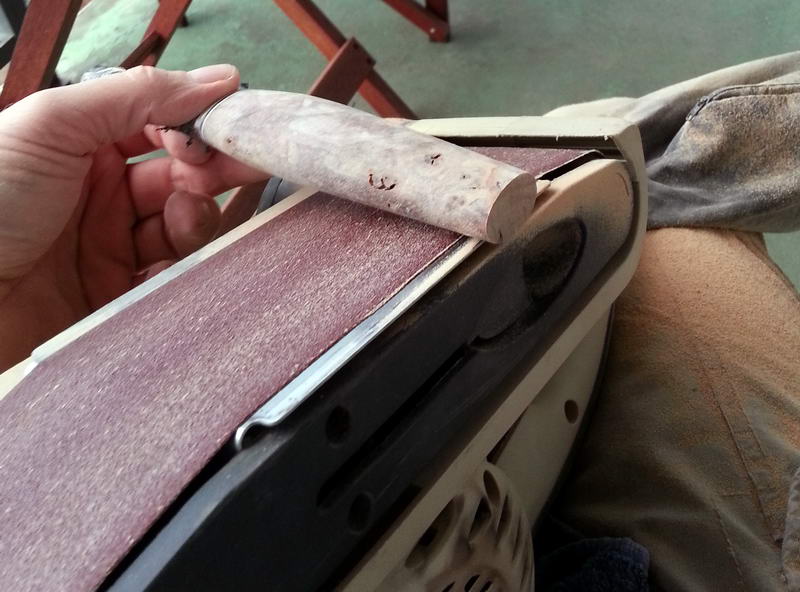
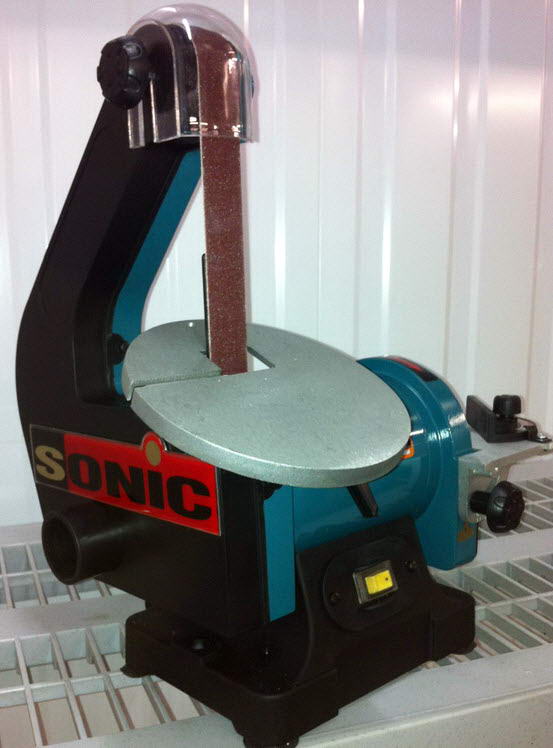
Other ways to shape the handle would be to use a bigger belt sander / linisher, or an actual grinder. Any way you can comfortably remove material, will work. Keep turning the knife around, testing the feel and look while working out the shape you prefer. It can be a good idea to have a completed knife you like there to compare with, do some measurements and mark with a pencil where you next will take off material. Some times it can be easy to leave the handle to big unless you compare it with another handle of the size you are going for.
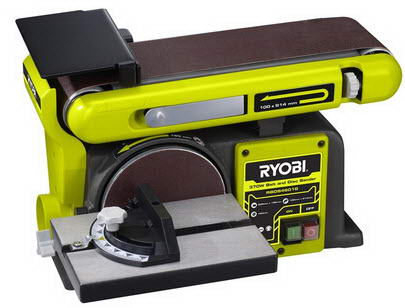
I have made several knives on the Ryobi grinder picture below, this kind of belt sander / linisher works well. The disc sander is good for quick stock removal, then the handle is finished on the top belt. The wide belt makes for a big work surface, and the weak motor means you will need to take your time to think it through.
Handle design:
This is possibly more a question of what works for you, than what is right or wrong.
If only starting out, aim for a basic oval shape (seen from the tip of the knife) slightly longer than your closed fist.
Aim for the back 1/3 to 1/4 to have a smaller diameter, as your little finger can grip around less material than your index finger.
Stop often, look at the handle and blade transition and take it slow.
Do you like finger groves? How many, where should they be placed? Do you want a high point close to the front underneath the handle and then a long taper towards the back?
Do you want a uniform thickness then entire length of the handle?
Handle shaping is possibly the most fun part of the process, where you are free to create the shape and flow you want.
Notice that the later sanding will include sanding with coarse sand paper and that this will also shape the handle.
You can change the shape a lot with coarse sandpaper within 5 min, so if it starts changing too fast, save some for the sanding.
Anything we do more than once, we tend to do better.
It may be worth it, grabbing a "test piece" of wood and shaping into the handle you think you want, before starting on the actual knife block.
Often it helps with learning how the tool you have available is removing material, and how you will design the handle using this tool.
Should you take too much material off too quickly, or find out that finger grooves are harder than they look, why not find out on a test piece?
5: Sanding the handle
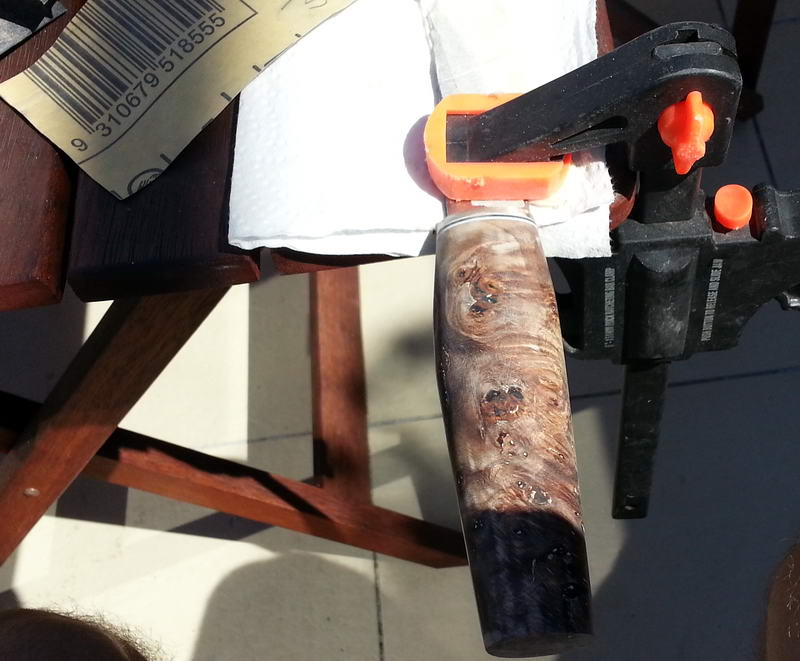
Sanding the handle can easily be done by clamping the blade to a table, and then "shoe shining" the handle with sand paper.
Do one side with one grit, then turn the knife so the other side of the handle is up, and sand this side. Change grit to a finer paper, and start again.
Some points on sanding:
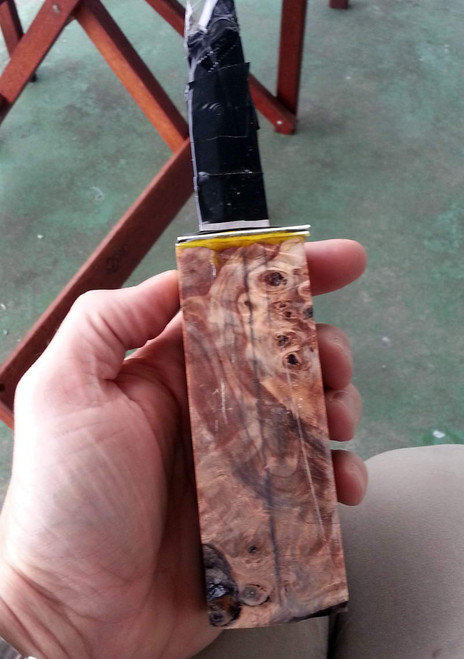
- Spend more time on the first grit, than on any other grit. You need to get the coarse scratches from the power sander out completely before moving to a finer grit. This takes time and they can be hard to see when the entire surface of the handle is on this coarse grit. Look for pale lines, where wood dust is filling the scratches still so you should be able to see them. Later when the rest of the handle is nice and shiny from a fine sand paper, these scratches will stand out more and more as the constrast between the scratch and the shiny wood increases. This is probably the number one beginner mistake, rushing past the coarse grit and later noticing all the scratches still in the wood when they stand out. Notice in the picture above, how wood dust is collecting in the holes/faults in the stabilised burl handle. This is what you are looking for, in long scratches.
- The coarse grit can also shape the handle, so if wanting to shape it more, try shoe-shining hard with a coarse paper and you'd be amazed how much wood you take off within a minute.
- Shoe-shining with sand paper is a good technique as it gives an even, smooth surface across the entire side of the knife handle. Cut the sand paper in strips 2-5 cm wide, and back them with tape. Masking tape is good, but any tape works. If hiding the grit number with the tape, write the grit number on the tape. Covering the sand paper with tape makes the paper stronger, as the shoe shining will often rip the ends of the paper. You will get sore thumbs from clamping the paper between your thumb and index finger.
- When you have done both sides of the handle with a grit, sand "the sides" as well. The sides here means the bottom of the handle where the edge would be, and the top where the back of the blade would be. As the knife handle is clamped to a table on it's side as your are shoe-shining with sand paper you will create a little ridge on the sides. Take this ridge down with sand paper, unless you want it there, creating a more pointed oval shape.
- The finer grit you finish on, the better. Bunnings carry up to 1200 grit, this would be a minimum and gives a great finish. The wood may look pretty boring until the end of the grits, and then it suddenly "pops up" and you can see all the grain play, colouring and complex figures in the wood.
Fixing holes or cracks with super glue:
In the below picture, holes in the burl handle was filled with super glue. Then when dry, the handle was sanded again. Also note the scratches still present near the end, the thin white lines.
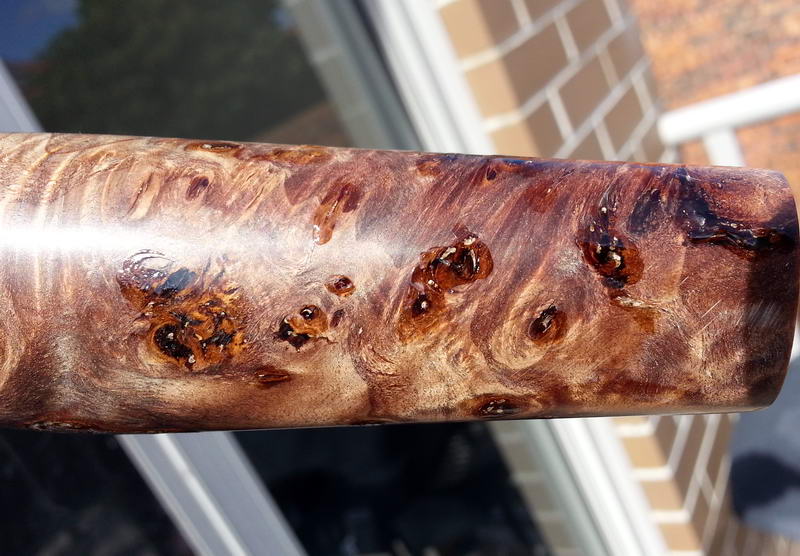
It is recommended to seal the handle to stop it from absorbing moisture, or getting discolored. I like CCL oil, or use tung oil, or Danish Oil or anything else that will seal the handle from the elements.
This will also help bring out the grains in the wood and makes for a better looking knife.
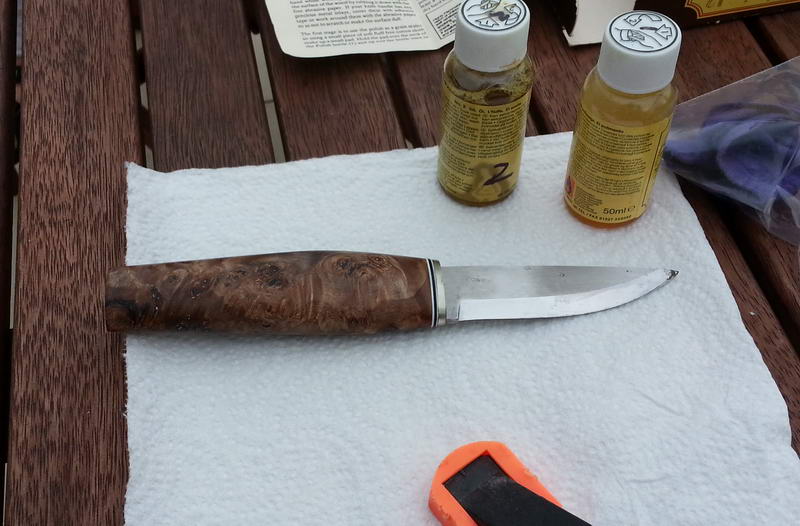
Notice on the shape of this handle:
- the thickest part of the handle is between the middle and the blade
- the end is thinner in circumference than this thickest part, so a scandi / wet shaped sheath can be used
- the step from the blade to the handle is probably too big, it would have been better with a single, flowing line from back of blade to back of handle (the handle is too thick, the top could have been taken down more)
That is one way to complete a knife from the knife kits, showing that you do not need a lot of tools to create your own knife.
Considering making your own knife? Why not join the Australian Beginner Knife Making Group


