
The Easy Way To Razor Sharp Edges By Hand
Easy way to get razor sharp edges by hand
By Bjorn Jacobsen, September 2021
Sharpening is a good skill to have, and easy after you feel a burr forming for the first time. Learning to sharpen well enough to put a razor edge on most knives in 15 mins or less is not hard, and this is how to do so using the sharpening stones we supply at Nordic Edge.
Let's just straight into how to use hand sharpening stones, and cover more of the details later.
How to use a sharpening stone:
- the stone is lubricated with water or oil before and during use
- doing this next to the sink is good for easy access to water
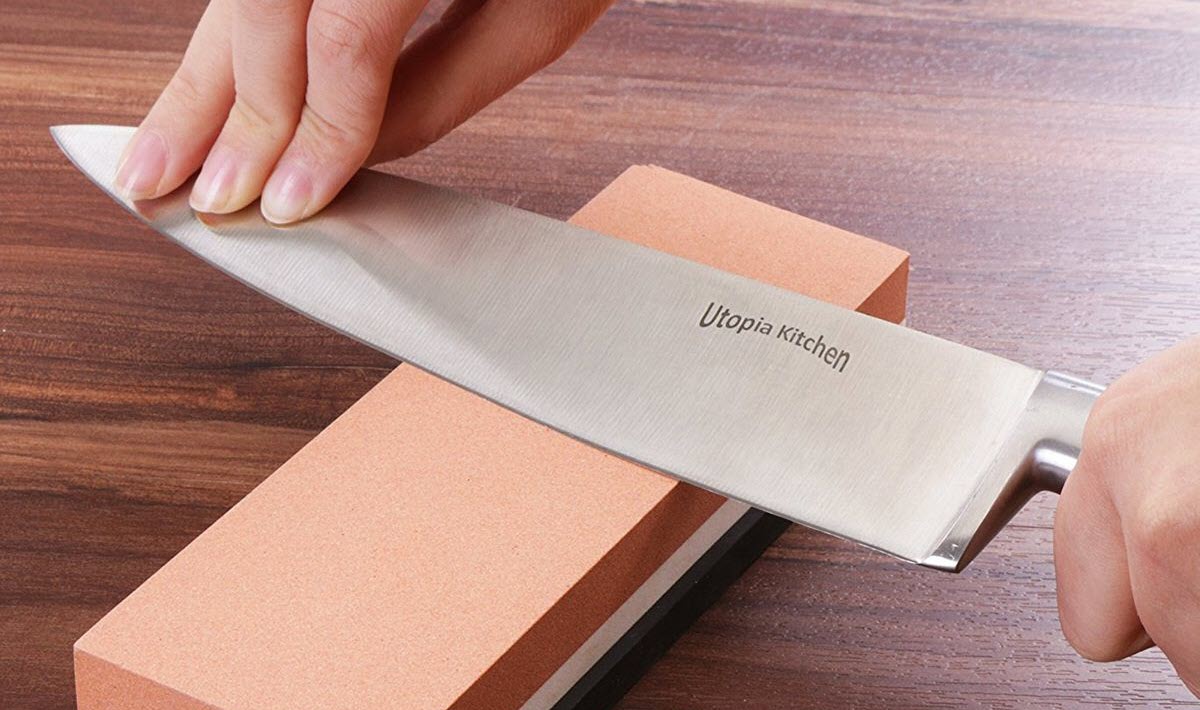
- place the knife with the edge facing away from you and lift spine slightly off the stone
- If holding the handle in the right hand, place two fingers from the left hand 1/3 from the tip, middle of the blade for support
- sharpen by dragging the knife towards yourself, edge facing away
- use light moves, do not press hard down on the blade. Aim for a light, consistent pressure.
- Try to kee the spine off the stone at a constant height of about a 20 cent coin
- You can use circular motions or straight drags back towards you while moving the knife sideways, sharpening from heel to tip. Just find a movement that feels ok to you and keep using this motion.
- continue sharpening on this side until you feel a burr* on the underside of the blade (this is the one instruction that matters to get a sharp blade)
- turn the knife over and repeat on the other side, aiming to do as many strokes as on the first side
- Every now and then pour some water or oil over the stone to wash away steel particles and clean the stone with a rough brush before putting it away.
- A clogged stone can be cleaned with kerosene or honing oil and a brush
Why sharpening fails: (or "more detail than you probably wanted on sharpening")
If you do not keep going until you get a burr, the knife will not be sharp.
You are then just wearing away at the sides of the blade without making that side meet the other side of the knife in the middle.
If the sides do not meet, the side you are sharpening will not "fold over" onto the other side creating a burr you can feel.
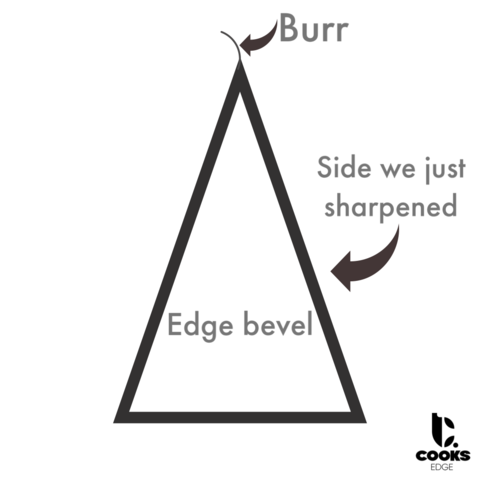
*A burr is just the side of the knife being sharpened (worn away) until it is so thin it cannot support itself standing upright and folds over towards the side of the blade that is not being sharpened.
By feeling carefully for this burr the entire length of the blade, you know you have done enough work on this side with this grit sharpening stone. If you feel a burr at the heel and the tip but not in the middle of the blade, sharpen more on this section of the blade before finishing with some heel to tip strokes when you have the burr going the entire way.
If you do not sharpen until you get this burr, the edge is still a flat area between the two sides you are sharpening and the knife will never be sharp.
The cutting edge is the point where these two sides meet and if you stop before the sides meet, the knife will not be sharpened.
This sounds complicated until you feel the burr the first time and it suddenly makes sense.
The first time on a new knife it can take a while to get a burr. The steeper the angle you sharpen (the higher you raise the spine off the stone), the longer it will take and the stronger the edge will be.
How high to lift the spine off the sharpening stone:
For kitchen knives we mostly do not want a strong edge, we go for a thin, sharp edge so keep the spine low down towards the stone for a lower sharpening angle. Placing a 20 cent coin on the stone under the spine is a good starting point to show you how high to keep the spine. You may adjust this up or down based on blade width, spine thickness and what the blade will be used for, but it is a good starting point for your average kitchen knife with a 2-3 mm spine and 150-220 mm blade.
A coarse stone will give you a burr that is easy to feel with a careful touch with your nail or fingertip. It is an overhanging thin piece of steel, like foil, that is bent over and you feel it nicking your finger when touching very lightly for it.
A finer stone will give a burr that is harder to feel, so if in doubt, start with a coarse stone.
One more thing: when you sharpen a new knife you will spend time (2-15 min) on getting that first burr, then when flipping the knife over it will come back much faster but you need to keep going for the same amount of time to keep the edge centered on the knife. Try to time yourself or count strokes or find another way to do about the same amount of steel removal on the other side.
Then when changing to finer stones it will go much faster, the edge is now set and you are just refining scratches towards a more polished edge.
Polished or toothy edge?
Some like a really toothy edge, excelling at cutting things that are hard outside and soft inside. this is why bread knives are serrated. Tomatoes are another good example of something that is easier to cut with a toothy edge than a polished edge.
A toothy edge is done by skipping grains, going from a fairly coarse stone to a fine stone without the grains inbetween, for instance 400 and then 1000 and no more.
A polished edge is generally sharper than a toothy edge and can do very clean, effortless cutting but will need touching up more often than a toothy edge. A polished edge is achieved by going grit by grit up to a fine stone of several thousand. Grit size can be thought of like how many pieces per grams, so the higher number of grits means more "pieces" of sharpening material, and therefore a finer stone. A 1000 grit stone is much finer than a 240 grit stone.
What grits to buy?
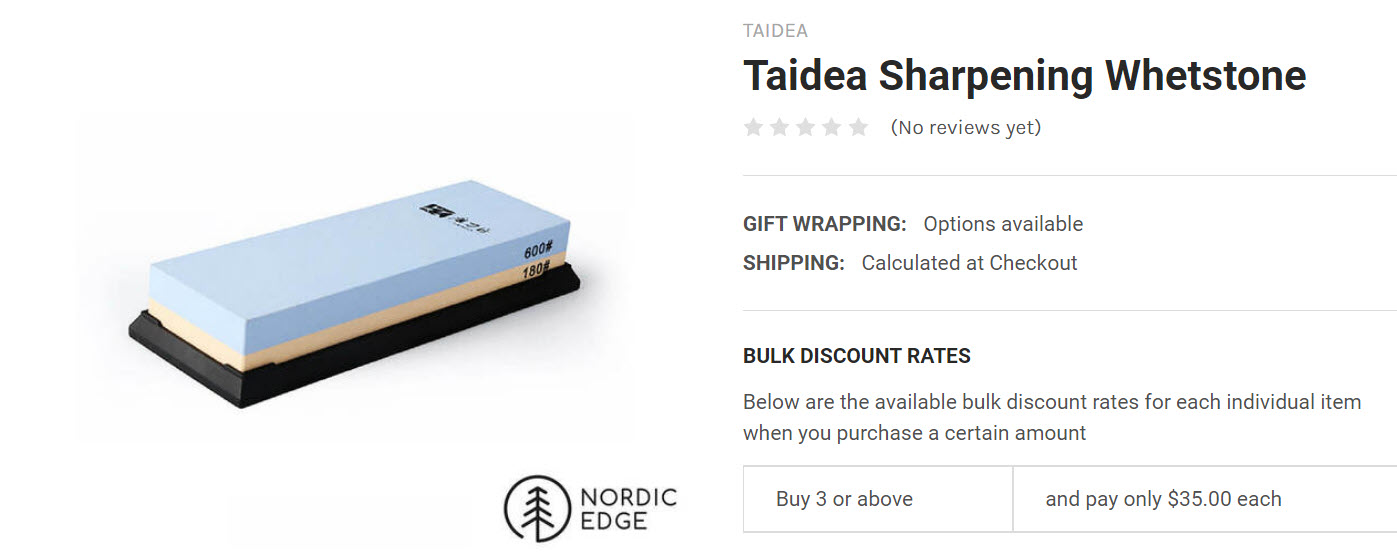
For a kitchen knife a good middleground is for instance a 240 grit stone to sharpen up, then a 1000 grit stone for a somewhat polished edge while leeving a toothy edge from the 240. If wanting a somewhat more refined edge, add a 180 & 600 grit stone to be able to rough in bevels and remove chips at 180, and refine with 240, 600 and polish at 1000 grits.
**Disclaimer: This is an intro to knife sharpening and enough to help you provide sharp knives for the rest of your life. There are many opinions on sharpening, with much more detailed knowledge, equipment, stone types, etc. This is not to be considered the "Truth" on hand sharpening but a good starting point to quickly deliver sharp edges and not interested in taking it further certainly will find additional techniques for them **
The advantages of knowing how to sharpen:
When you first "get it" and feel the burr, sharpening becomes fairly easy in most cases. There are steels that are much more difficult to sharpen, being very abrasive resistant combined with high HRC - or just low quality steel that will not give you a thin, strong edge.
But when you get what the burr feels like, you are able to sharpen most any knife with a lot of different abrasives - like the underside of a ceramic mug or plate. A sheet of sandpaper wrapped around something hard and flat, the top of a car window..anything with an abrasive surface!
A knife can last a few years or a lifetime, and with use it will need some light sharpening every now and then. Most people do not sharpen their knives and just live with it. Pushing harder, making sloppier cuts and accepting that tomatos are not for slicing up. Being able to put a good working edge back on a worn chef knife usually does not take too much effort, and will make the knife more enjoyable to use for years to come.
If you are after some sharpening stones, check out these: LINK
Recent Posts
-

The Etch Test: Ferric vs Hydrochloric vs Gator Piss
The Etch Test: Three Very Different Looks From One Steel One of the great things about knife making …3rd Jan 2026 -

Why Bed The Tang In Epoxy - Then Knock it OFF Again.
What is "Bedding the tang"? Bedding the tang means gluing a stick-tang blade into the handle block i …21st Mar 2025 -

Marble Leather - How to Dip Dye Veg Tanned Leather
This was my first experiment with hydrodipping or dip dying leather, and it came out pretty cool! I …14th Mar 2025