
The Making Of TinyAxe
Making the TinyAxe for my son
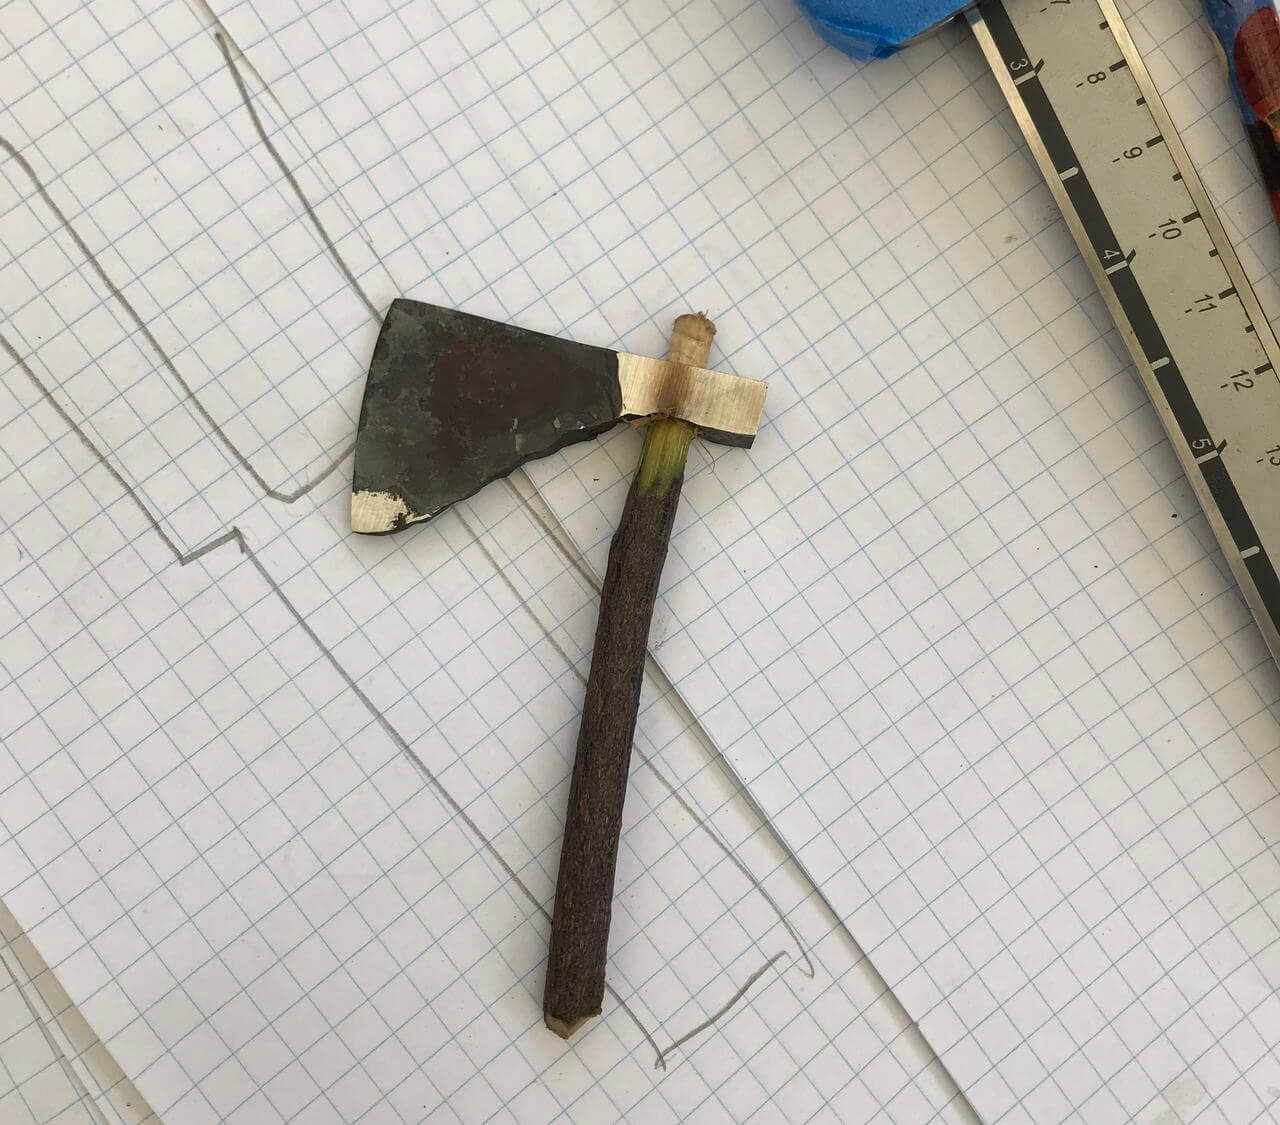
The below are some photos showing how I made my son a small axe. The size makes it a toy rather than a usable tool, but then again he was 5 years old at the time. Ended up being a fun project and quite a learning process.
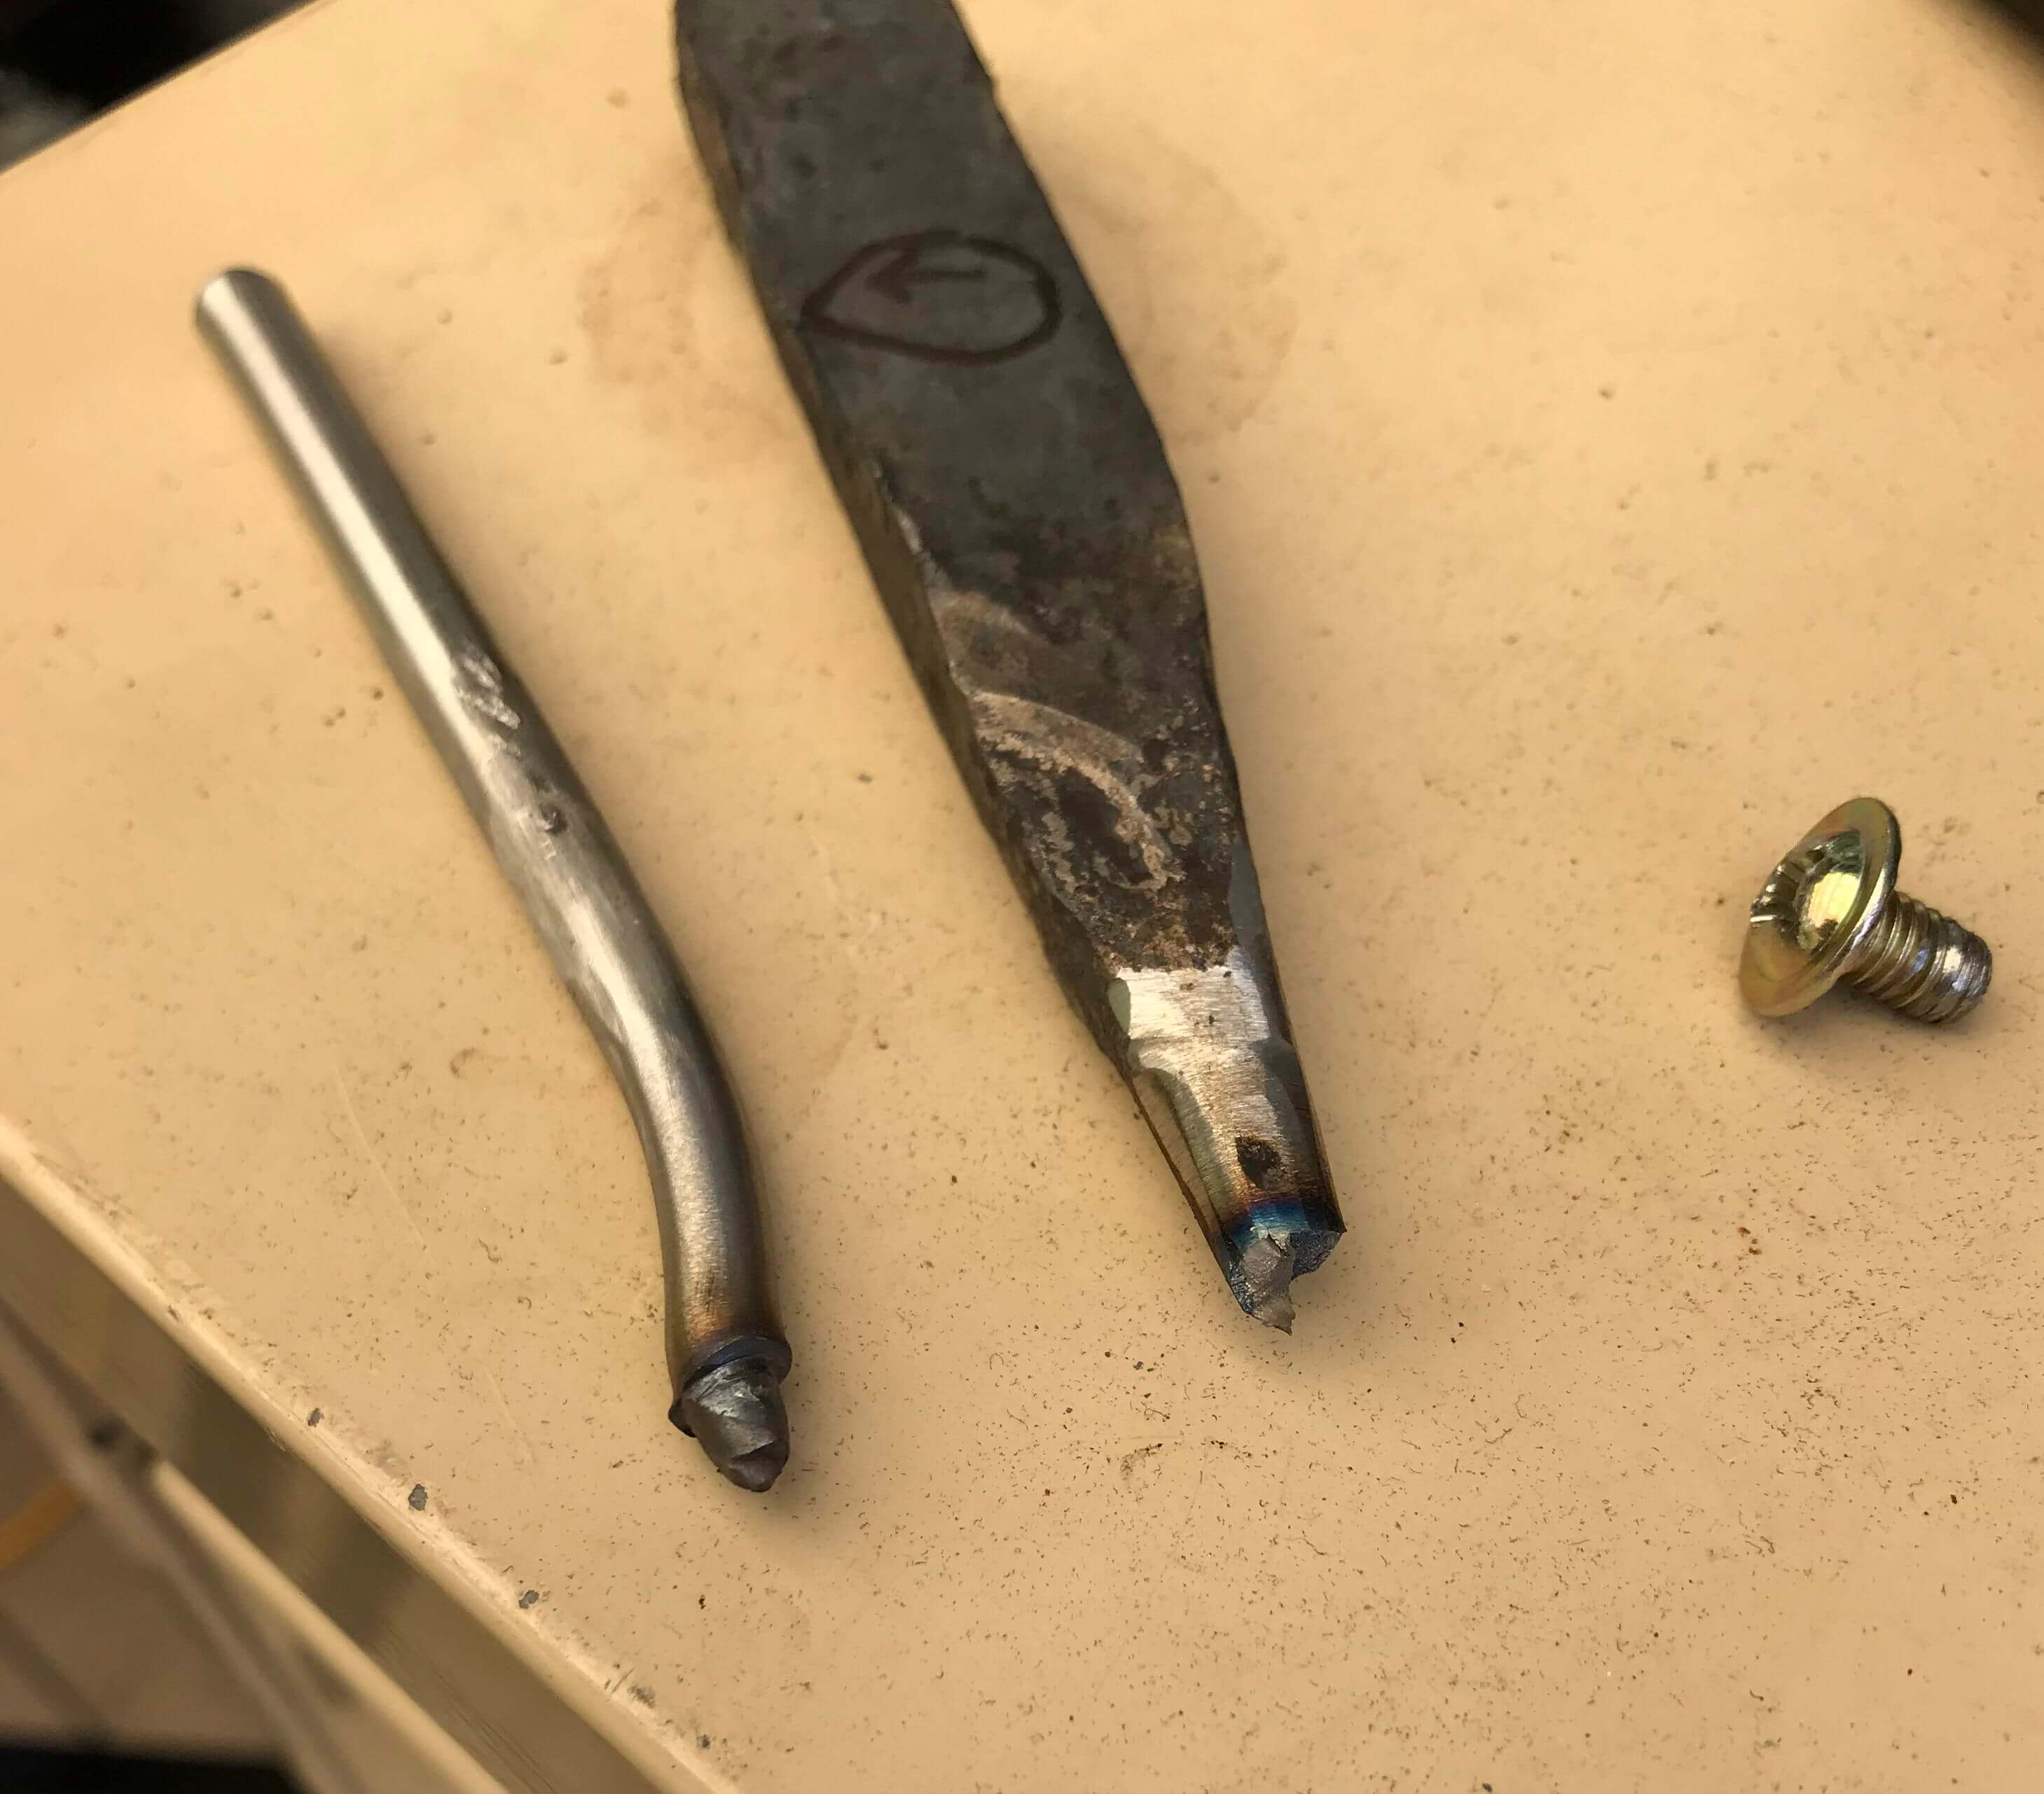
I started out with a small piece of W2 carbon steel and pre-drilled a pilot hole for the handle, thinking this would be easy to drift out on such a small piece. The drift I made from a 1/4" mild stainless steel handle pin that I ground down a bit;
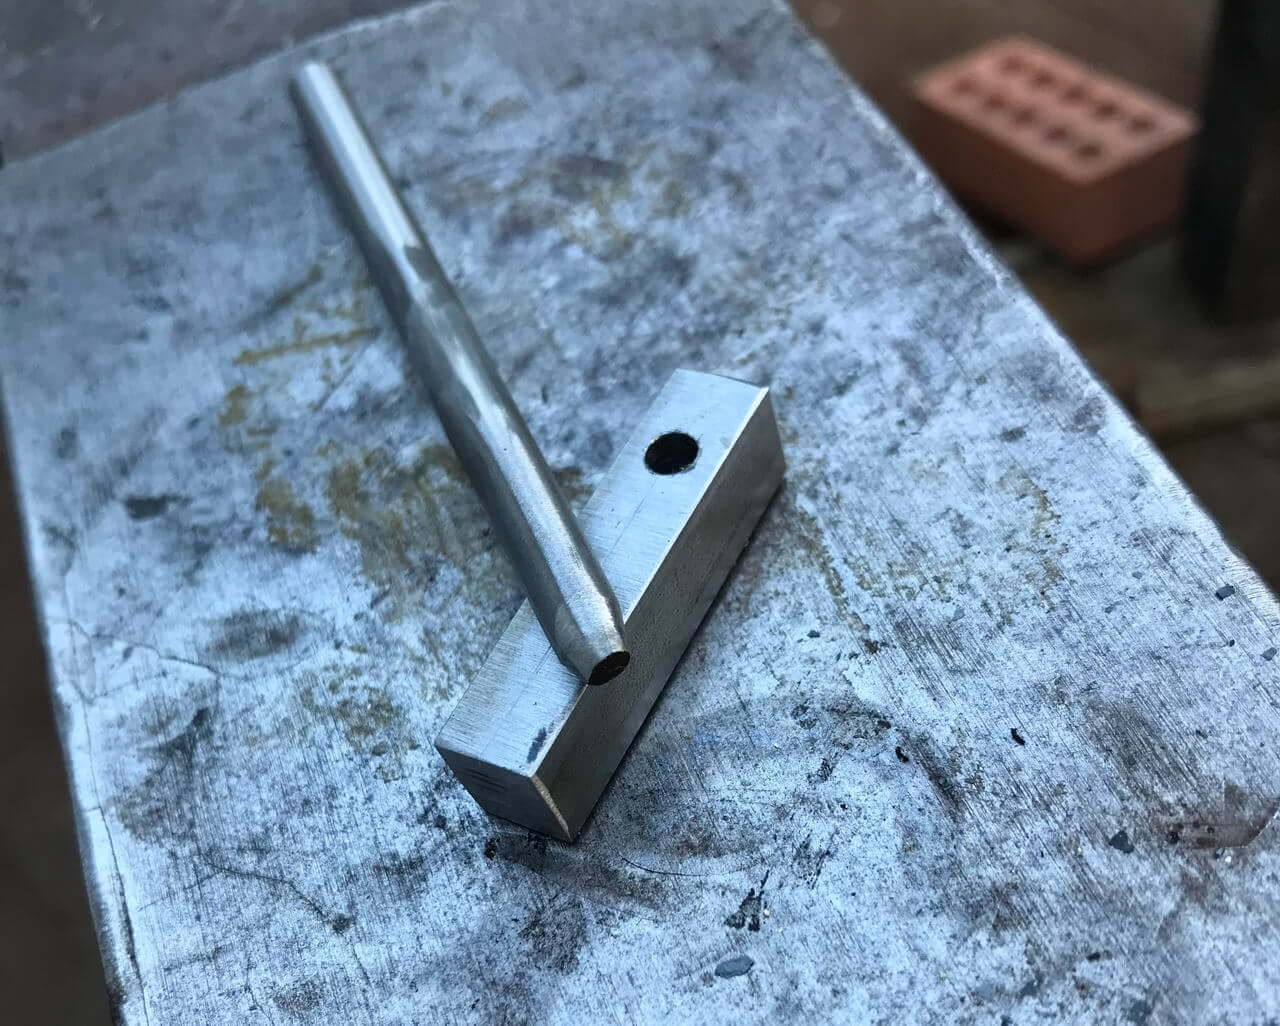
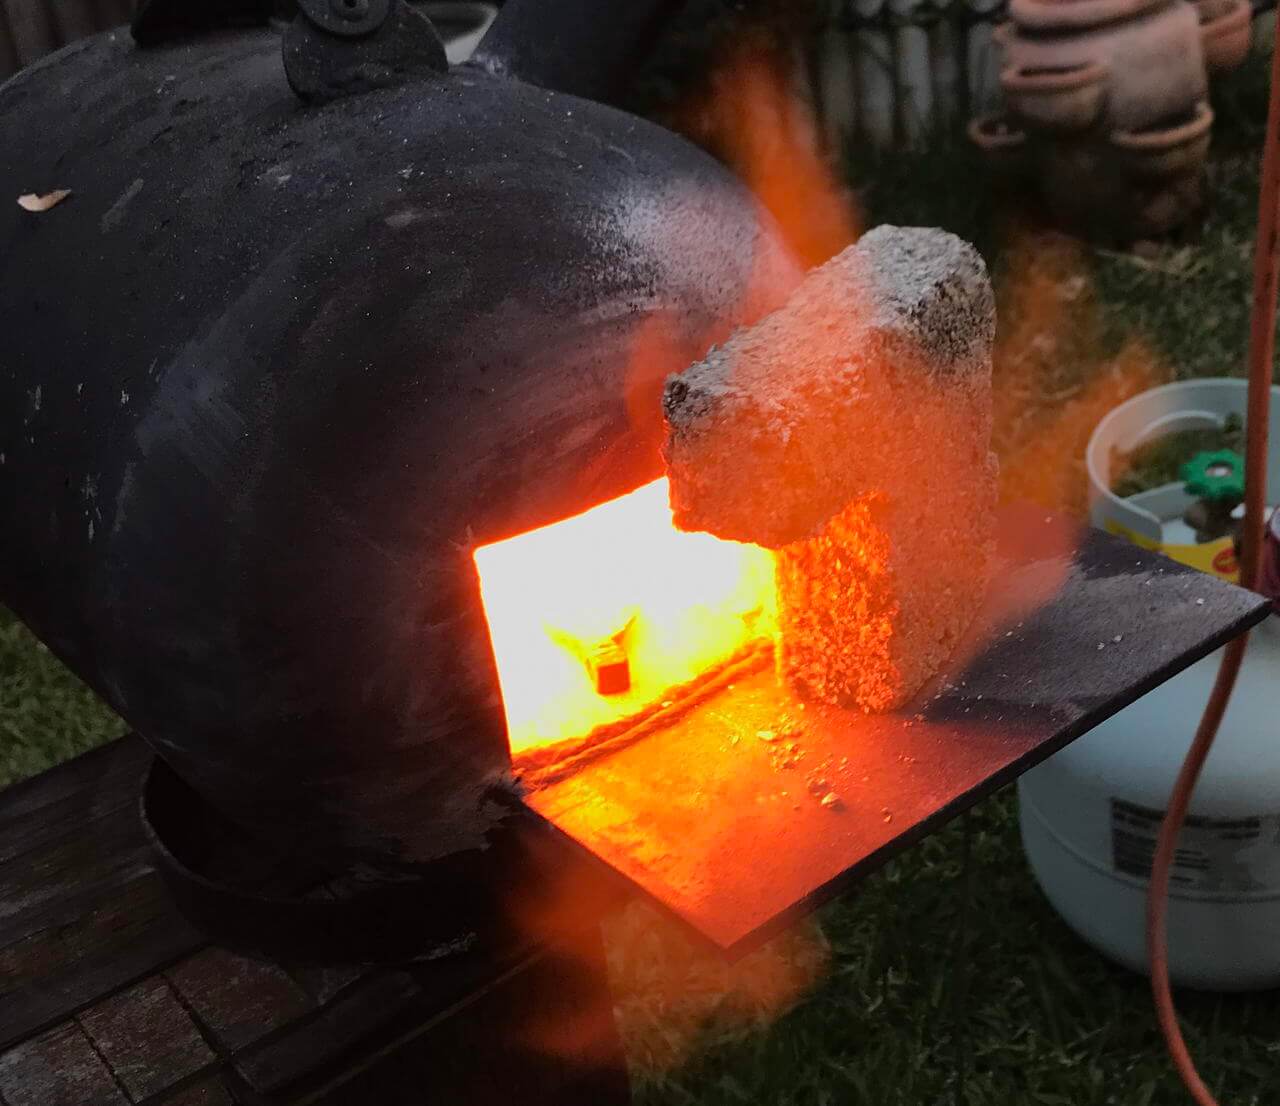
In the forge and this should be easy to drive through right? I even had the pilot hole to make sure it would be straight.
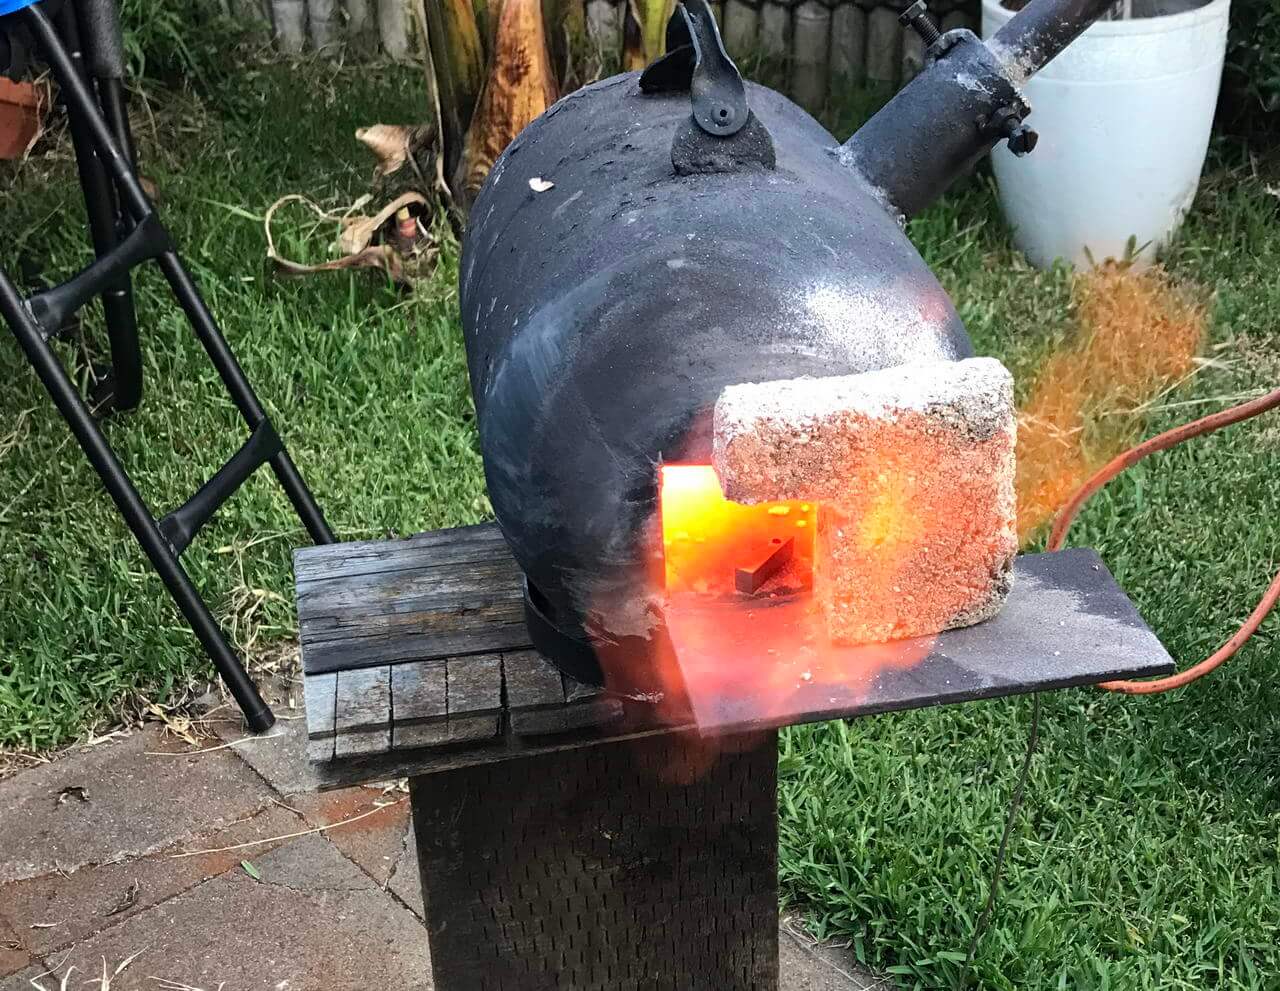
Lesson #1: Mild pin stock is good for handles, but probably not for axe drifts. No matter how small the axe.. The drift just bent and started crumbling up.
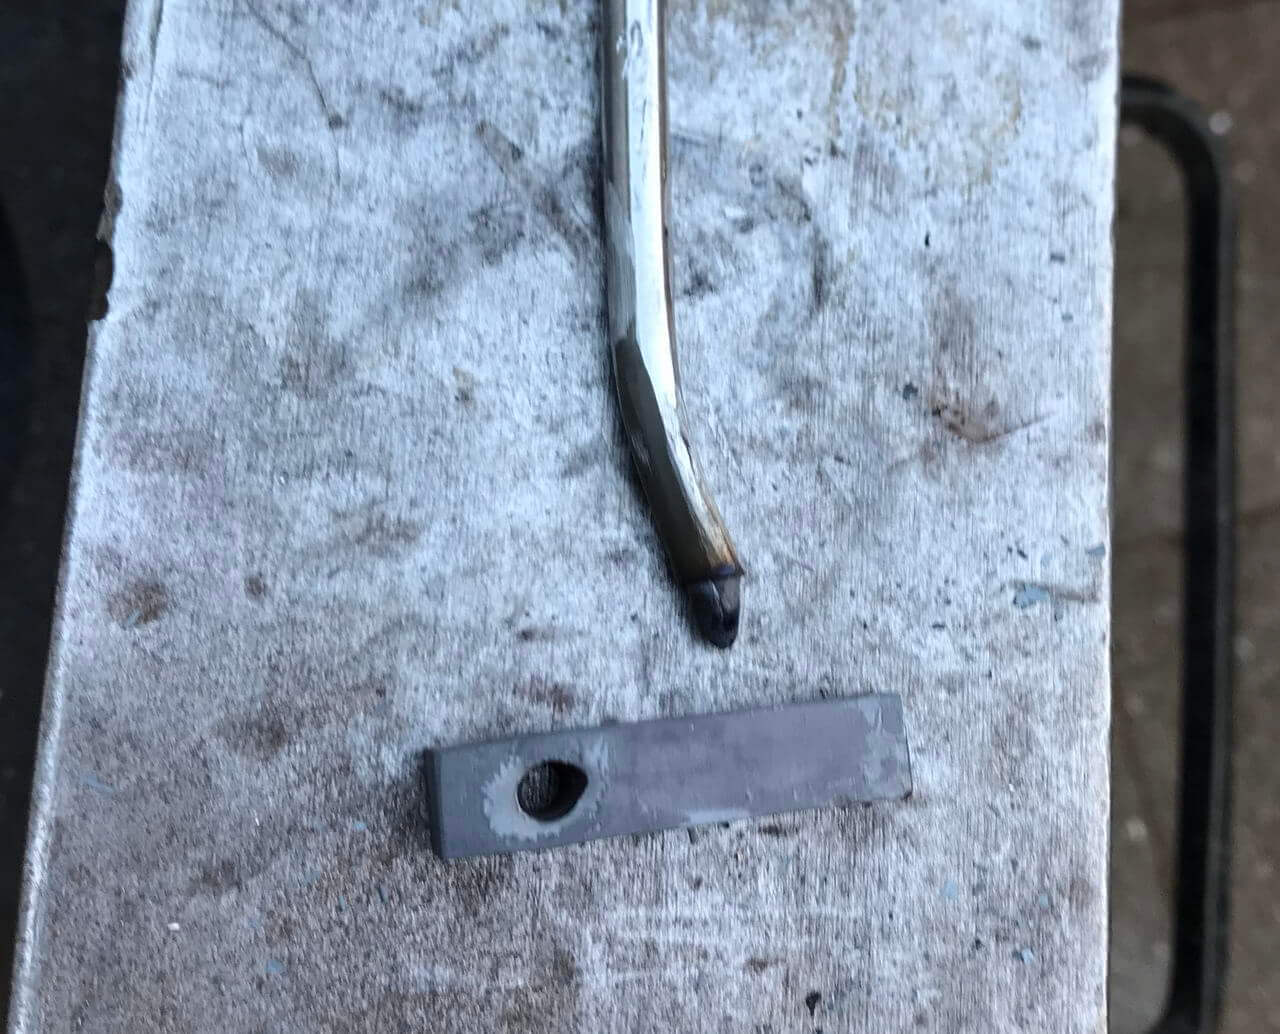
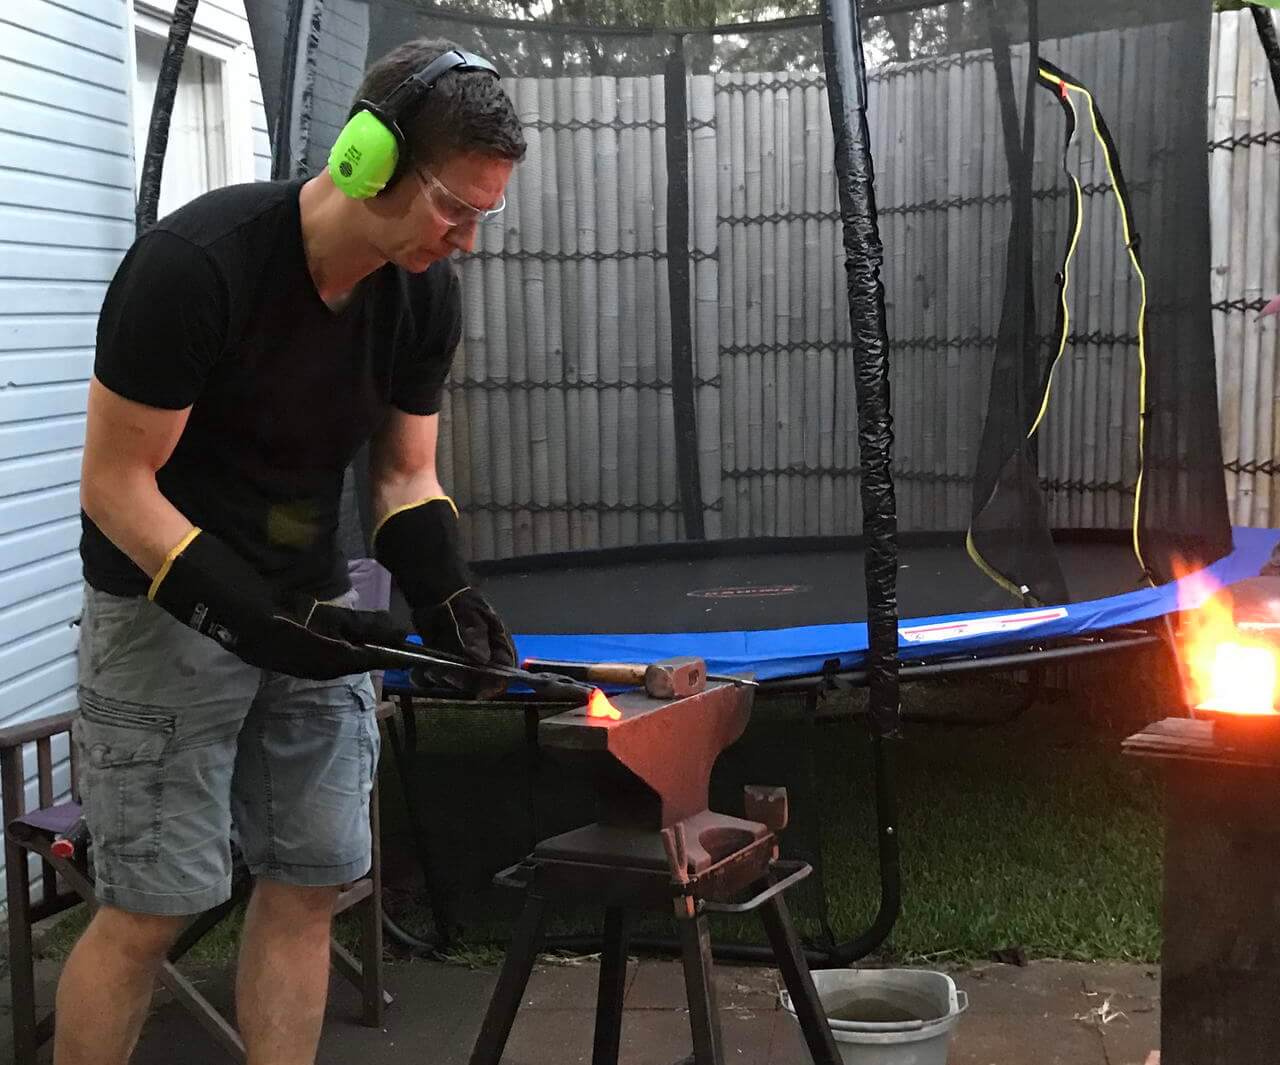
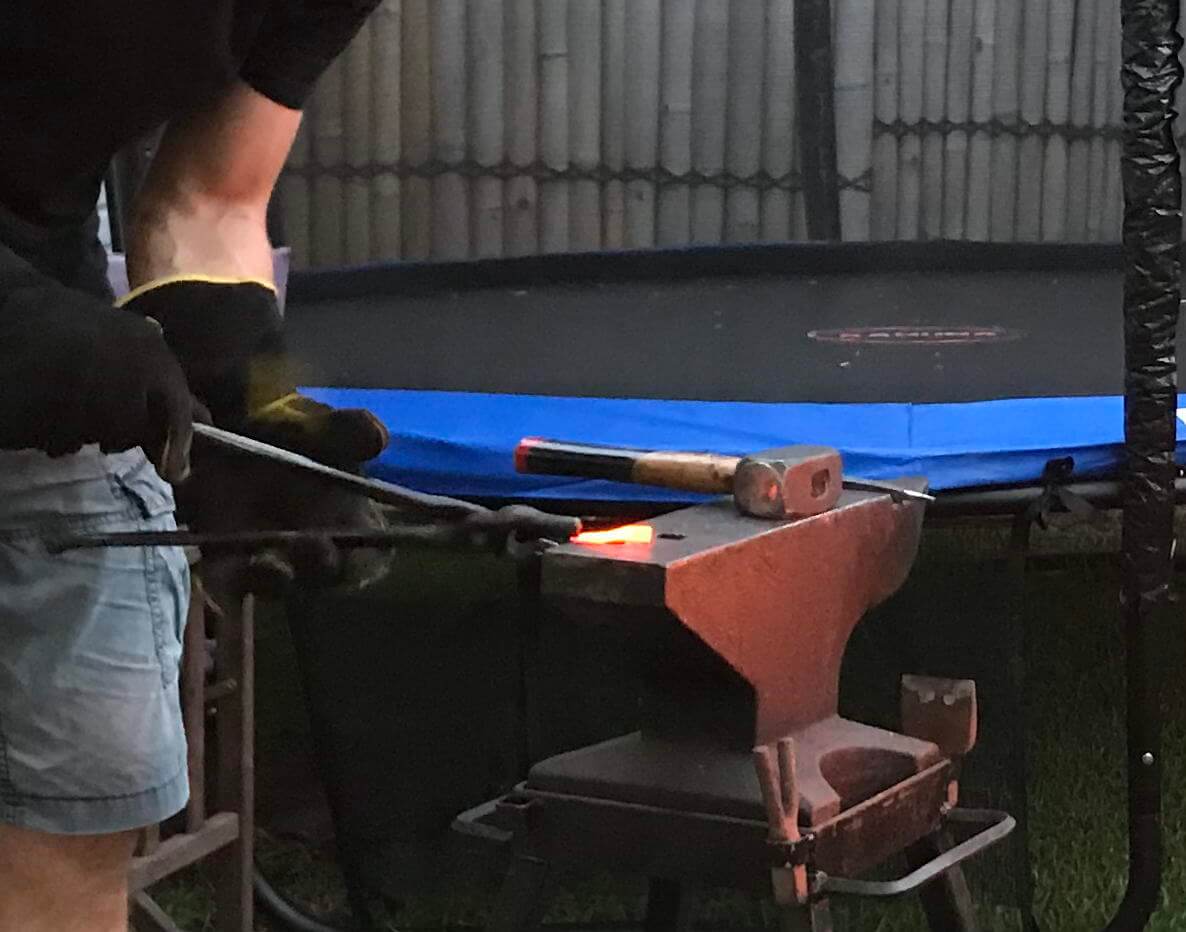
Used my blacksmith guillotine tool from Nowra Knives https://www.facebook.com/NowraKnives I started separating the head from the blade. Being this small, it would been hard to do this just with a hammer. Or at least it was easier with the right tool.
The axe head is so small that each heat did not last very long. As soon as the head touched the anvil, it would start losing heat quickly. So back in the forge it goes.
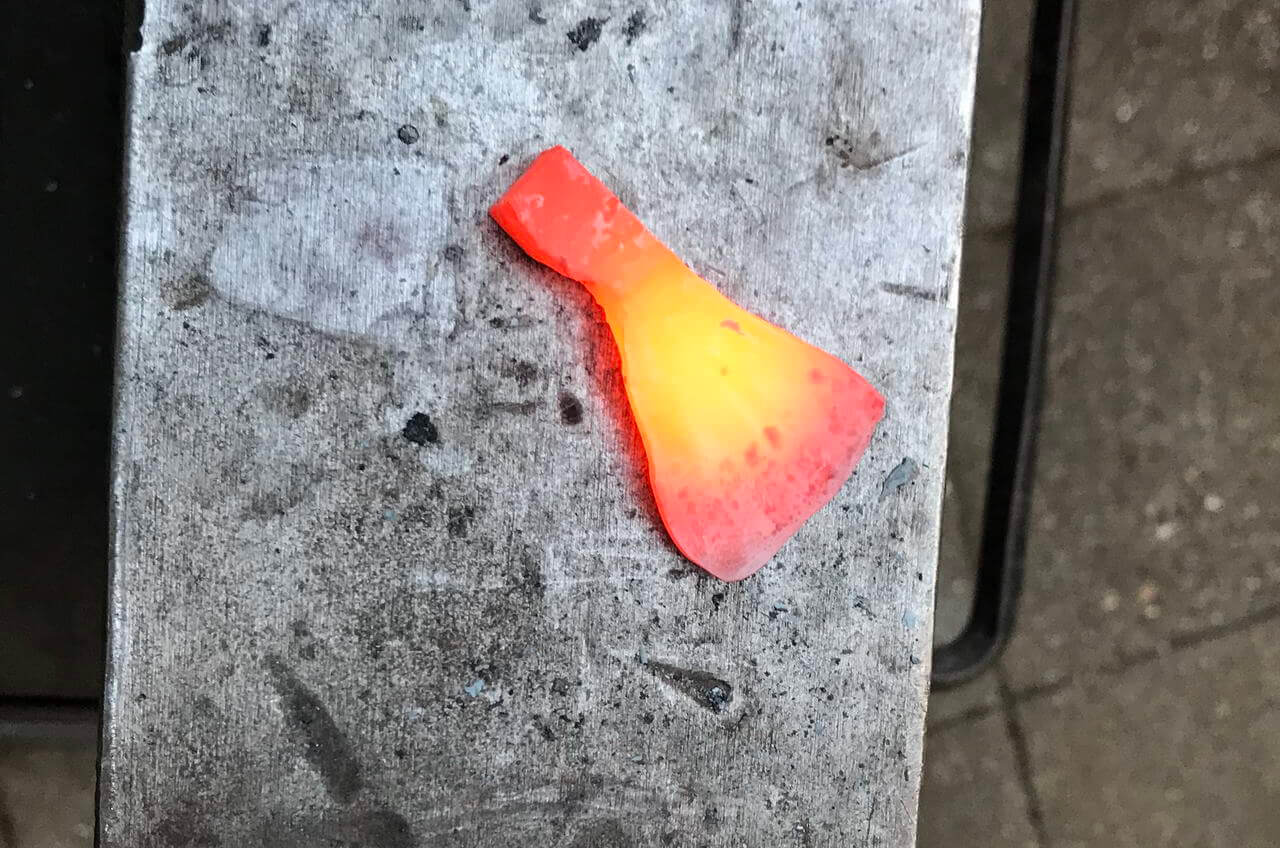
Drawing out the blade part of the axe was the most fun part. Tried peening it to make it wider and this was as far as I got. Starting to look like an axe now!
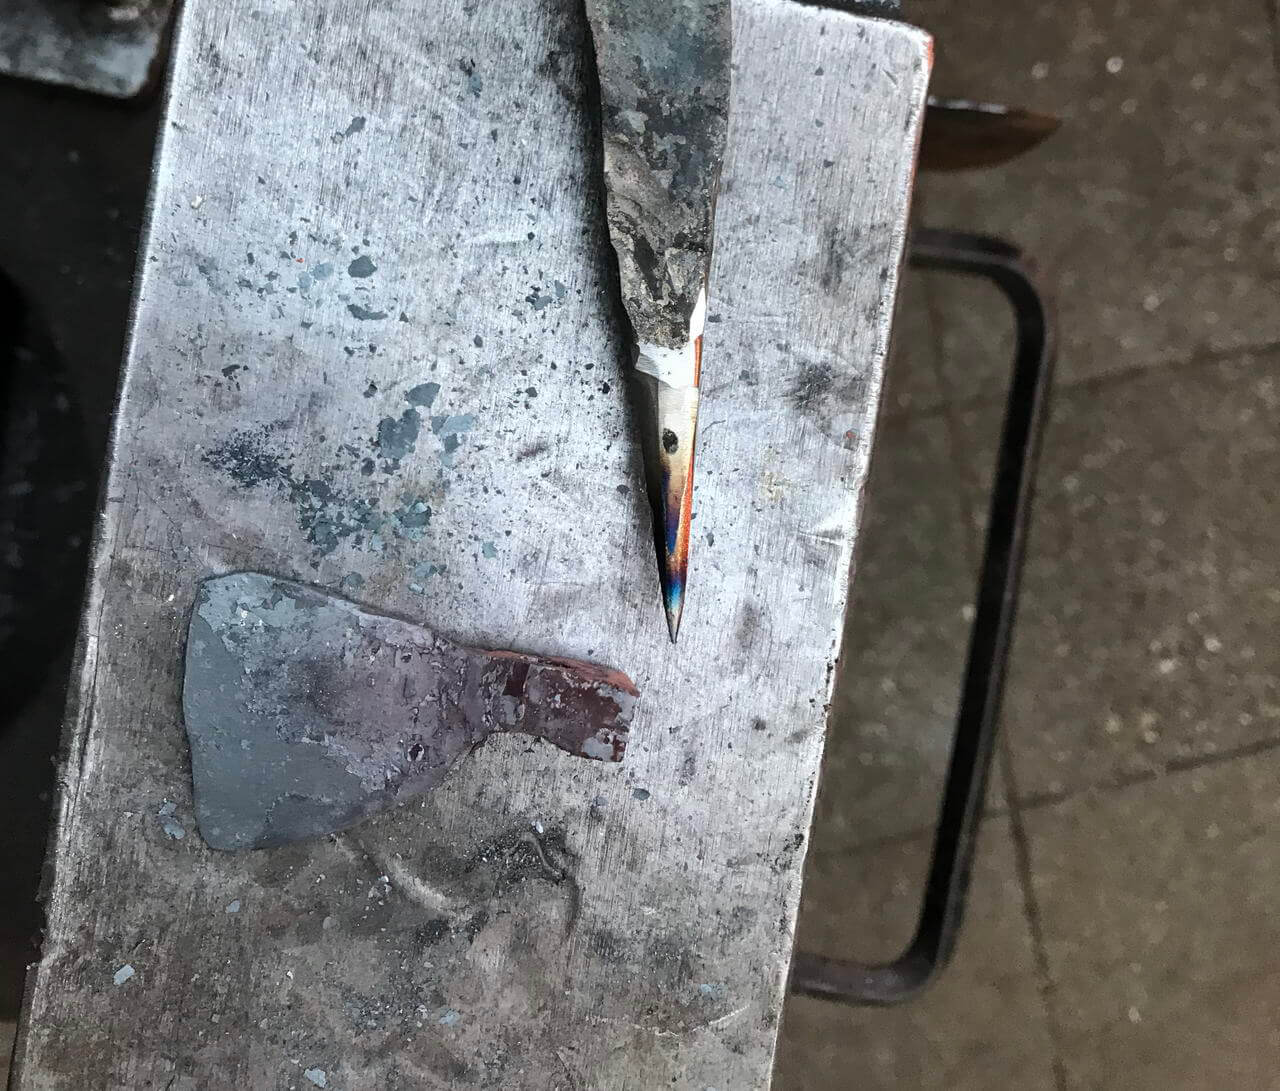
Lesson #2: Don't get impatient and rush ahead to the fun part before the eye was drifted. Now I had to complete drifting the eye for the handle without having a flat bottom of the axe head.
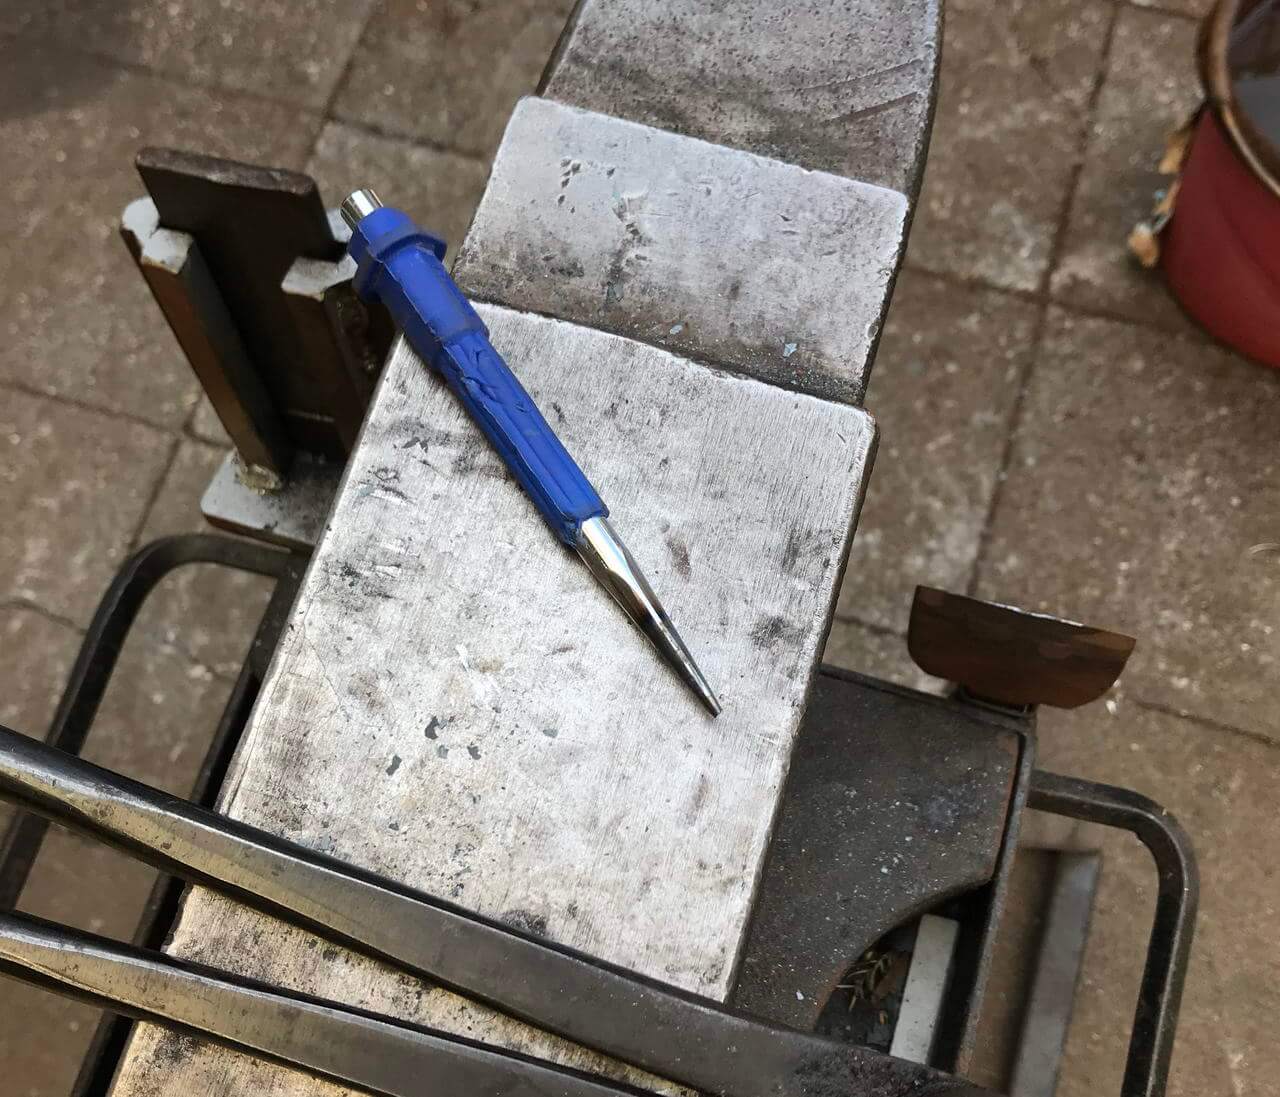
I made a new miniature axe head drift by grinding a piece of leaf spring to a point. Did not heat treat it, surely spring steel can get the rest of the way through and shape it up!!
That kind of worked, but having made the blade section wider than the head came back to bite me a bit here. Thick gloves were a good idea as I kept having to stop myself just picking it up and holding it to punch it. It was pretty awkward trying to balance it on the edge of the anvil in the tongs with one hand, holding the punch with the other hand and my hammer with my (missing) third arm.
Also when the drift went through the hole, how to hold the head to drive the drift far enough in?
After a while the new, spring steel drift gave up as well. Cannot remember anymore if I heat treated it and did not temper, maybe this was why it failed. But I do think I just ground a piece of leaf spring (5160) and used as-is.
Either way, it broke as well.
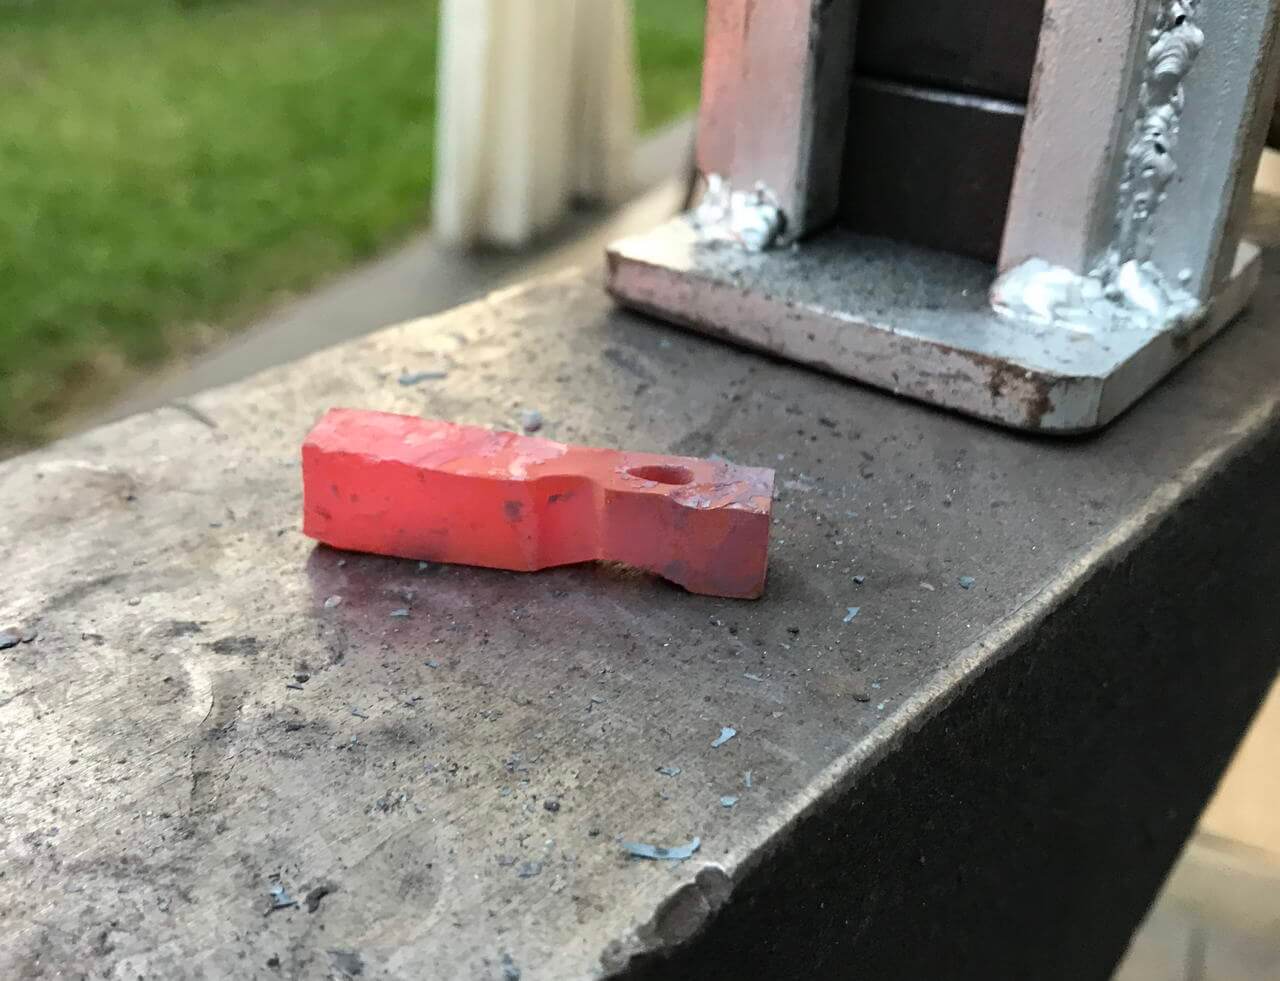
Take 3: ground a nail driving punch into a teardrop-ish kind of profile and that worked much better!
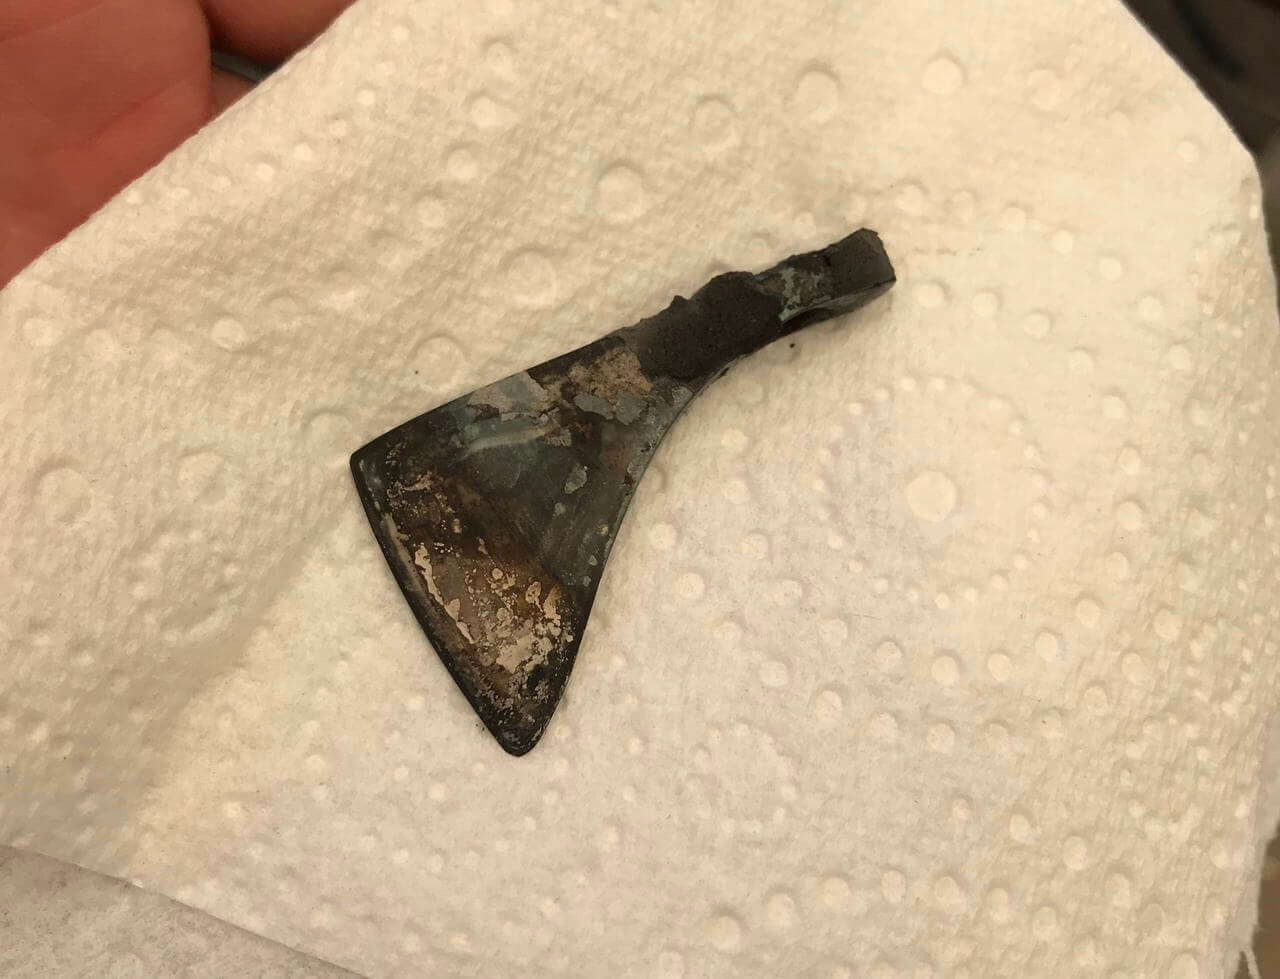
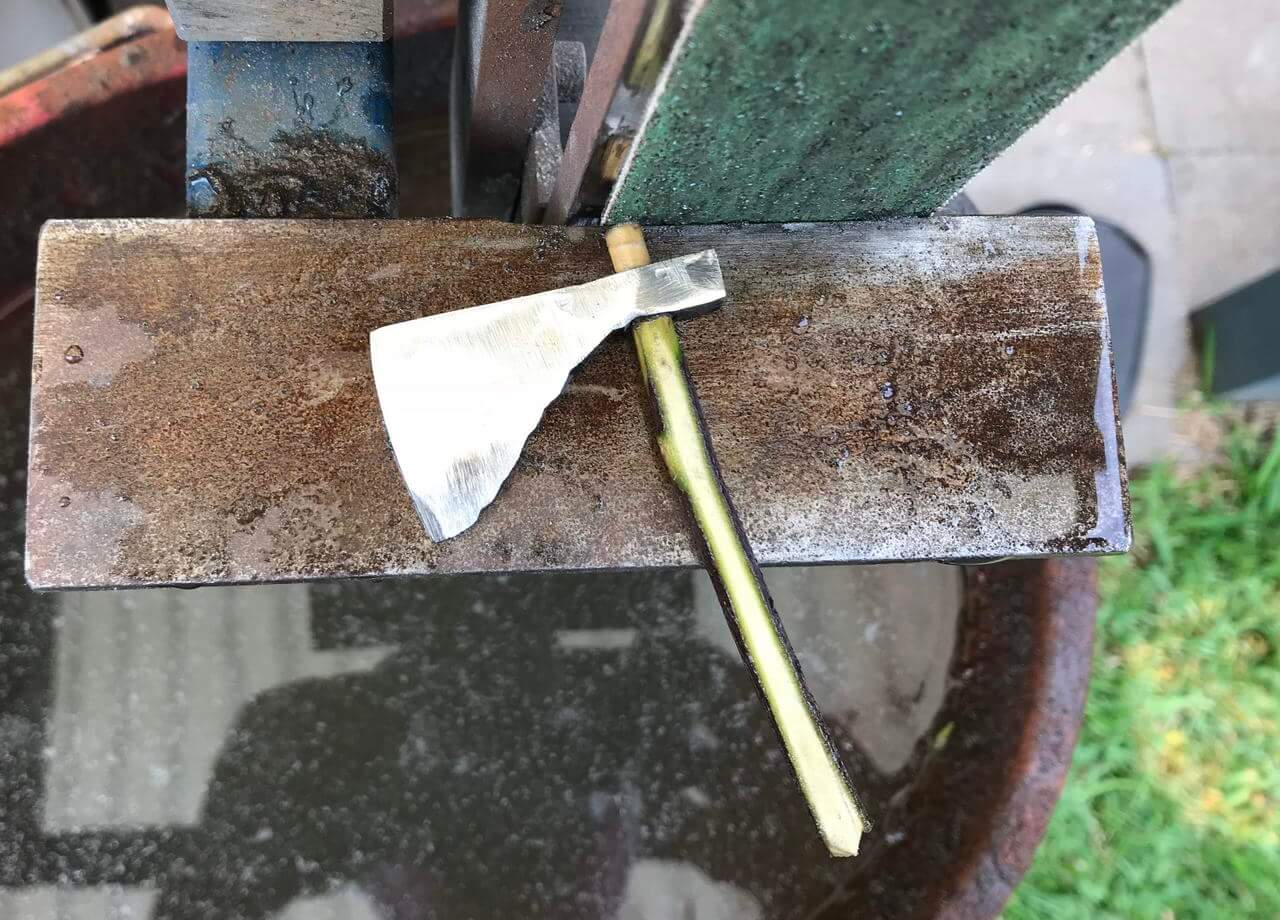
This is after the quench. Covered the back of the axe head with satanite and hoped for a hamon but no luck. At least it is hard now!
Using a small stick for handle helped with grinding the axe head. Being so tiny, it felt like it would be ripped out of my hands by the sanding belt and flung across the back yard. Holding the stick made it easier to centre the edge and gave me something to hold on to.
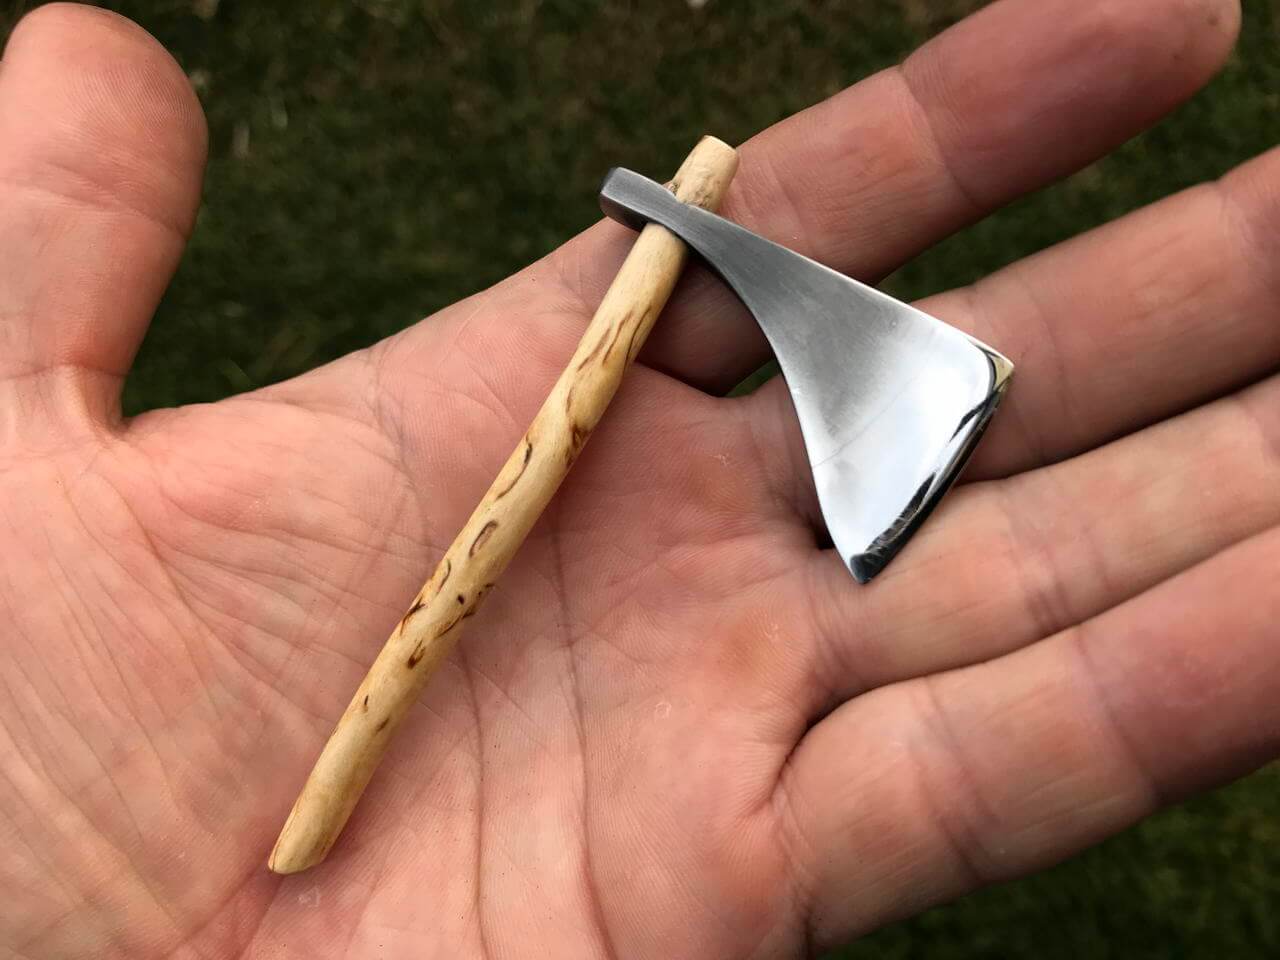
Axe head is ground and hand sanded, then etched in Ferric Chloride and polished on a polishing wheel.
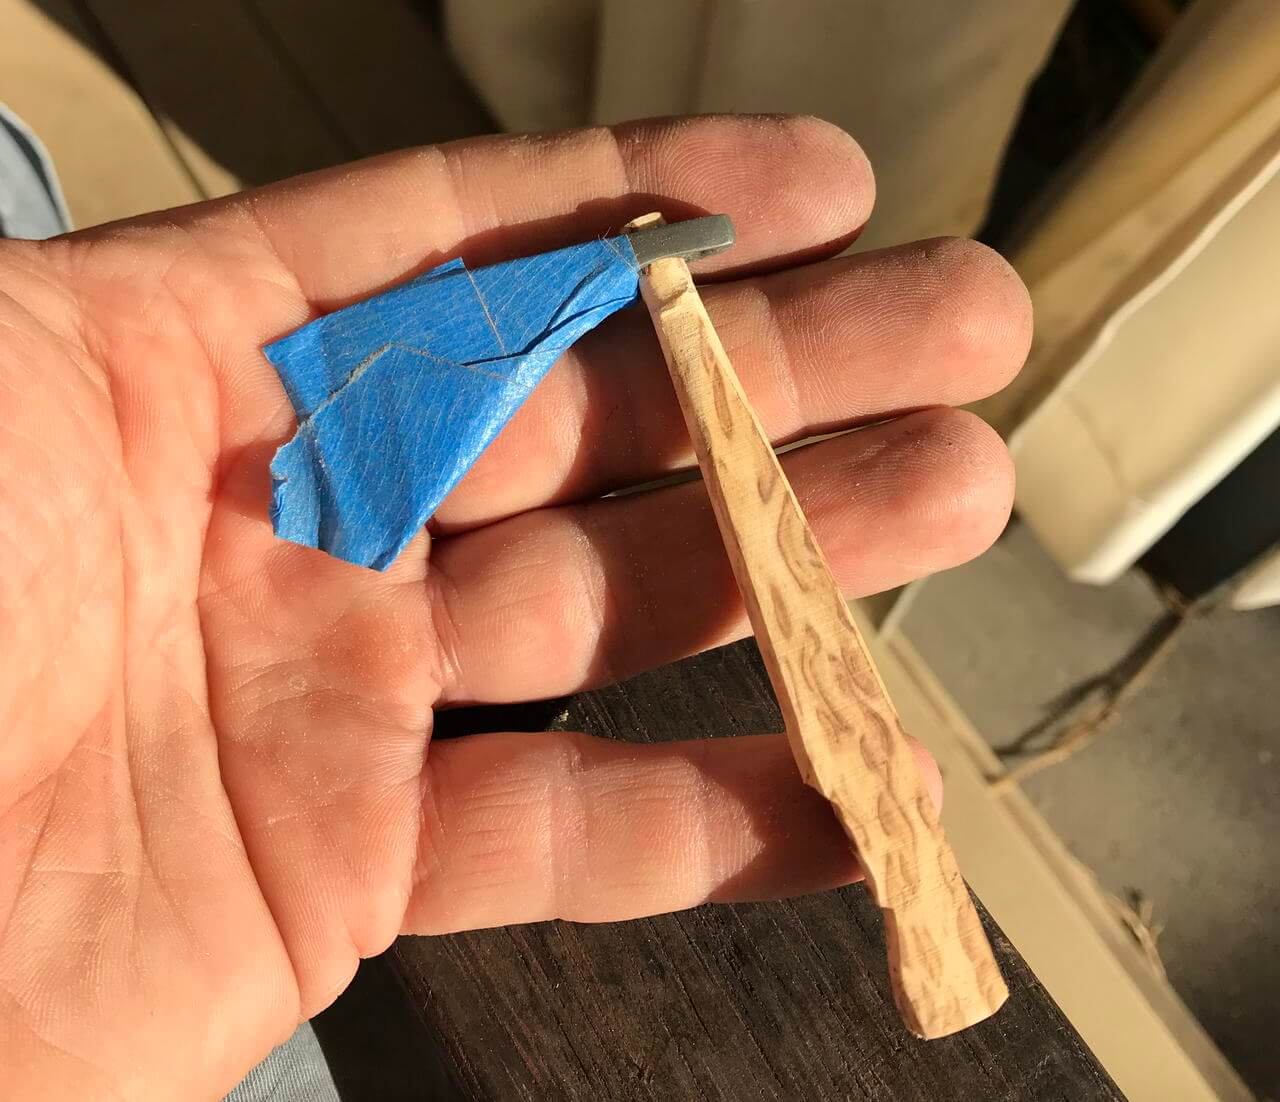
What material to use for the handle? Well, turned out to be curly birch this time. The Handle Material Of The Gods as they say. Well, at least we say it in my house. Or at least I say that. Anyway, Curly Birch it is.
Just love the look of curly birch. From a fairly boring pale wood with some grain twists and bark inclusions, nothing special...then suddenly it just pops at high grit and there is so much character and play in the wood!
The finished result, back of axe head shows the etching and the front was polished shiny again.
Showing my son's TinyAxe with my bigger one. Both with curly birch handles, I just stained mine dark before sanding some of it off again.

Thanks for checking it out, was good fun making it and I learned a couple of things for next time.
Recent Posts
-

The Etch Test: Ferric vs Hydrochloric vs Gator Piss
The Etch Test: Three Very Different Looks From One Steel One of the great things about knife making …3rd Jan 2026 -

Why Bed The Tang In Epoxy - Then Knock it OFF Again.
What is "Bedding the tang"? Bedding the tang means gluing a stick-tang blade into the handle block i …21st Mar 2025 -

Marble Leather - How to Dip Dye Veg Tanned Leather
This was my first experiment with hydrodipping or dip dying leather, and it came out pretty cool! I …14th Mar 2025