Description
How To Complete a Chef Knife Kit: Tutorial on the Grand Chef 220 Kit
These instructions will be the same for most fulltang blades, here using the Grand Chef 220 kit.
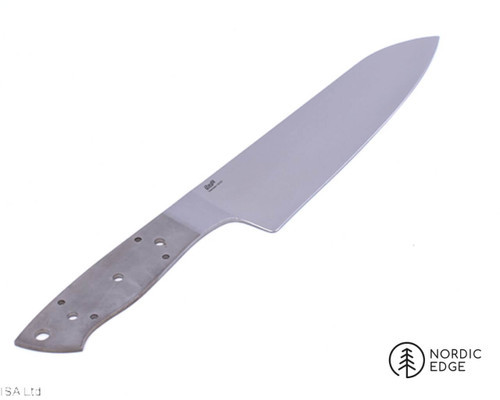
A "fulltang blade" means that the handle profile is part of the blade already, we will attach handle scales and shape it to our design in the 2 dimensions that are left.
- Epoxy spacer material to the handle scales
- Shape the front of the handle scales
- Drill pin holes in the scales
- Cut pin stock to length
- Epoxy handle scales, pins and blade together
- Shape handle using a belt sander or files
- Hand sand the handle scales smooth
- Optional: Seal with resin or oil
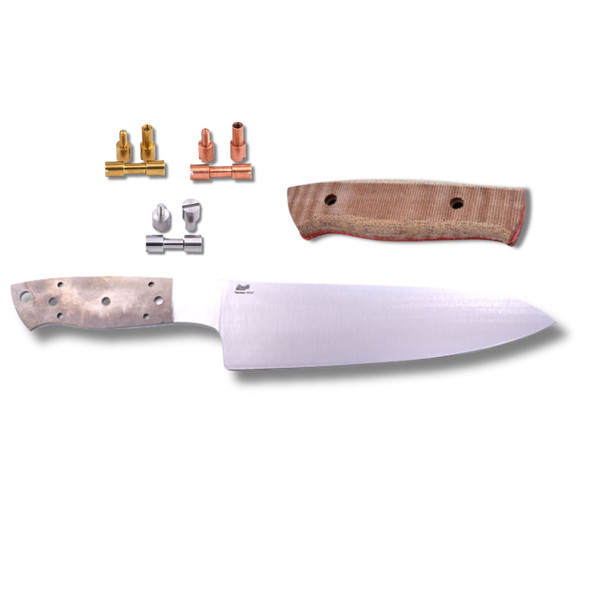
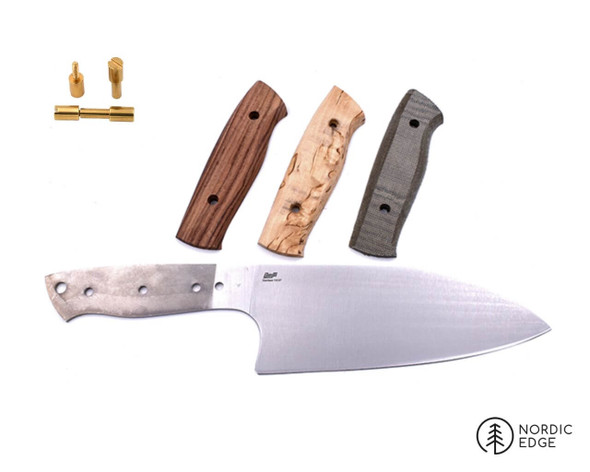
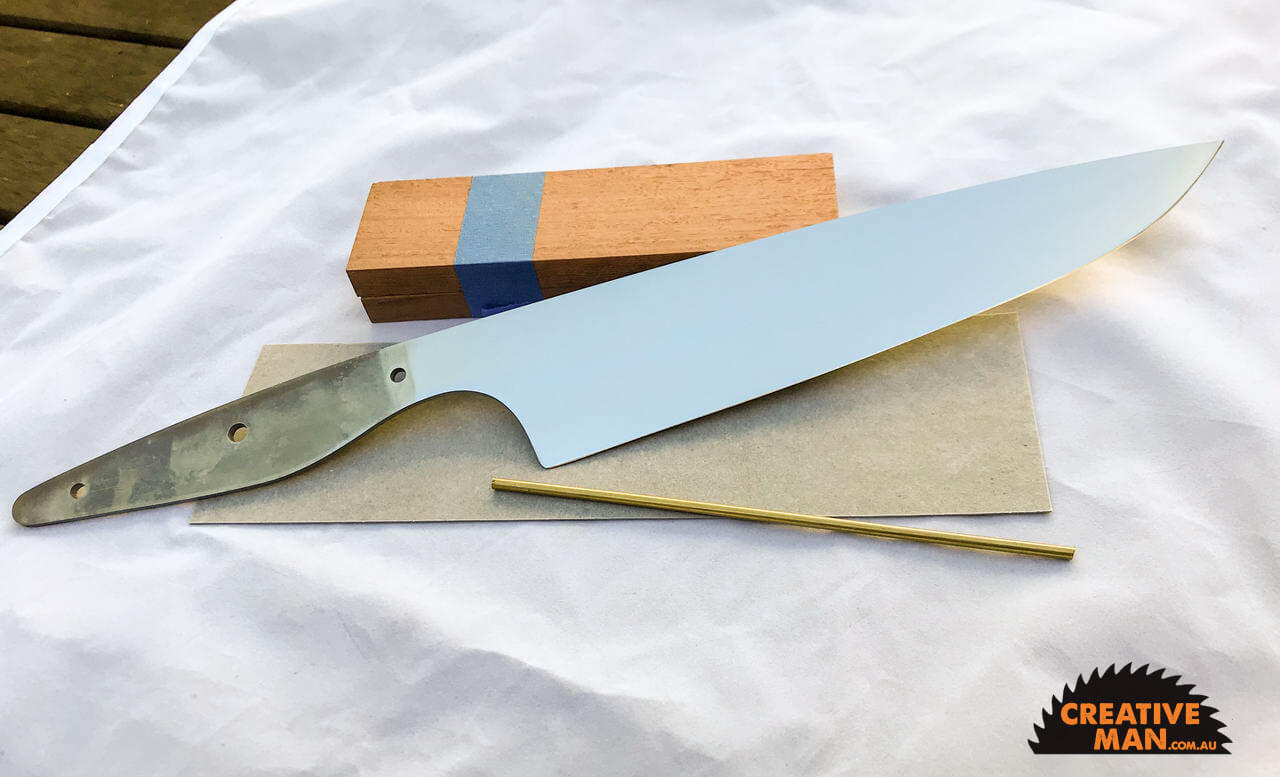
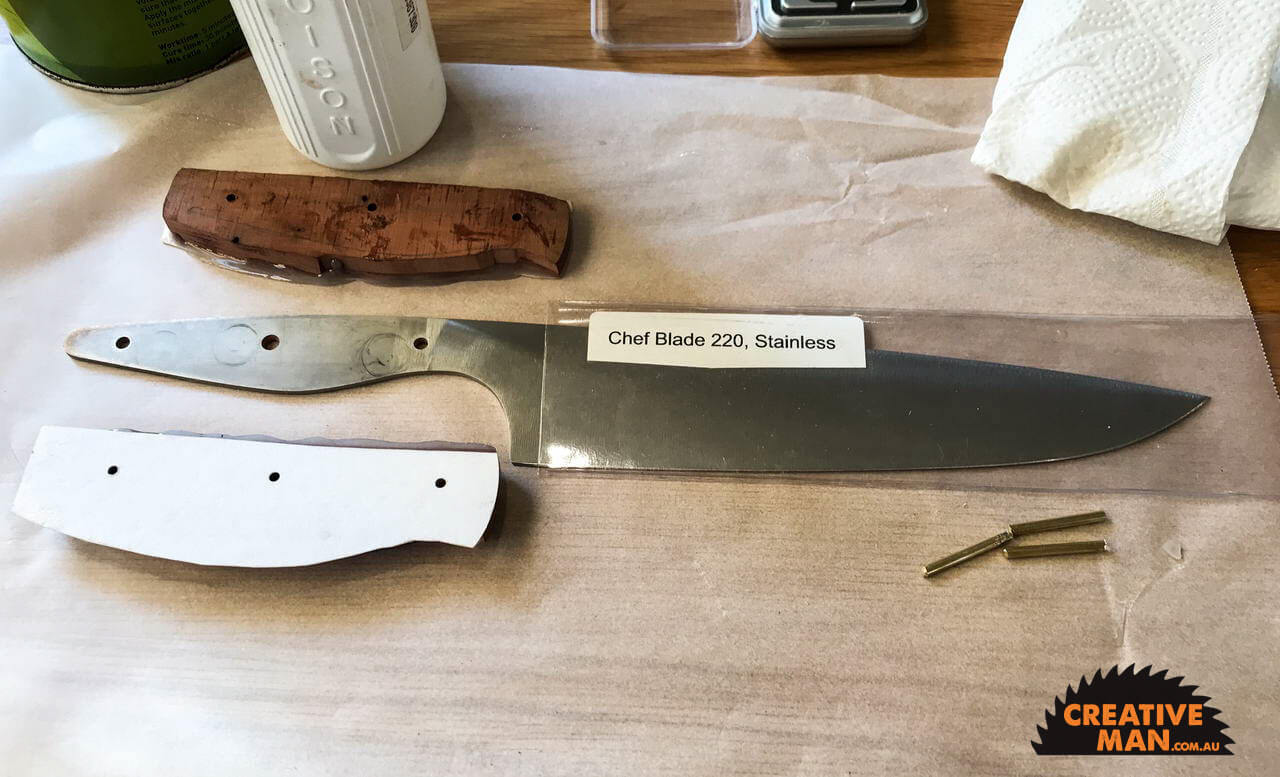
1: Showing the kit with blade, handle scales, vulcanised spacer material that goes between the blade and handle scales, as well as the brass pin stock.
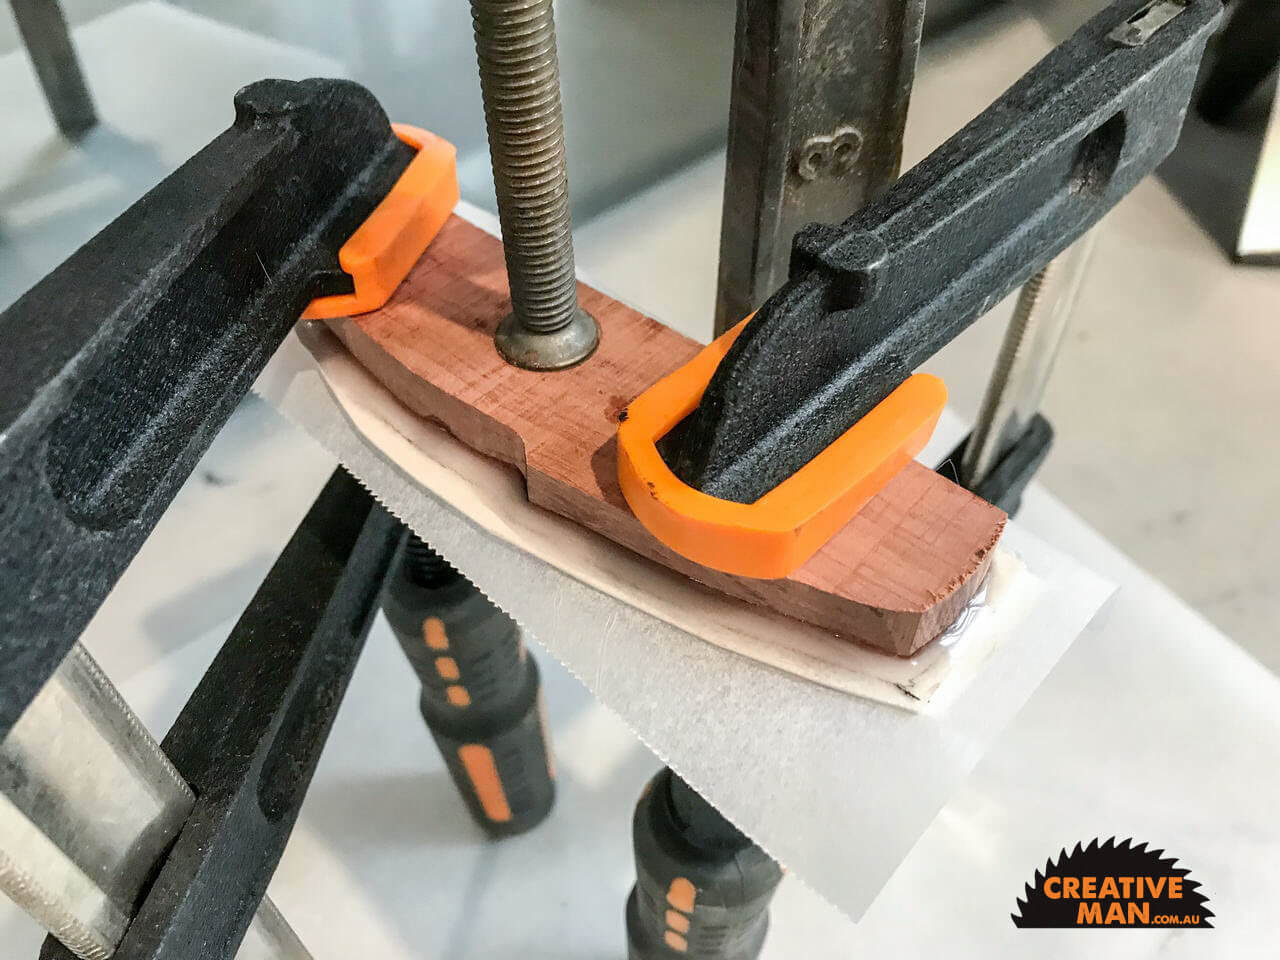
2: Cut the spacer material slightly larger than the blade tang and epoxy to the handle scales. In the photo you can see we have also rough shaped the handle scales to save a bit of time later. This is optional, all the shaping can be done later. Use max strength epoxy, like for instance Araldite. We usually use the "max strength" over the 5-min version, to have more time to get it right and having more time to clean up excess glue with some acetone. Baking paper is great at making sure the epoxy does not attach to everything else. Leave until the next day.
3: Drill pin holes. (no photo)
Place blade on top of the handle scales and pencil in where the pin holes will be. Use a centre-punch or nail to hammer in a small dent where you will drill before drilling. This helps the drill bit not wander but drill where you want it.
Cut the pin stock to size so it goes through the handle scales including the spacer and the blade and still stick out 2-5 mm on each side. This can be done using a hacksaw, dremel or the corner of a file.
Place the pins through the handle scales to help lock them to each other. Gently tap them in, scales might crack if hammering hard here. Filing one tip of the pins slightly cone shaped may also help get them in easier.
4: Shape front of scales
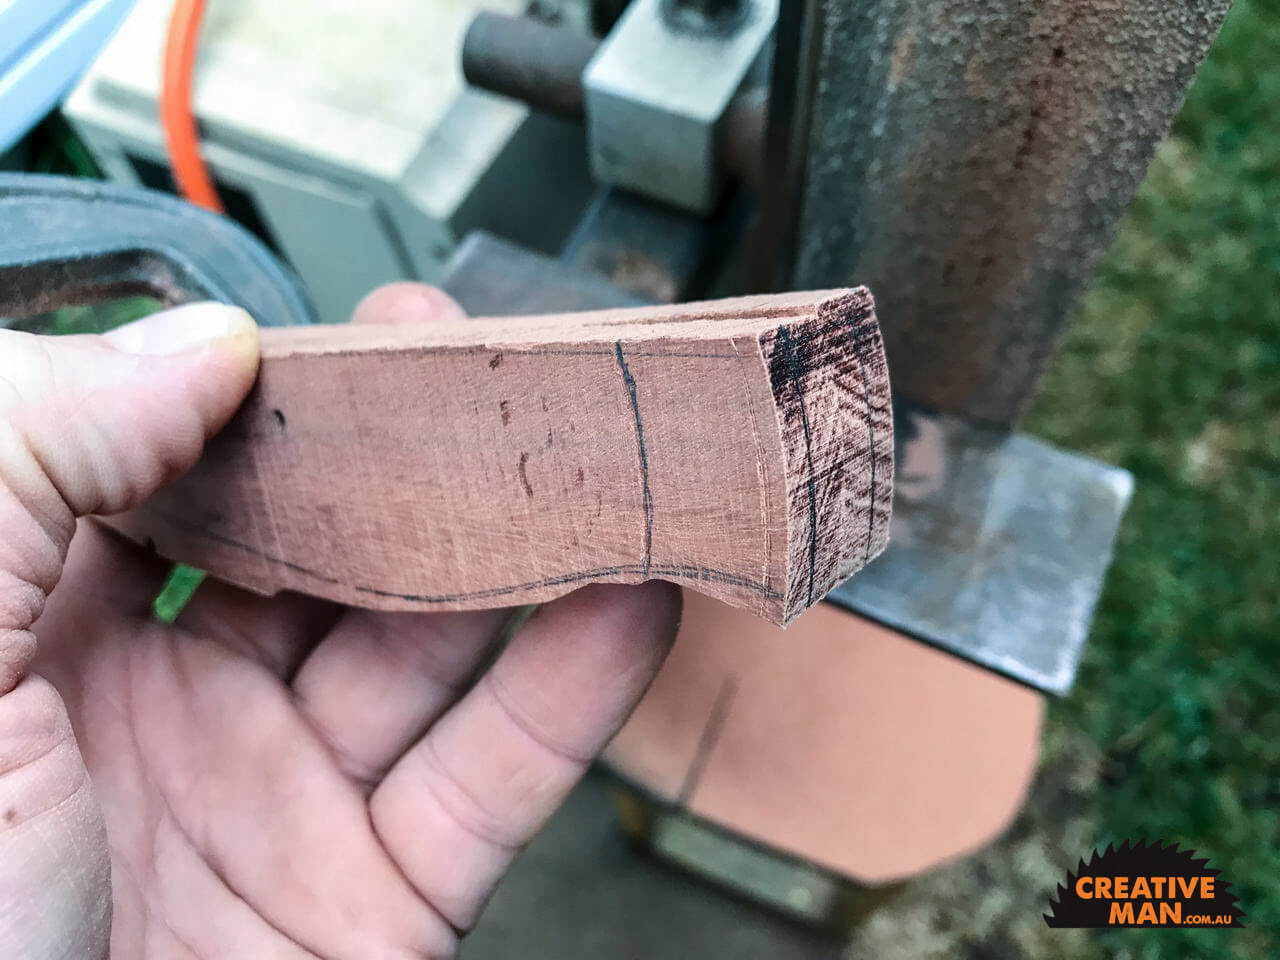
Shape the front of the scales before attaching them to the blade. It is easier to make sure the front of the scales are even, rounded and sanded smooth now, than after they are attached to the blade.
The scales now have spacers glued in, pin holes drilled with pins in them and the scales are clamped to each other. Shape the front on a belt sander, or with a file and then sand the front smooth.
In the below photo, pretend to see the white spacers between the scales as well as the pin holes.
5: Attach handle scales and pins to blade.
Scales have been rounded in the front to trim the spacers and make sure they are even. Give everything a good wipe with acetone and epoxy together. Wipe off excess epoxy from the blade with acetone, anything you get off now saves time later. If having to remove hard epoxy from the blade, use something softer than steel to scrape with. Like a piece of brass. Using another knife may scratch the blade.
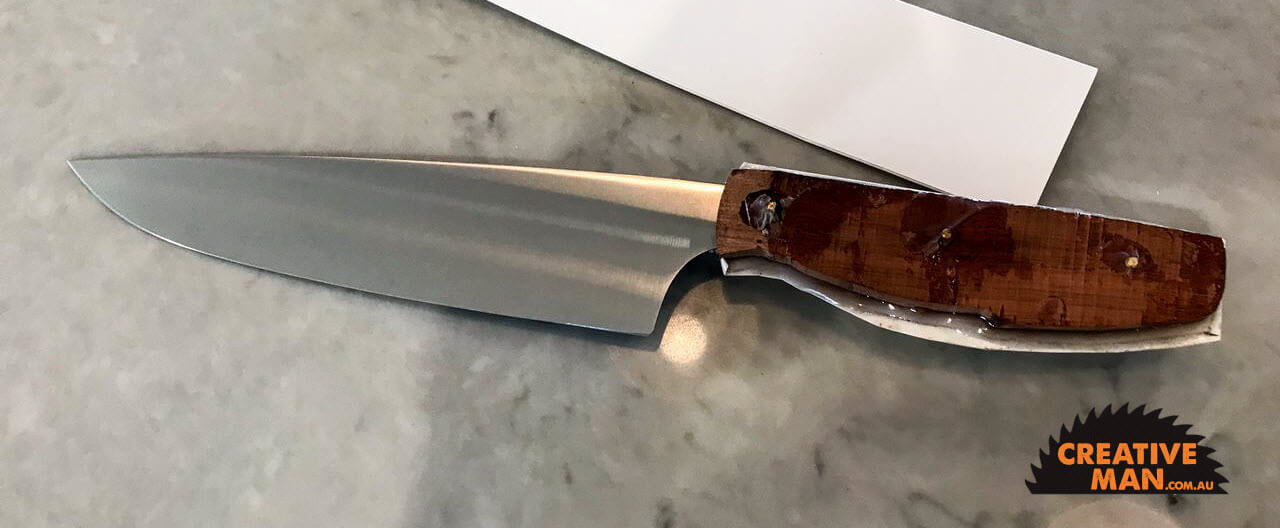
6: Ready for shaping! Wrap the blade in masking tape and some cardboard to protect it from the belt sander or vice.
Here the handle scales are attached, the pin stock is sticking out a couple of mm on each side.
First shape the handle scales to the profile of the handle. Meaning you want to see steel all the way around the handle.
Then start shaping the sides of the handle, stopping to check your progress.
It may be better to stop before you are quite ready as you can easily remove wood with coarse sand paper in the next step, but it is hard to put back on.
Go gentle on the pins if using a belt sander to not overheat the metal pins. They heat up and the epoxy will let go. Nice and slow when grinding near metal parts, touch it with your fingers and keep it from getting too hot.
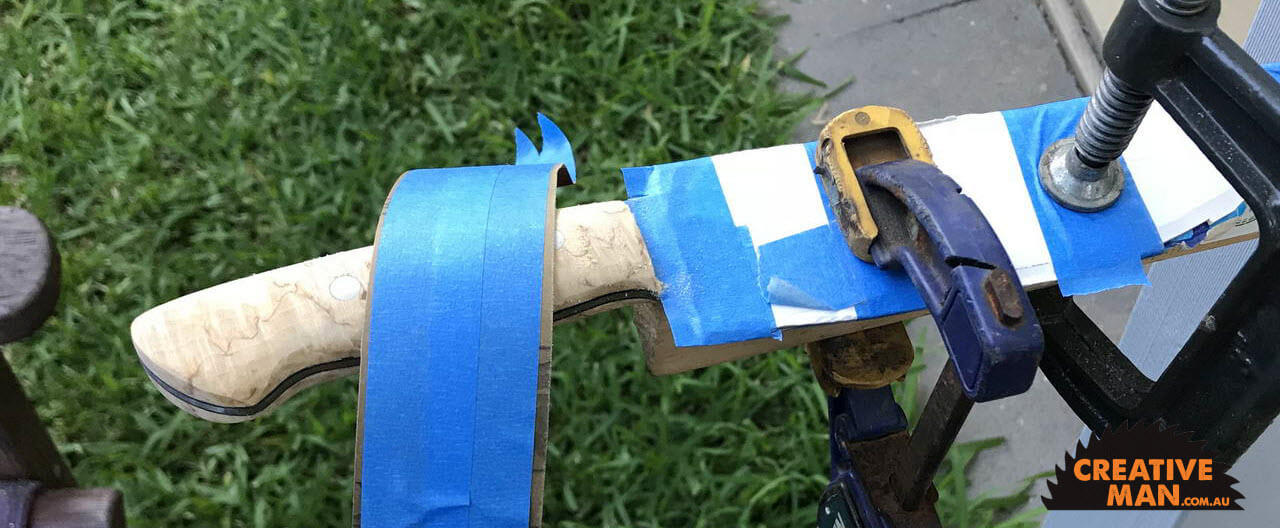
7: Finish off the handle shaping with coarse sand paper to smooth out the lines and remove any scratches from the belt sander or files used. You remove a lot of wood with a strip of 120 or 180 grit paper in a minute when shoe-shining so check often. Masking tape on the back of the strips of sand paper stop them (mostly) from tearing. Clamping the blade with the sides up and "shoe shining" evens out the handle shape and generally create a more rounded, flowing shape than what we create on the belt sander.
Sand to as high grit as possible. 1200 as a minimum if using wood. The higher grit the better end result. Before going to the next grit, wrap some sand paper around a hard object like a file or piece of metal and make sure the pins are flat. They may otherwise stick up above the wood, being harder than the wood.
8: Optional but recommended: Seal the handle to stop it absorbing moisture and discolour. Here we are using the "Uncle Bjorn's Handle Finish" which creates a hard wearing layer of natural resins on the handle. Other good options are tung oil, Danish oil or even boiled linseed oil if you are happy to spend weeks curing the handle and don't mind having to keep it up for the rest of life of the knife and still not get a very good-looking finish.
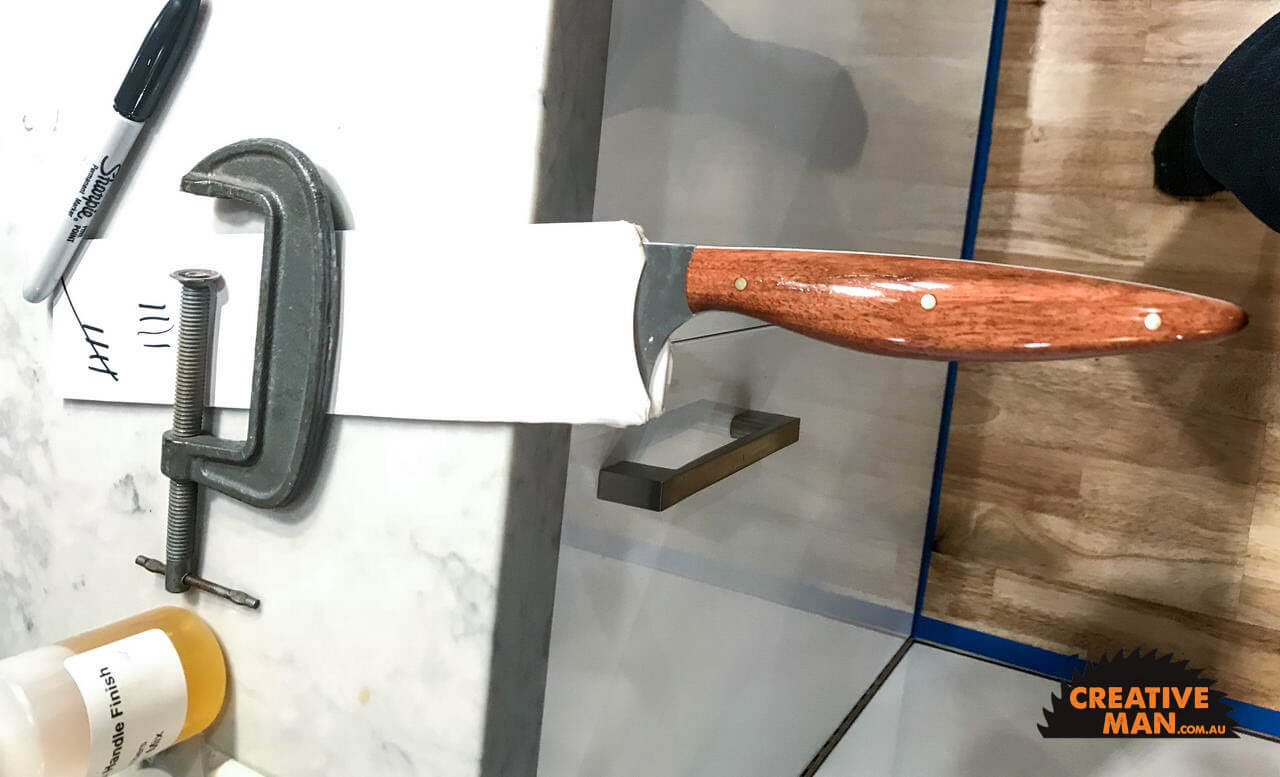
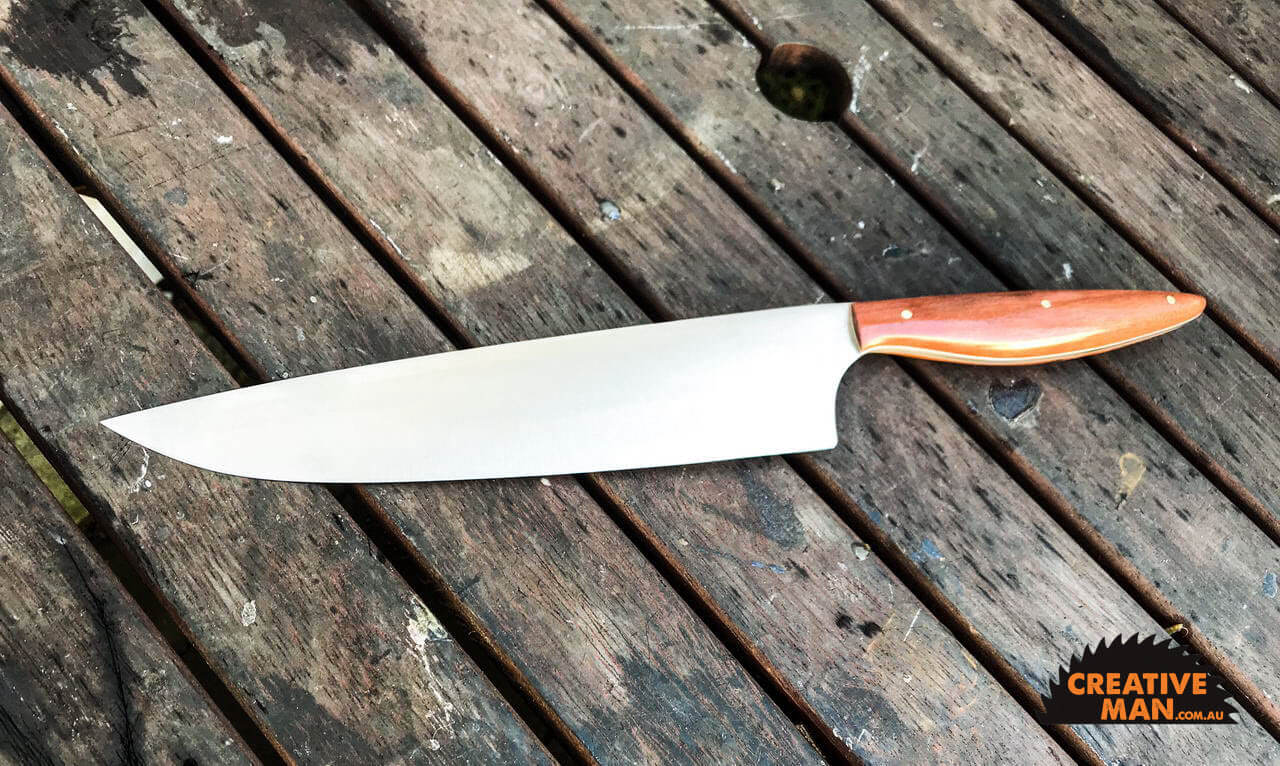
9:Showing the completed Chef knife. Now the hard work begins, making sure no one puts it through the dishwasher or leaves it in the sink under water :)
