Description
Pouch style leather knife sheath
This guide is for making your own sheath in vegetable tanned leather ,but can be completed in most any leather by using the below images as a guide to cutting out the pieces required.
Most if not all hand made knife sheaths are made in veg tanned leather due to the ability to be stamped, worked and shaped as opposed to chrome tanned leather used for couches/jackets etc.
The pouch sheath is a wrap-around style sheath where the knife tends to sit deep in the sheath. The sheath kit consists of one main piece of leather, this is the sheath and belt loop. As well as a wedge, the thinner piece that will protect the stitching from the knife edge.
Start by placing the wedge on the inside of the sheath piece, and place the knife on the sheath. Decide how deep the knife will sit in the sheath. Decide if using the sheath as-is, or if wanting to make it slimmer by trimming the long sides, or shorter by trimming the end and the wedge.
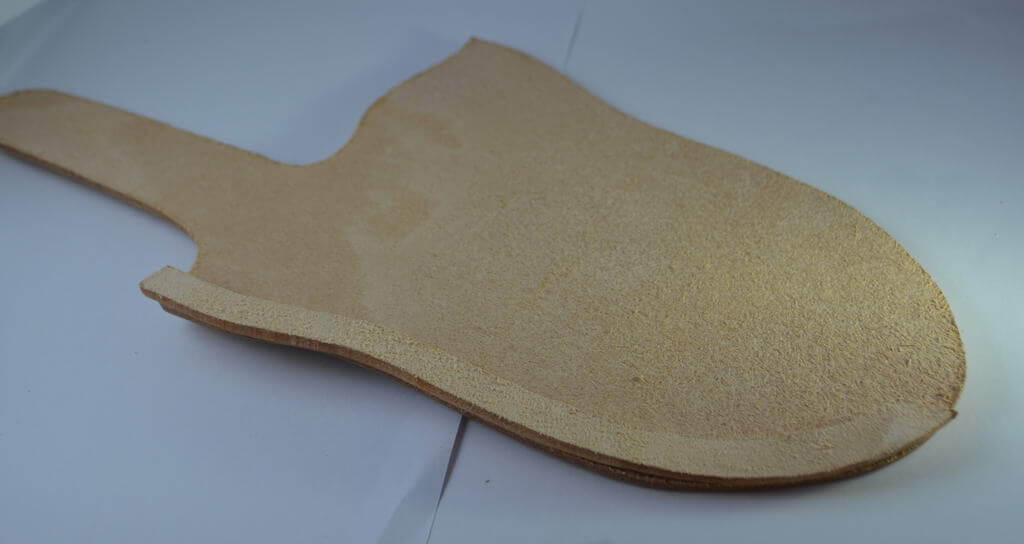
The sheath will be completed by folding the leather over, drilling holes through all 3 layers and then sowing these up.
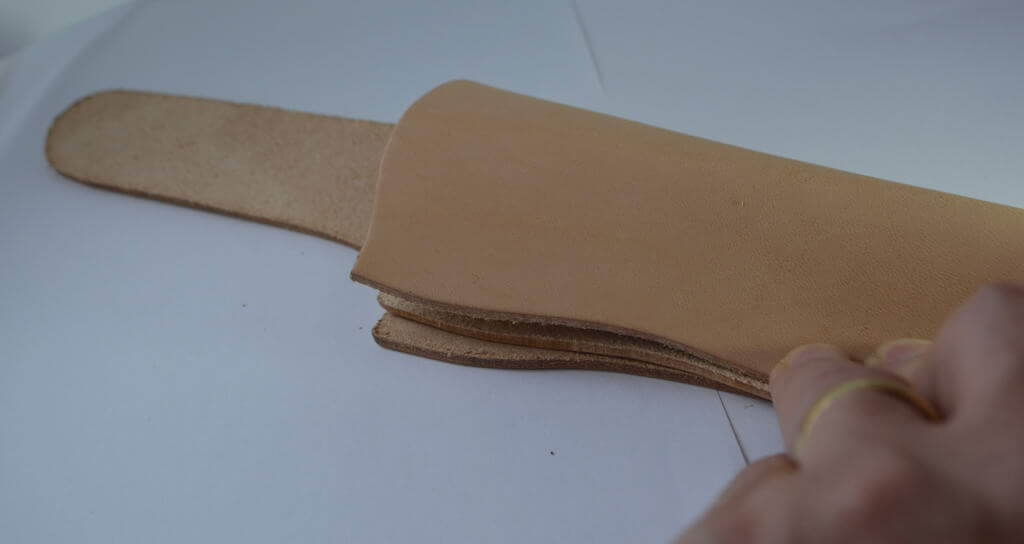
Before closing the sheath, attach the belt loop. Fold the loop back as far as it goes, and clamp it in place. Using a drill press, cordless drill or awl and hammer make holes near the end of the belt loop. Optionally glue it in place before sowing it.
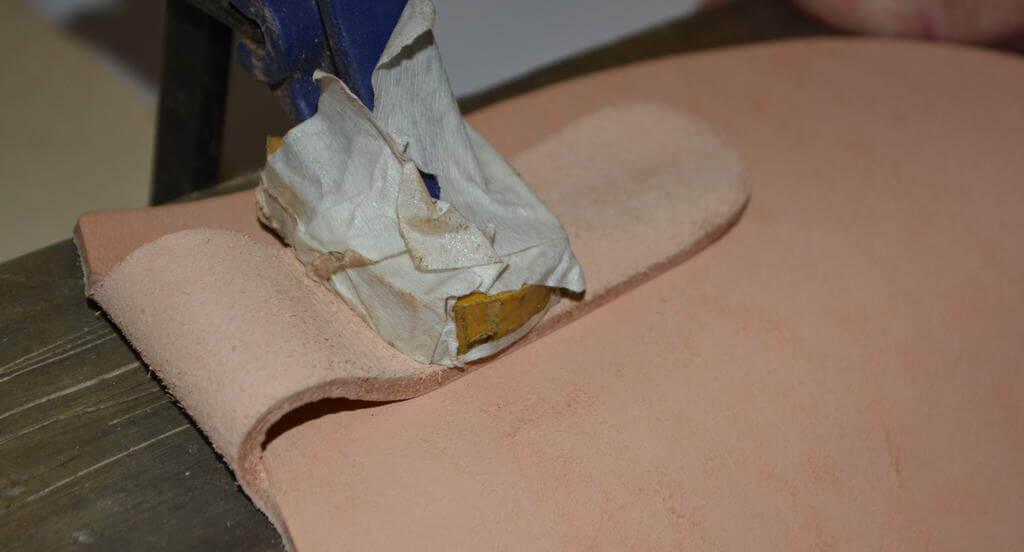
Using a strong thread like linen or tiger thread, attach the belt loop to the sheath and finish the tread on the inside.
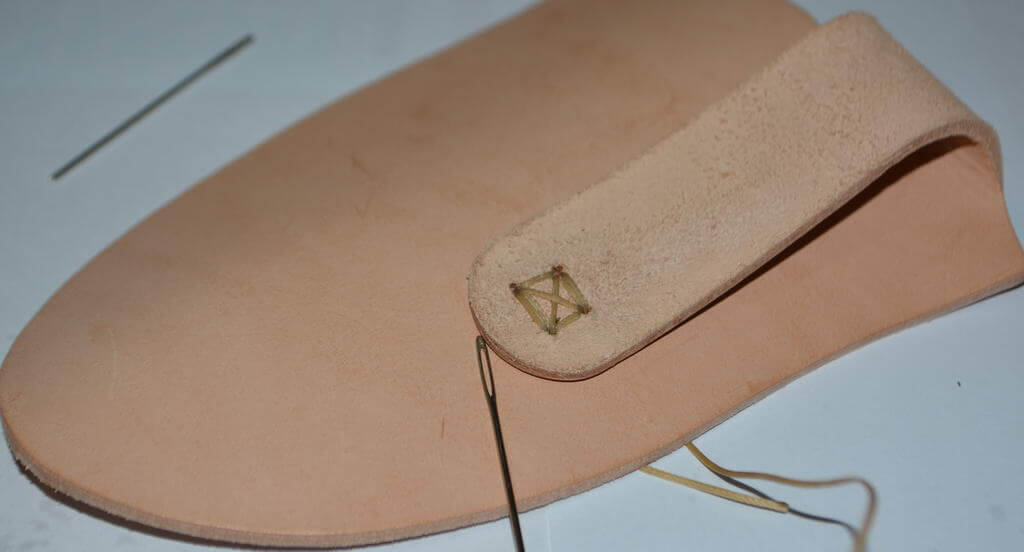
Either first glue the sheath together and when dry, drill the holes. Or just wet it to make it easier to fold and hold or clamp it down while drilling the holes. Make sure the welt stays in place and that the holes go in the centre of the welt and far enough from the end of the leather.
Sow the sheath with 2 needles and strong thread, using using saddle stitches is one way this can be done. Place a needle in each end of the thread (1 to 1,5 metre will be more than enough) and centre the thread in the sheath. Start in hole number 2, go back to hole number 1 and then start sowing back the other way. This gives a stronger seam. The stitching is simpler than it may sound, basically having one needle on each side then placing each through the same hole to complete a stitch, then move them up to the next hole. First one needle through and lightly tighten the thread. Then the other needle through, tighten the thread lightly, then grab both threads close to the sheath and pull it tight. For an even seam, try to pull with the same amount of force after each stitch.
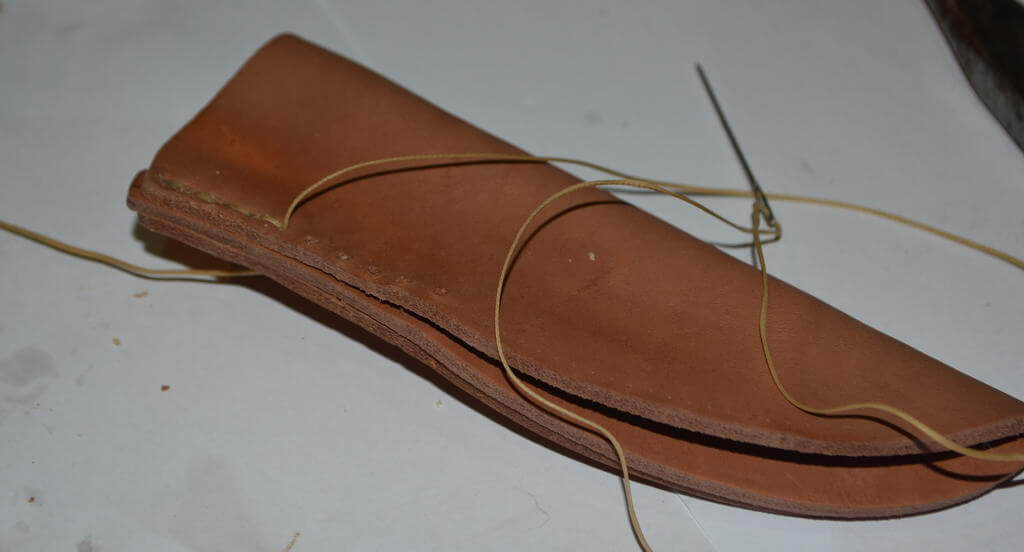
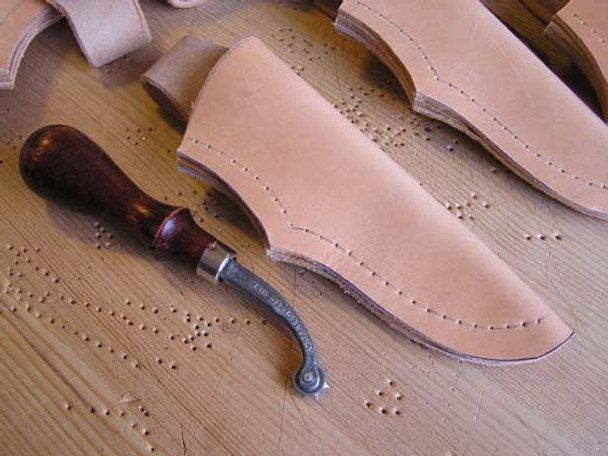
Using a stitch maker makes it easier to evenly space the holes, providing a better looking sheath. The below image was taken from the Internet and not this sheath kit. On the pouch sheath kit, the stitches are closer to the edge of the leather than in the below image.

Leaving the welt sticking slightly out makes it easier to make sure the 3 layers of leather end up even when the sheath is completed.
With the sheath still wet, add the knife and start wet moulding the sheath aorund the handle.
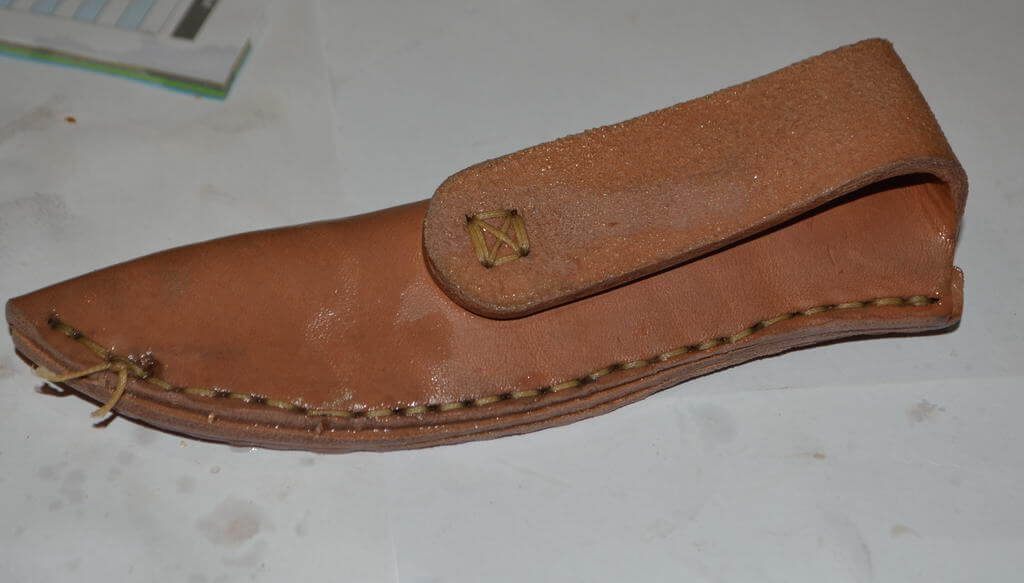
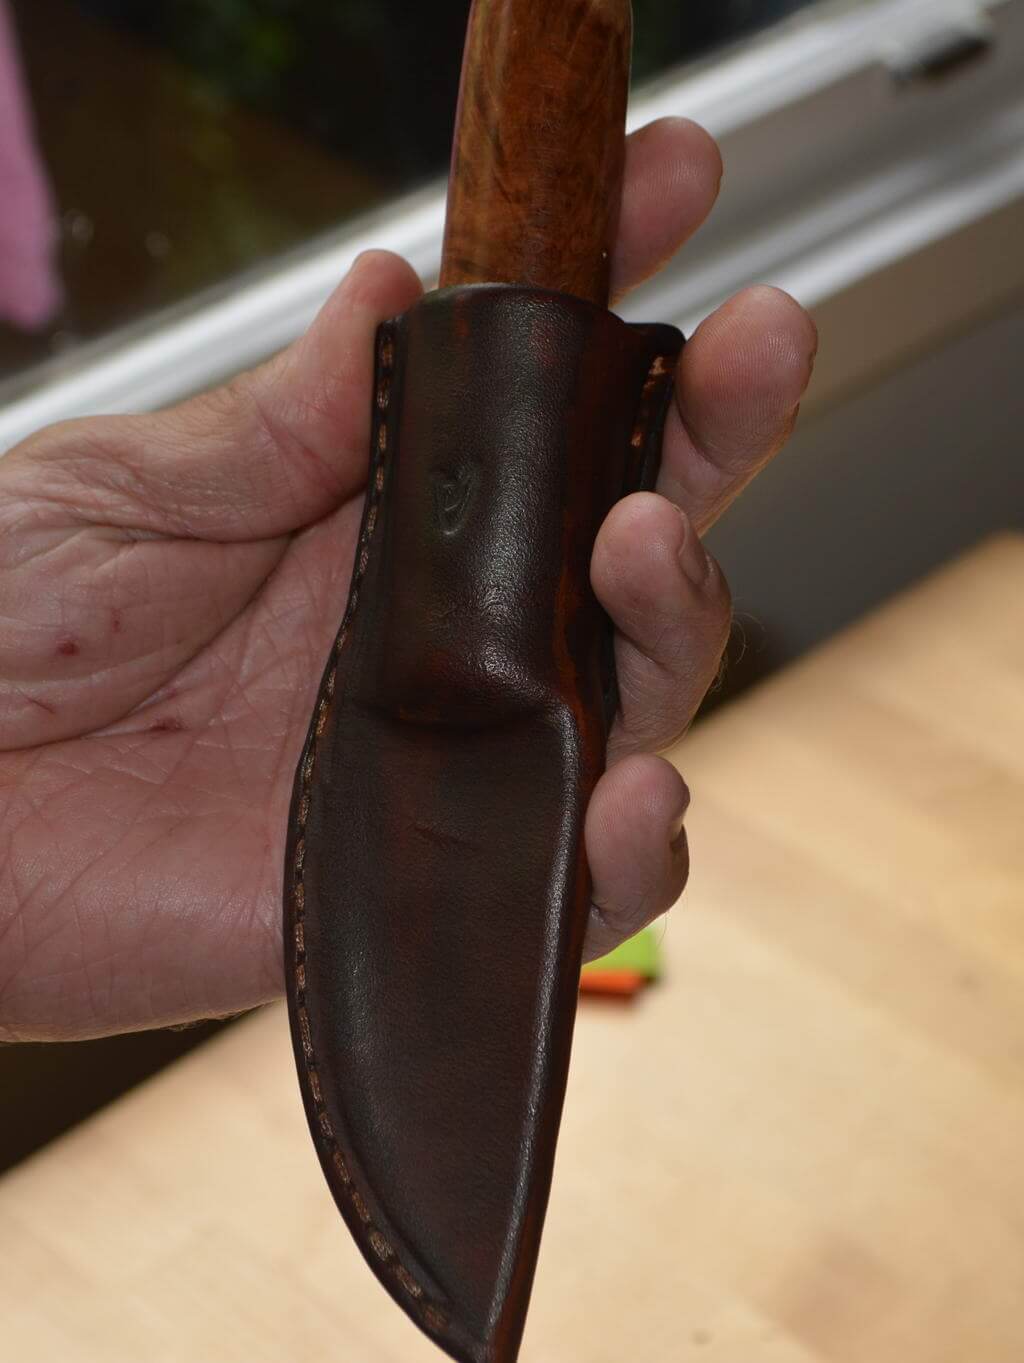
Rub the leather with the back of a small spoon or something else that has no sharp edges. Press and rub hard to create a ledge where the handle ends, to give the knife something to rest on and stop from going further into the sheath. Rub the sheath several times while it is drying. Rubbing and working the leather helps it mould and set around the knife for a better fit, it also makes the leather end up looking better. At this stage the leather will easily scratch so be careful with sharp edges touching the face of the sheath.
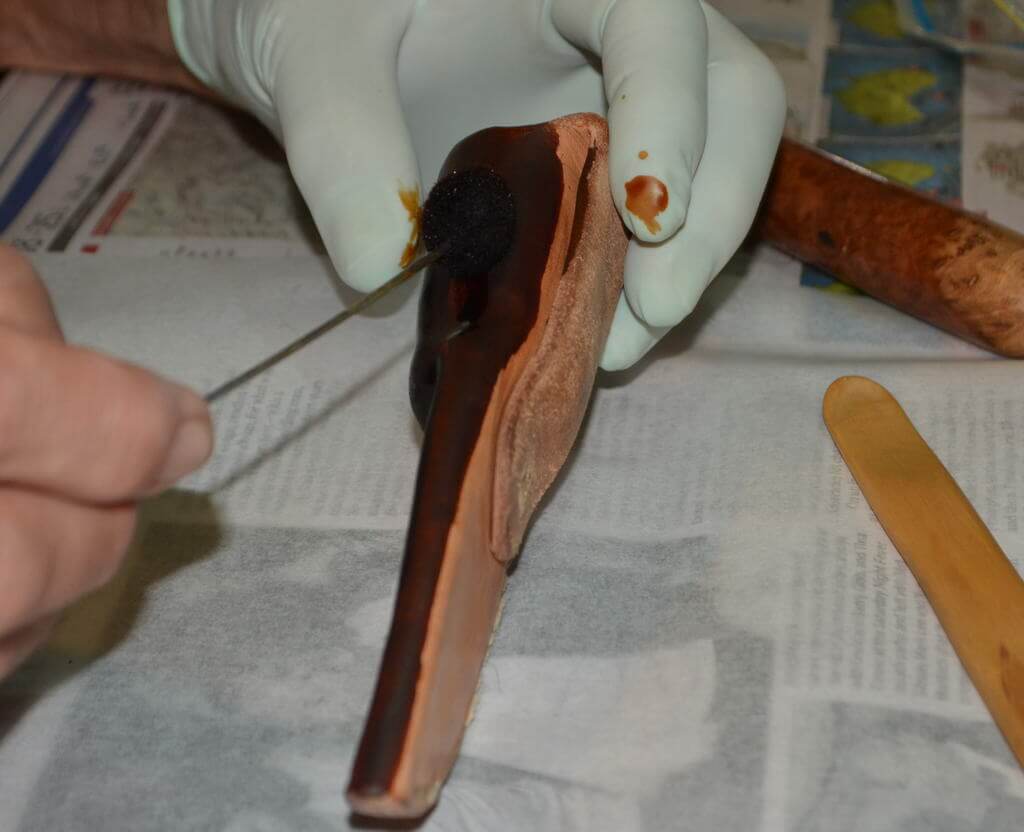
When dry, grind/file/sand the edge of the sheath where the welt sticks out to an even edge. Burnishing it makes it look shiny and even; moisten the leather slightly, then rub hard with a piece of wood (chop stick, branch, pencil etc)
Optionally; dye the sheath, and seal it for better weather protection.
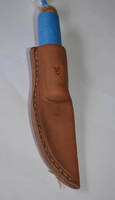
The finished sheath. Rubbing it with a piece of smooth wood after it is dry gives a smoth, shiny sheen to it. Burnishing the edge the same way is easier if wetting slightly first.
