Description
Quick overview of the steps involved in making a "scandi knife sheath":
Required equipment
There is a better tutorial coming, please excuse the mobile quality images for now.
Steps:
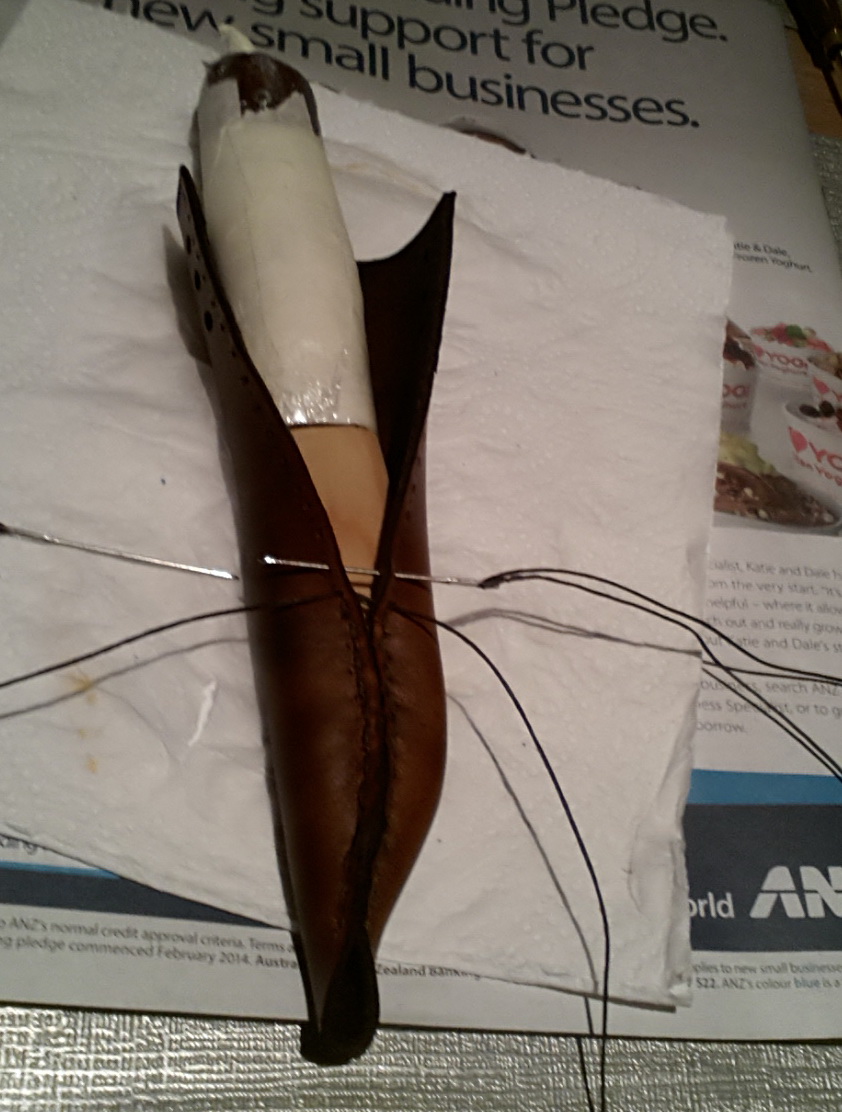
Wrap the finished knife in gladwrap and masking tape to protect it.
The knife will be left several days in the leather sheath while it is drying.
Measure the knife with a piece of the leather you will be using.
Mark up on paper, adding 2 mm to all measurements.
Cut out template from the leather.
Mark holes along the edge, and punch the holes with an awl.
A stitch marker makes the marking easier to get even but is not required.
Wet the leather, sow the sheath around the knife and let dry.
While drying the leather should be rubbed - hard - to get a nice, molded fit around the knife.
What sets the half-tanned leather apart from normal vegetable tanned leather, is the hard rawhide core.
This makes the leather set hard when dry and if rubbing the leather hard when wet, this layer will shape the sheath around the knife and handle. Creating the "click fit" that is the tell-tale mark of a good scandi sheath.
The leather can be dyed at any point of the process, and should be sealed when ready.
Not sealing the leather might make the sheath soggy if it becomes really wet at a later stage.


