Description
Instructions for Stinger Framelock Folder Kit
**** NOTE: The Stinger does not have a pocket clip, unlike the early model in the instruction video ****
Tools required: Torx T5 and T8
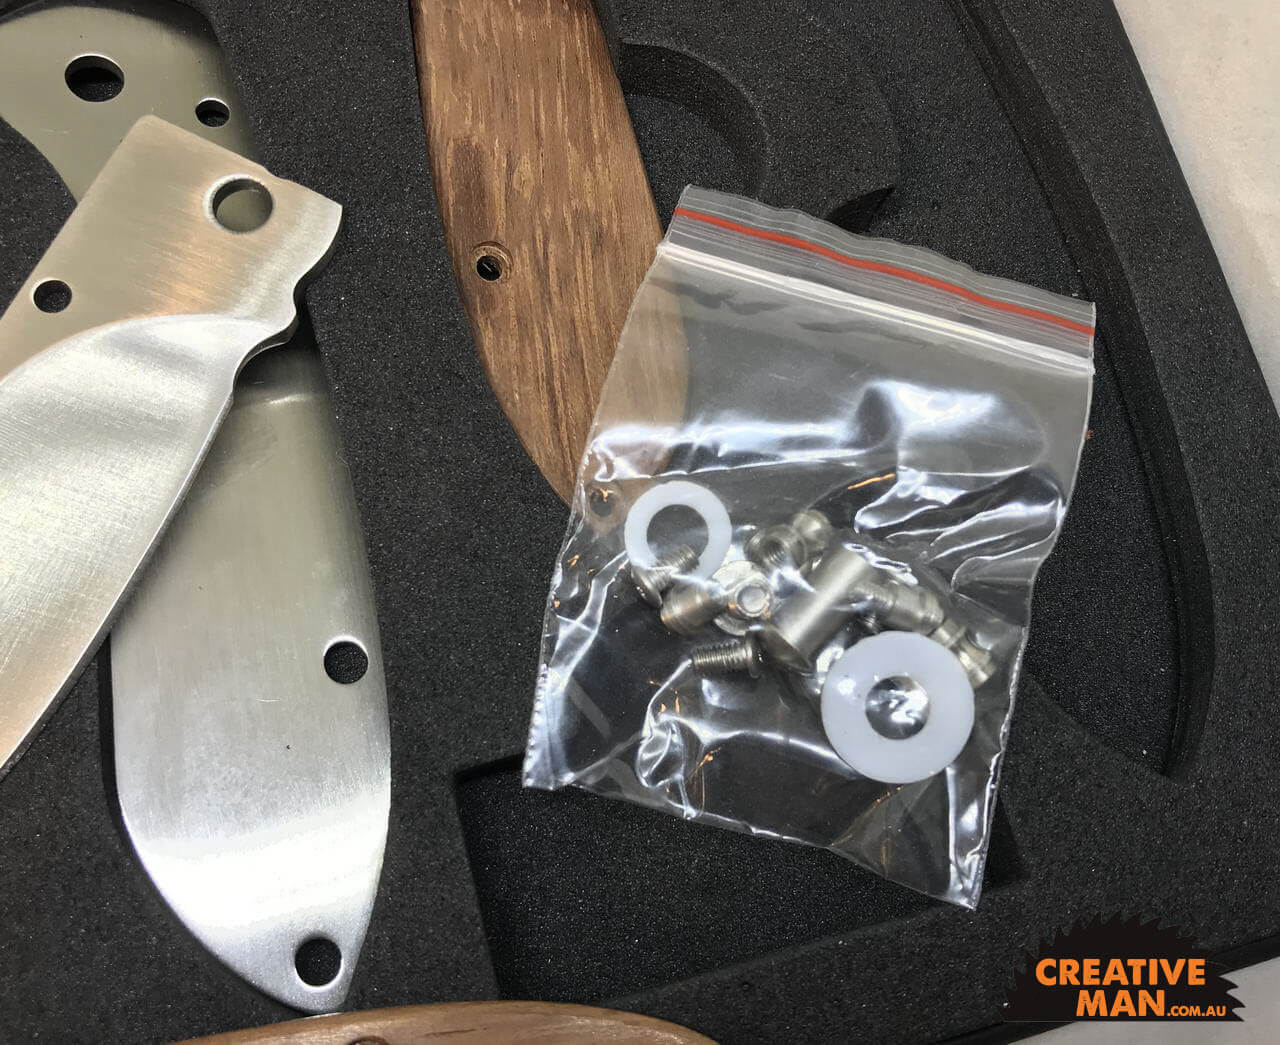
The kit comes with all parts required for assembly:

Step 1:
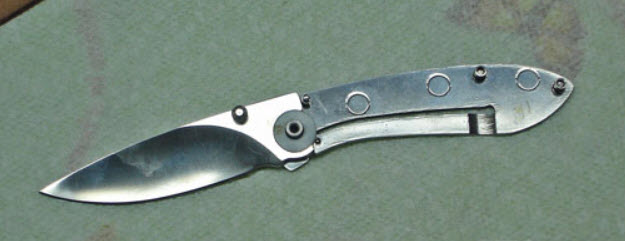
Start by putting the pivot pin, blade stop pin, and the two standoffs on the lock-side liner. Add the small washer to the pivot, then the blade, thenplace the larger washer on top.
"Liner" is the steel sides of the folding knife, that the wooden handle scales will attach to the outside of.

Step 2: Add the other liner. Now connect the pivot screw, the screw the blade will pivot around to fold into the handle.

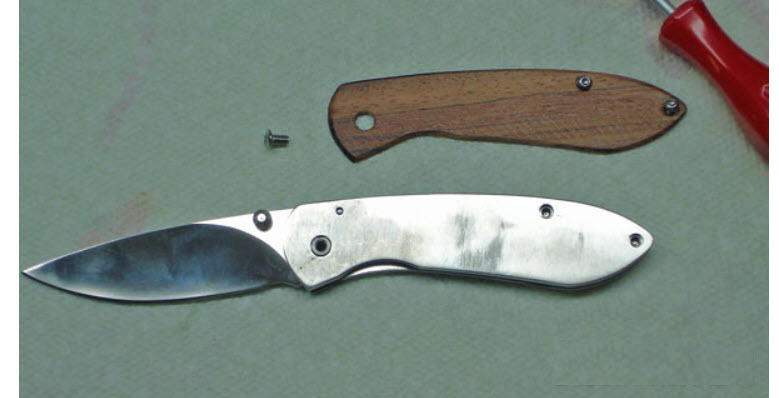
Step 3: Add the right and left side scales with the assembly screws.
Finish and polish the scales to suit before installing.
Finally, check the overall lockup, general assembly and oil pivot for desired action.


