Description
How To use: Knife Handle Casting Resin
These are the instructions for the knife handle casting resin mix.
The kit comes with 2 bottles of resin, these need to be mixed together and then poured into a mold.
Health warning: Epoxy should be kept off your skin and complete this process in a well-ventilated area, or better yet outdoors.
If not using the entire kit, weight up the parts:
Part A: 3 parts (for instance 150 grams)
Part B: 1 part (for instance 50 gram)
This will combine into 200 grams where 3/4 is part A and 1/4 is part B.
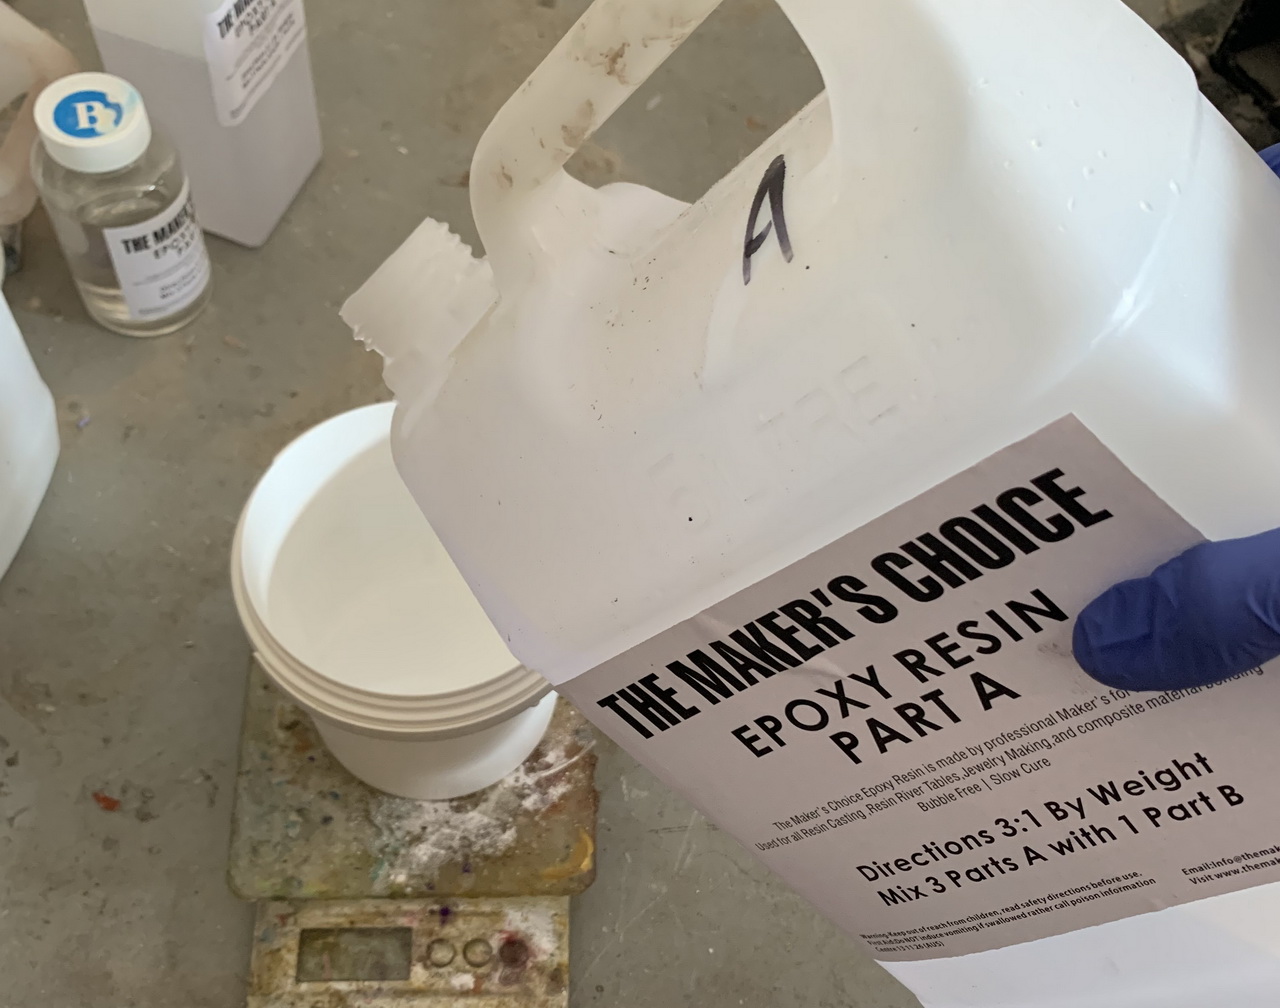
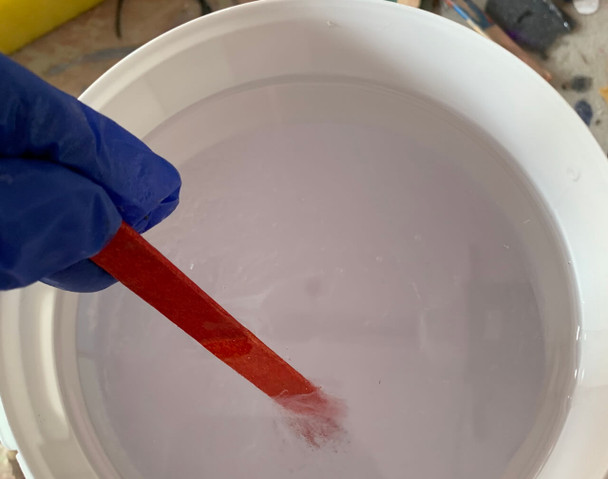
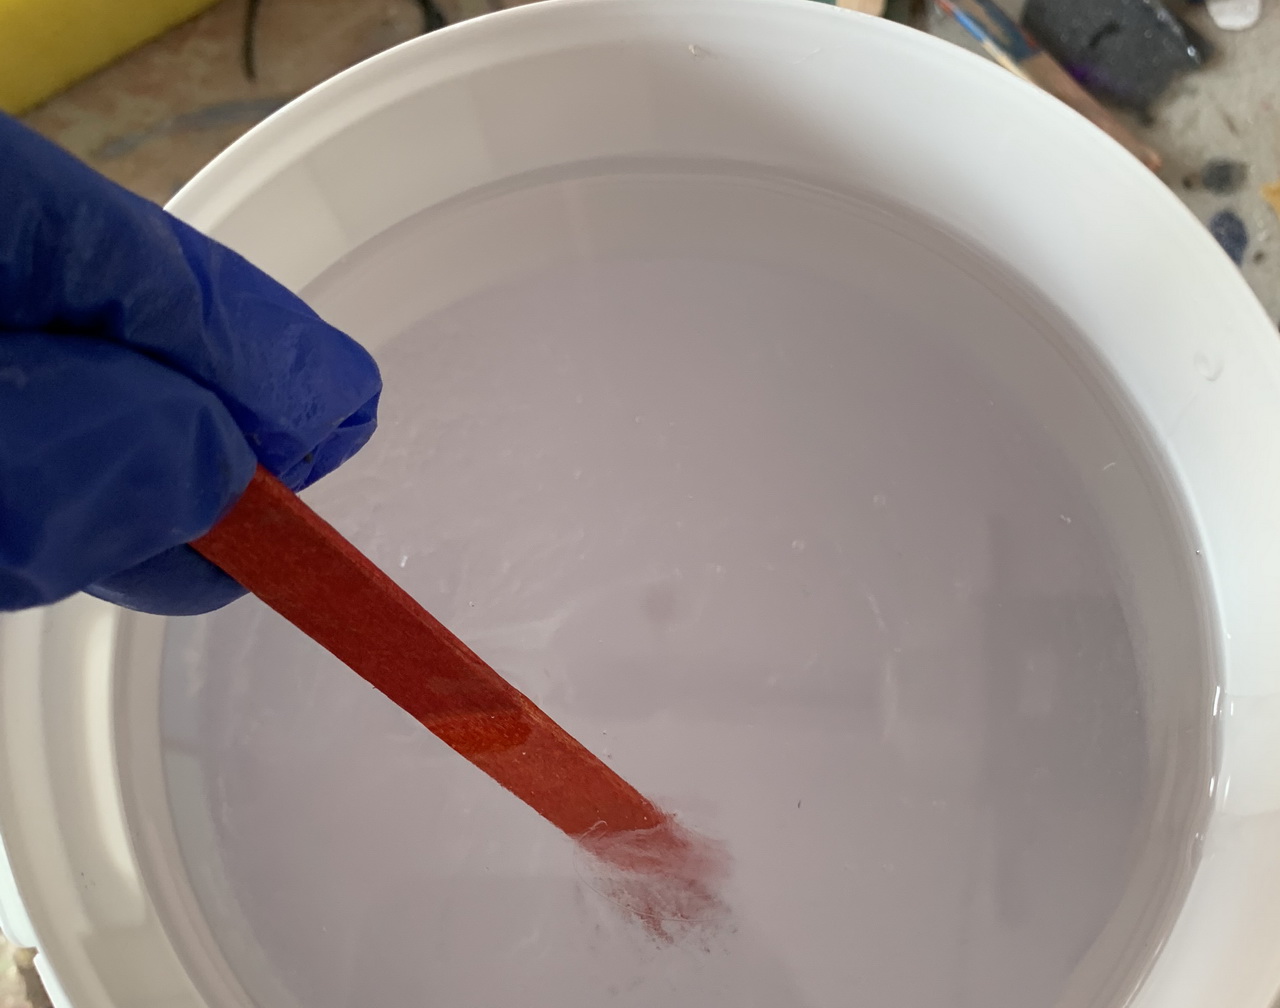
Mix until crystal clear, with no streaks. This will take a couple of minutes.
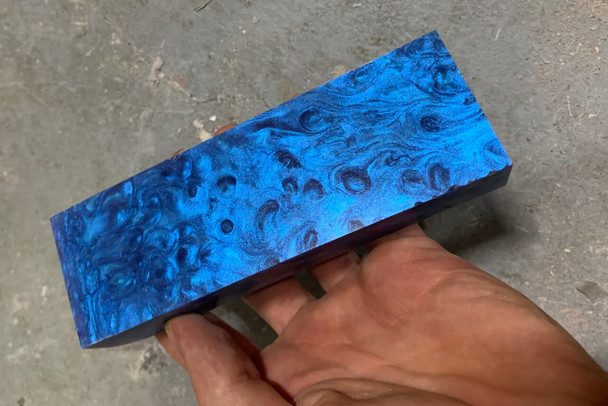
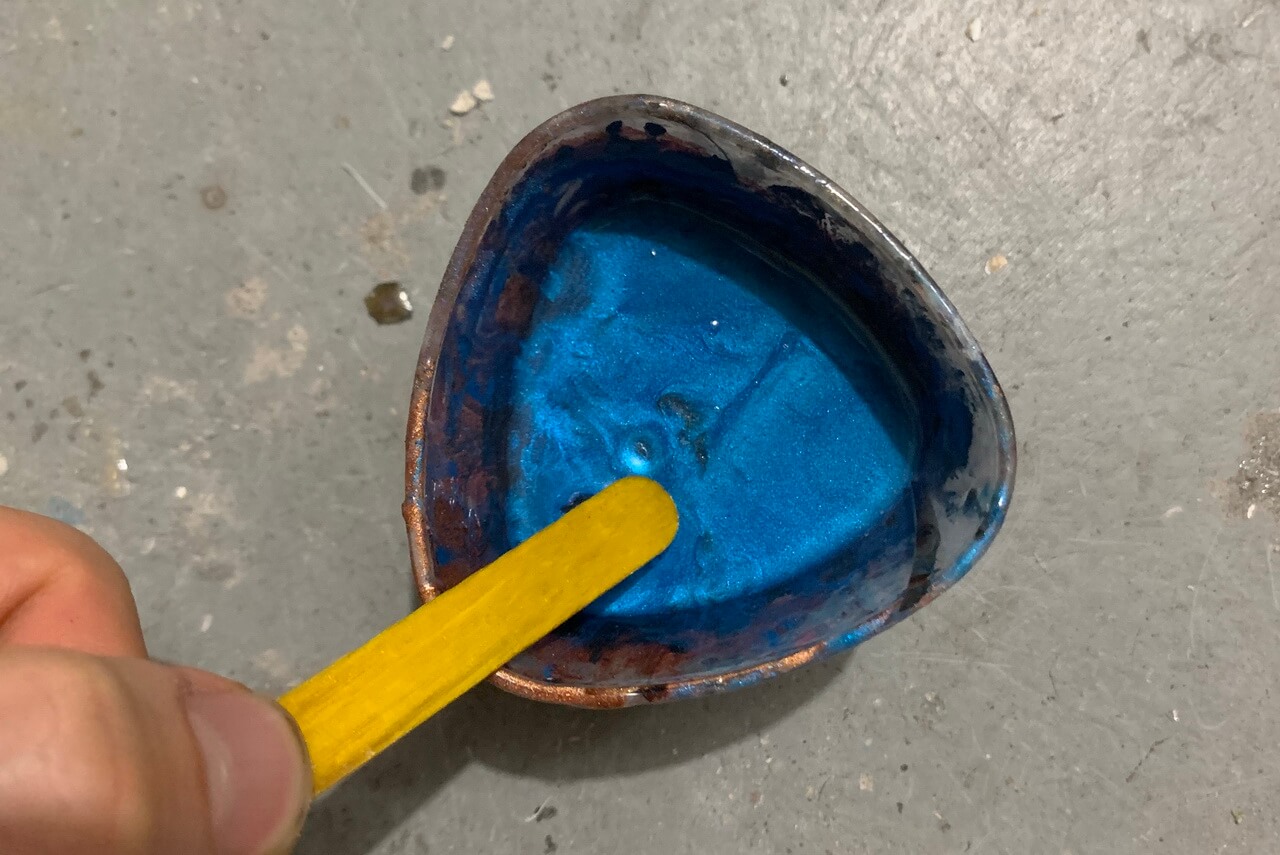
If wanting to add dyes/pigment, add this to the mixed resin and stir again. You can also do this step in a smaller volume of the mixed resin, in a different cup. Then when mixed into the smaller volume, stir this into the bigger volume of mixed resin.
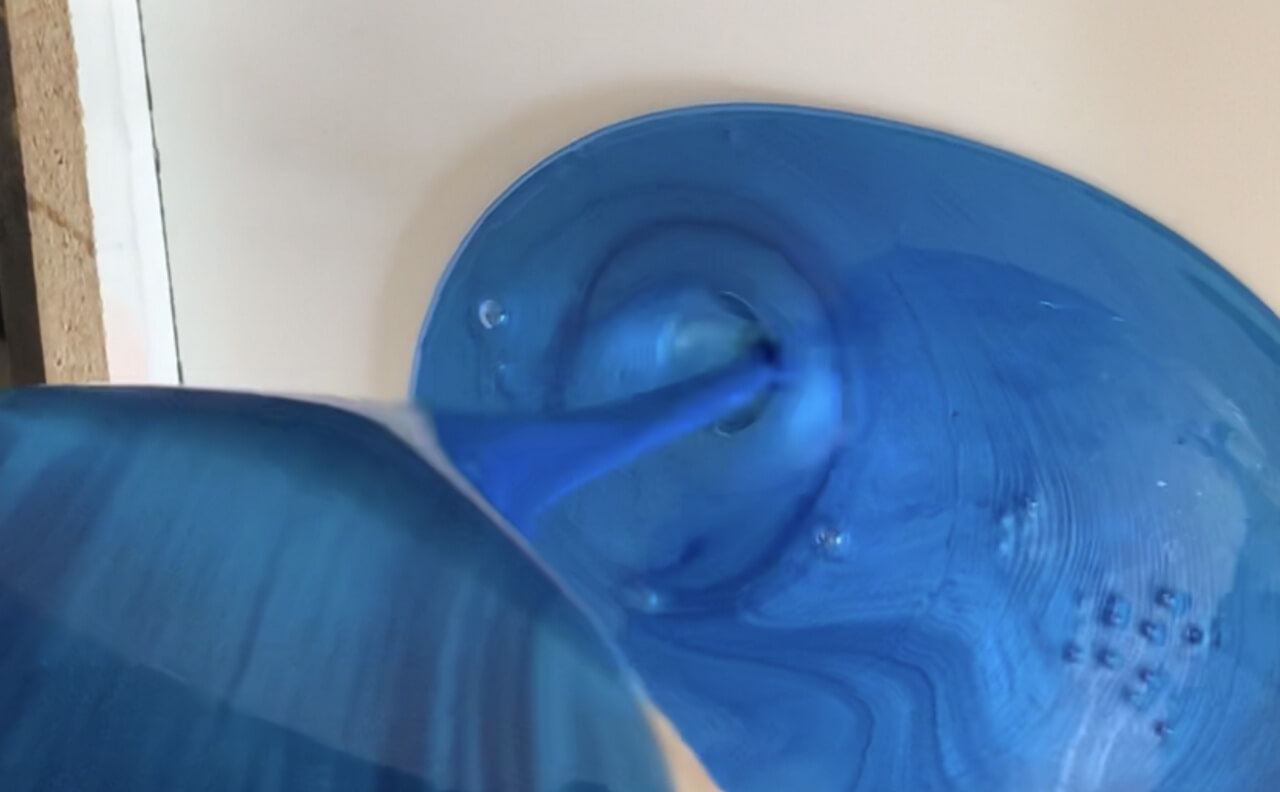
Pour the mixed resin into the mould to let it settle. The mould can be made from silicone or wood lined with baking paper.
It can take a couple of days for the resin to fully cure, and usually all bubbles pop by themselves from the heat generated by the curing process. You can make sure this happens quicker by applying heat to the surface of the resin. Using a hair dryer or a heat gun, you can carefully heat the surface until the bubbles pop. This can also be done without heat, by popping the bubbles with a toothpick.
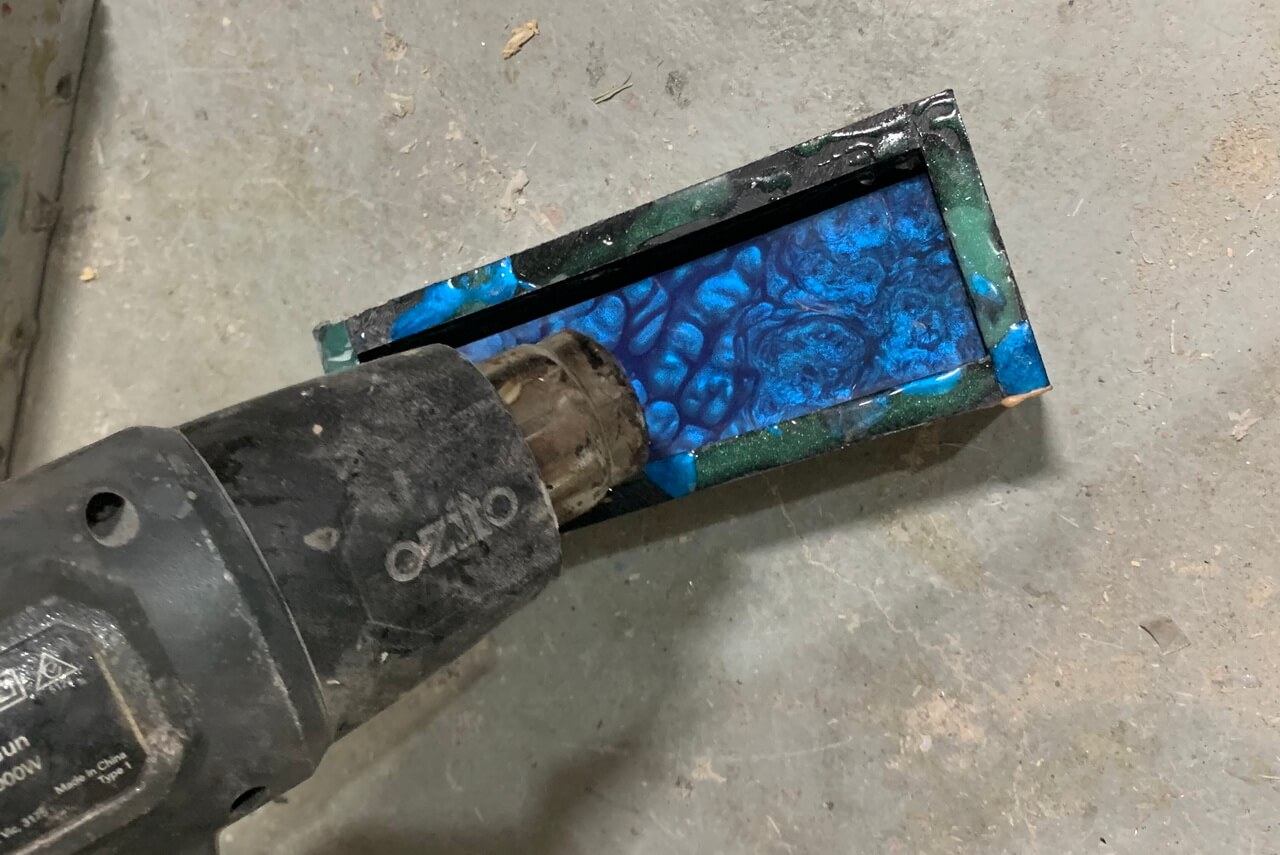
If the resin has not fully cured when removing it from the mould, place it on a flat surface and let it continue to cure and check again in a day or two.
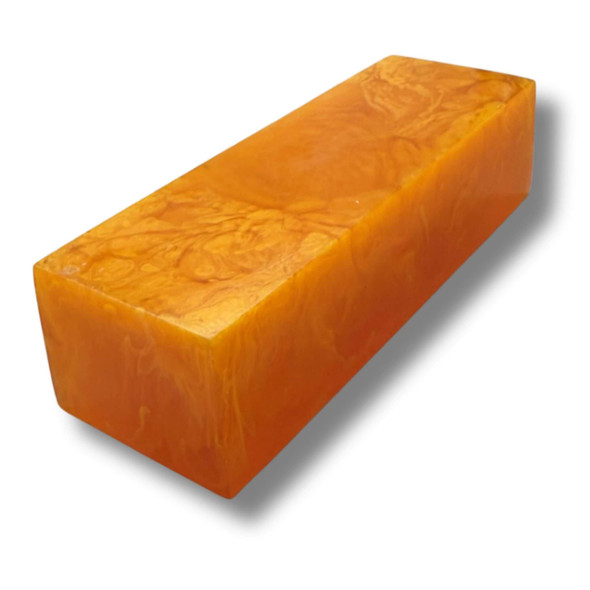
When completely cured the resin can be drilled, machined and sanded. There is no need to finish the resin with handle finish/oil or similar.
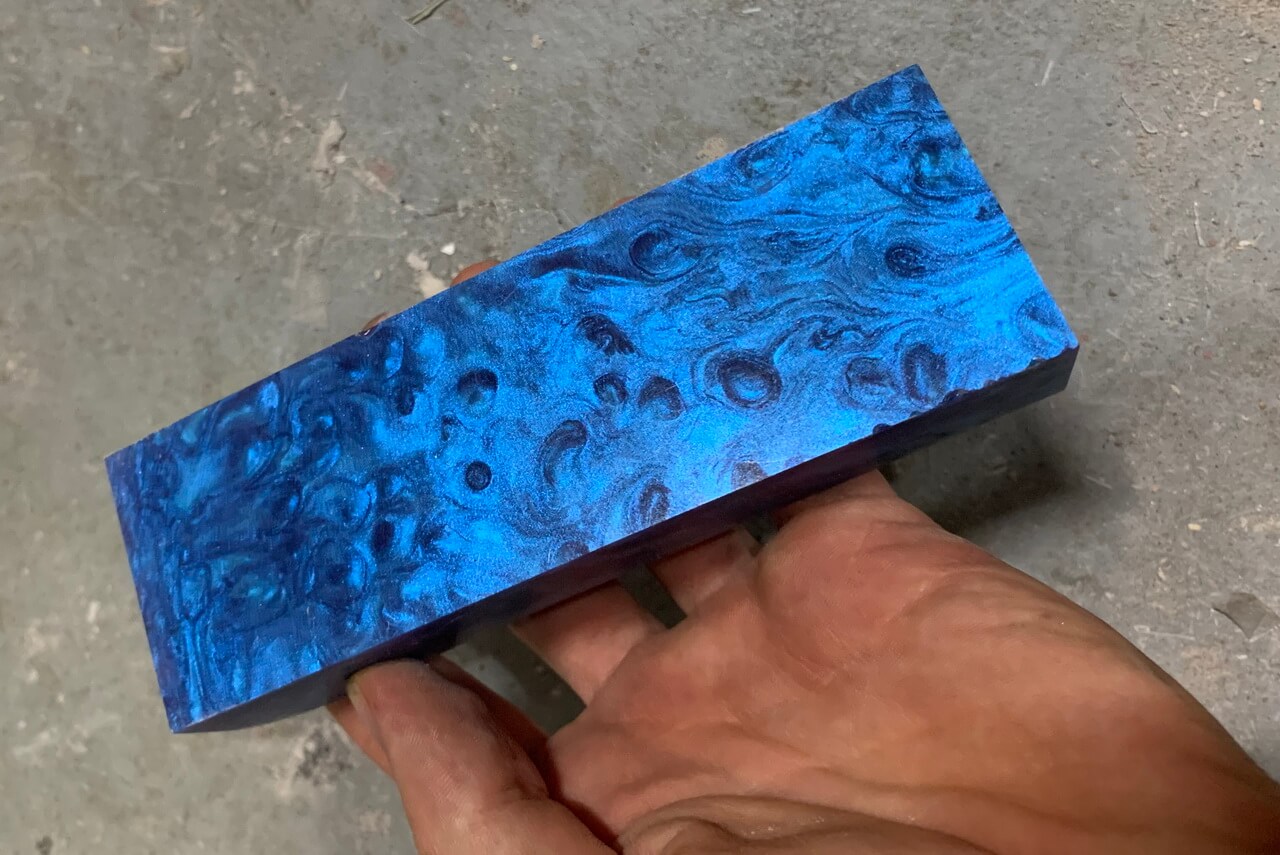 Make your own unique resin handle materials using the Maker's Choice casting resin: https://nordicedge.com.au/knife-handle-casting-resin-1-kg-kit/


