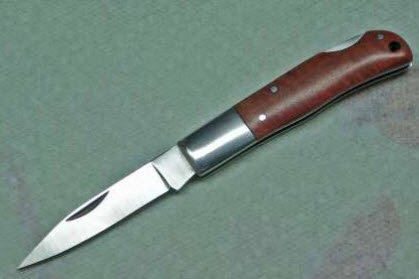
Description
Instructions: Completing a Folding Knife Kit
for the folder kits that come with loose sides (liners) and blade, pin stock is used to combine these into a folder. For instance the Ranger folding knife kit or the Bobcat Folder Kit 65 mm are made this way.
List of tools:
- Drill bits in 3/64”, 3/32” and 5’32” size
- Centre-punch to punch holes before drilling
- Counter-sink drill bit
- Files for wood and metal
- Ball peen hammer
- Sandpaper
- Drill press or handheld drill
- Belt sander or other way to shape the handle, like a wood rasp
- Sand paper and masking tape
Disclaimer: If in doubt about any of the instructions or your ability to perform the steps without injury, seek advice before commencing. Note the blade is sharp and great care needs to be taken whenever around sharp objects, power tools or hand tools that could cause injury.
These instructions are using the Folder 65 mm kit which has a front bolster part of the handle, plus wooden handle scales. Other kits that combine in the same way, like the Gentleman’s Folder 70 mm kit, will use the same instructions. But will require some extra work on the wooden scales, having steel bolsters at each end of the handles.
Showing the components required:
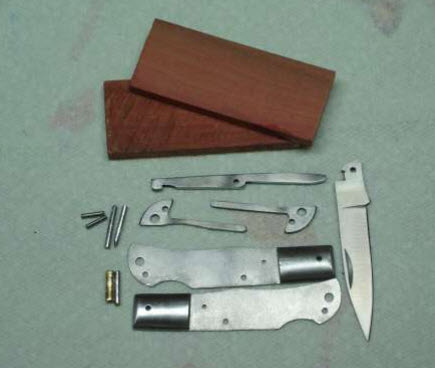
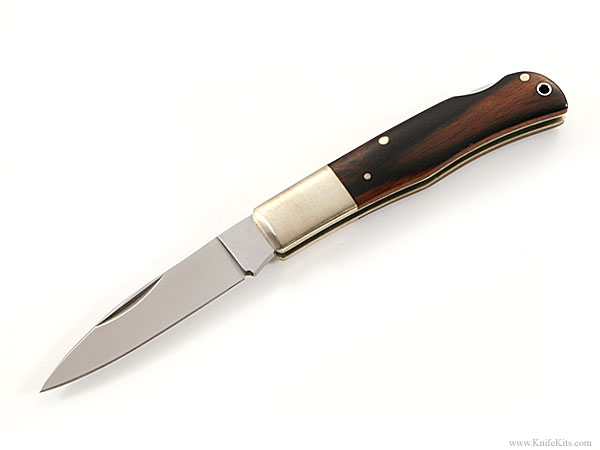
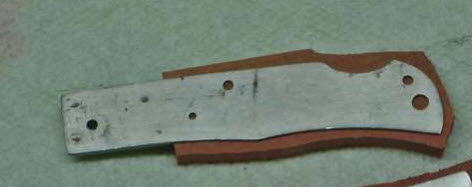
Start by tracing the shape of the handle scales onto the wooden scales. Make these slightly oversized;
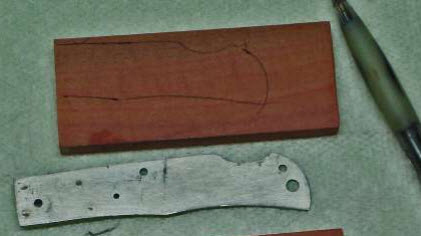
Saw out the handle scales, leaving a couple of mm of material on all sides. The only side that will be a tight fit already, is the side towards the metal bolster at the front of the handle (or both front and back if using the Gentleman’s Folder kit).
Drilling holes:
Using a drill press if available will help make the holes 90 degrees to the materials. This will help make everything fit together neater. But it can also be done using a handheld drill, just take it slow and always centre-punch all holes before drilling. This helps avoid the drill bit wandering around before it goes in. A nail or a big screw also works great as a centre-punch. As you are drilling through the metal liner, centre-punching is not as necessary as it usually is, but will not hurt and help make sure you get a good fit between hole locations.
Options:
- 1. Use an epoxy glue like Araldite to glue the wooden scales to the metal liners before going on
- o Requires waiting for the glue to dry
- o Easier to work pins, holes and shaping the handle later
- o Better bond between liners and handle scales, less chance of anything getting in-between
- 2. Clamp the metal liner to the wooden handle scales and go on straight away
- o No waiting required, start drilling straight away
- o Easier to replace handle scales if splitting them, messing up the pins, etc
Recommendation: Epoxy on the handle scales, wait for the glue to dry. Ignore the photos below that show holes being drilled and pins being peened without the handle scales.
(The below section assumes you did not epoxy the handle scales to the liners, as this is the most difficult version. If gluing the handle scales on, it will be easier to drill holes through and matching the position of holes.)
Clamp one of the metal handle sides (liners) to the wooden handle scale to keep them from moving while drilling. Place a piece of scrap wood underneath when drilling so the bottom of the hole does not flare out and chip.
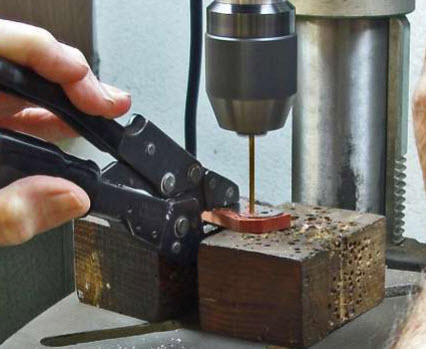
- Drill 2 x 3/32” holes through the metal liner and wood, using the existing holes in the liner as guide. Place the pins included in the kit through the holes to help keep everything in place.
- Drill the 5/32” hole in the end of the scale
- Drill the remaining hole using the 3/64” drill bit
- Repeat for the other handle scale
- Use the counter sinker bit to lightly counter-sink all holes to remove burrs. Not too deep or it will show in the final product. (if epoxying on the scales, you will only counter-sink the outside of the wooden scales, and the inside of the metal liners)
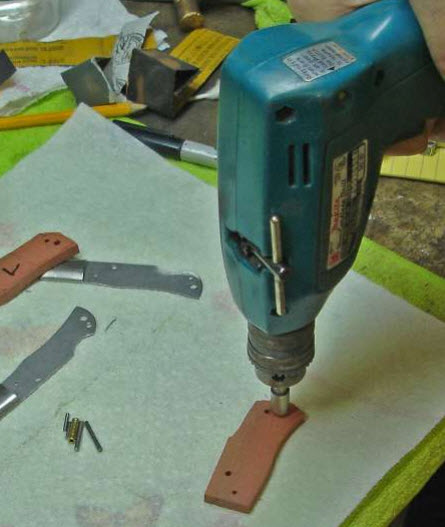
We will later peen the 3/64” steel pins inside the metal liners, so also lightly counter-sink the pin holes inside the liners;
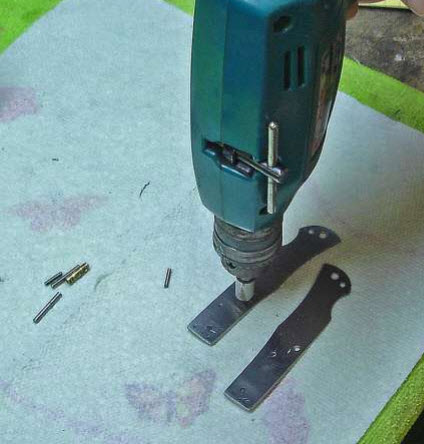
Peening:
Assembly is done by inserting the steel pins through metal liners and wooden handle scales, then peening these over;
This is not very difficult but it does take a bit of practice, so play around with it before moving on to the folding knife. Some reminders on peening;
- Pins need to be only slightly sticking out from the material around it. Sticking out only about the diameter of the pin. So file them down if required before starting to peen them. If not, they might bend by sticking out too high and they keel over rather than swell out when hitting them.
- Peen by LIGHTLY tapping with a small hammer, let it take some time. Hit around the edge of the pin, then a hit in the centre, then say 5-6 hits around the outside edge of the pin, in the centre again, and repeat.
- Keep flipping the liner and wooden handle over so you keep hitting both sides of the pin. Do a series of little taps, flip it over and tap the other side. Flip it back and peen it a bit, flip it back.. It will take a bit of flipping, but it will peen evenly.
- When you peen, the diameter will swell to lock in place. And the tip will mushroom out, to fill the little counter-sink hole you drilled. When ready, you will file the heads flush with the material around it.
- “Shims” are the small pieces of flimsy metal foil that come with the kit, you might want to place a shim around the pin to help centre it in the hole while you start peening. When the pin swells in diameter and starts locking in place, you can pull the shim out and keep lightly peening. This is probably a good idea to do on the pin holding the blade in place, to help centre the blade between the liners.
Peening is done by lightly tapping the end of the steel pin with a ball peen hammer. Use something solid underneath as anvil. Place the 3/64” steel pins through the metal liner and lightly hit the end until it starts swelling in width and “locks” in place. It can now no longer be pushed through the hole. Go slow, you don’t want to bend the pin. The underside of the pin will mushroom out and fill the counter-sounk hole on the inside of the liner.
The photo below is just to show the process of peening, in our case the wooden handle scale is already attached. Peening the pin without the handle scale would be a bad idea.
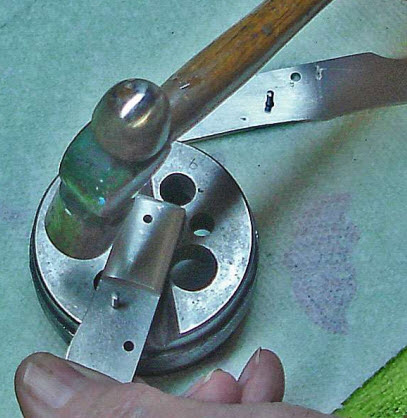
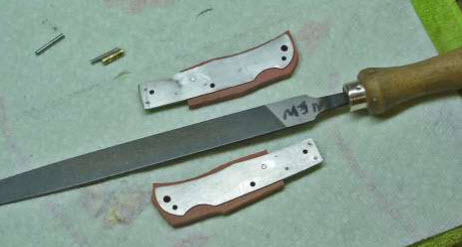
When you have successfully peened the pins, file the inside of the liners to remove any pin material sticking out still. The end result is a flush/flat inside of each liner. The pins on the outside will be shaped together with the handle shape later.
Fitting the blade:
Now for the tricky part.. fitting the blade!
Make sure the sharp section of the blade is securely masked with masking tape or otherwise covered. This helps protect your fingers, as well as protects the blade from being scratched on the belt sander or files later when shaping the handle.
Push the blade into the bolster until you can fit the pivot pin through.
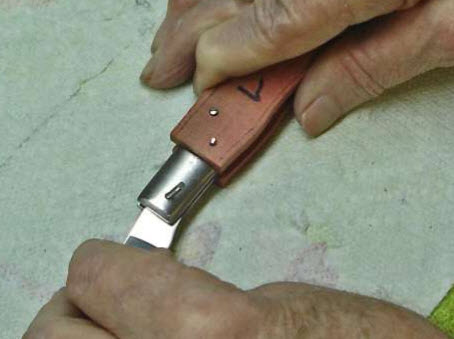
As an experienced peener, you know the drill:
- Cut the pivot pin so it sticks barely above the metal bolster on each side, about 1 diameter in height above the bolster
- Peen carefully while flipping the knife over every few seconds, you really want this one straight and tight without binding the blade from opening
- If the pin seems loose in the hole, you may have to wrap it with shim stock until it starts to swell and lock in place.
- This is the pin the blade will pivot around, it really needs to be tight but not locked so go slow and try the blade out between every few hits when the pin starts to swell.
- When happy with the fit, file the pins down flush with the bolster.
Shaping the handle
Once the pivot pin is in and the blade opens and closes, most of the hard work is done.
Now you can shape the handle scales to your design.
This will also grind the pins down flush with the handle scales and bolster.
A belt sander is an easy way to shape the handle, but a wooden rasp or files work just as well.
Start by grinding the outside edges all the way in to they match the metal liners. Scratching the liners as little as possible saves work when hand sanding later.
Then round the handle scales, making sure the bolster to handle transition is a continuous smooth line.
Then finally do any width shaping if required.
Hand sanding
When happy with the shape, switch to sand paper. Coarse enough to get rid of any deep scratches in both metal bolsters and wood, then finer and finer paper until you hit the desired finish. Minimum 1200 grit sandpaper for wood is a good aim, to get the most out of the grain structure.
Shoe-shining: Cut strips of the sand paper about 2-4 cm wide. Back them with masking tape so they do not tear. Clamp the blade to a table or similar, and “shoe shine” with the sand paper across the handle scale and metal bolster. This rounds the scales nicely, giving an even, good looking profile and makes the bolster pin virtually disappear.
Optional: seal the handle with oil, wax or similar to protect it from the elements and really bring out the sheen of the wood.
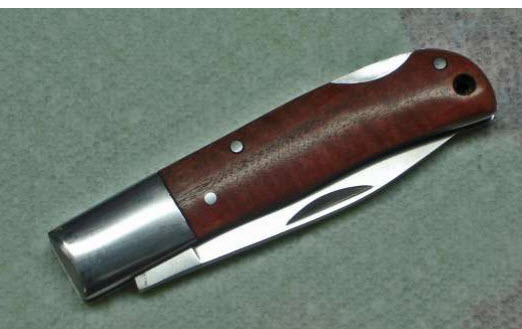
Congratulations, you have completed a folder you hopefully will be happy to use for years to come!
