Description
Increase grain contrast by staining the wood
Some handle pieces are special because of the way they look, others because there is something special about the piece and how you got it. Staining the wood and sanding some off again, can be a good way to make a piece of wood look more interesting if it does not have all that much character to begin with.
The process:
- Shape the handle and remove all scratches, sand to 180 grit paper or so
- Stain with wood or leather stain, let dry
- Sand lightly again with 180 or finer paper
- Optional: repeat process with a lighter coloured stain
- Sand as normal to at least 1200 grit paper
- Seal handle with oil, wax or similar
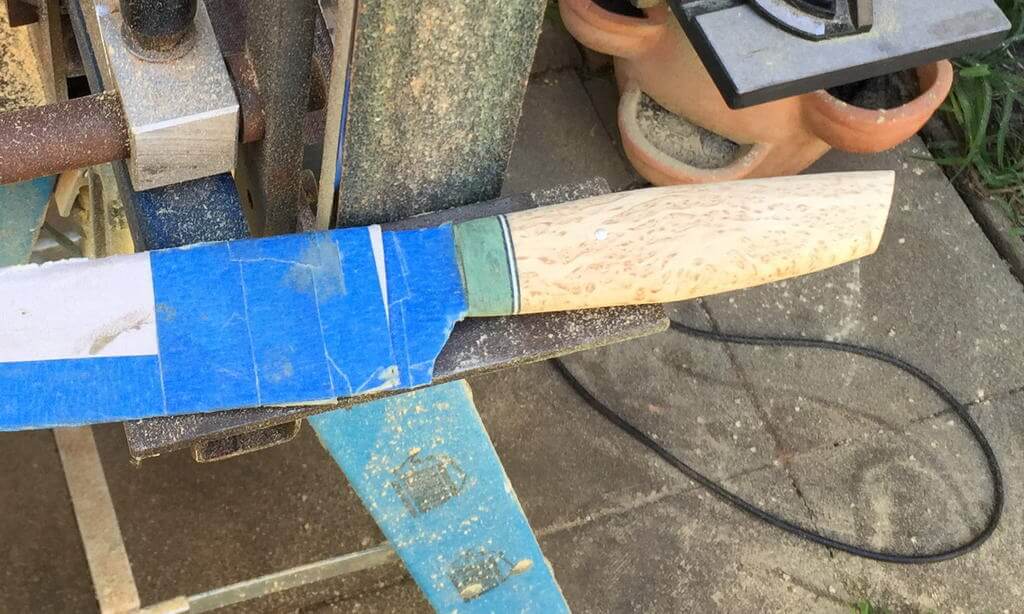
In this example, it was a piece of really good curly birch. It had beautiful grain structures with lots of character already, but birch is a pale hardwood and sometimes the grain character can be more visible if staining the wood. Oiling it will make it darker and show the structure better, staining is just another alternative if wanting even more contrast.
Why it works:
As the grains are twisted, interlocked or “curly”, they do not uniformly absorb the stain. When sanding some of the stain back off, this gives an interesting effect, increasing the contrast and bringing out the character of the piece more. That means that the more complex grain structure you have to begin with, the better this will work.
1: Shape the handle and remove all scratches, shoe-shining with strips of sand paper to for instance 180 grit paper. Then stain the handle with wood stain, leather dye or anything else non-greasy that the wood will absorb. Some people wet the wood first, quickly add leather dye and then rinse straight away to only leave some stain. I did not do that on this piece, just added the spirit based wood stain with a q-tip after diluting the stain a bit in methylated spirits and let it dry. In the below photo, the piece of curly birch has been stained with a $8 wood stain from Bunnings, called “Japan Brown”.
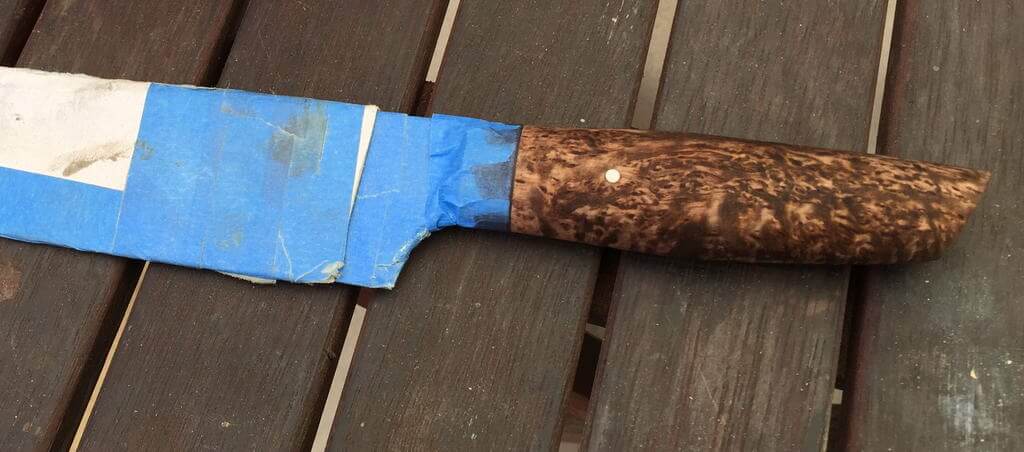
Notice how the twisted grains in the piece of wood absorb the stain at different levels. The grains are like a bunch of drinking straws twisted and bunched up. The “straws” facing the end you are staining, will absorb more stain and get darker than the "wood tubes" lying on the side.
2: Sand lightly with 180 grit paper again, or go straight to the next grit, for instance 320. In this example, too much of the stain was taken out, making the piece too yellow (no photo of this step). To add more colour, the piece was stained again, this time with red/brown leather dye. If using two different colours, the recommendation is to use the dark colour first, sand a bit off then adding the light colour to the light/highlighted areas that have been sanded light first. Another source listed this second step as benefitting from being done while wet, rubbing with steel wool. (I used only sand paper, sanding the wood when dry)
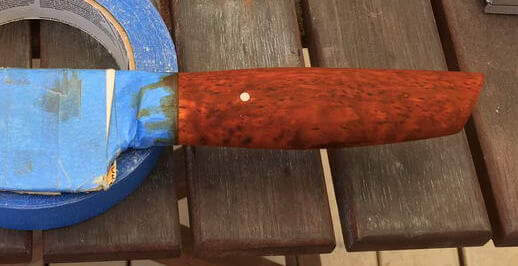
3: Sand again to remove some of the stain, stop when happy with the result. Then move on to finer grits and finish the handle as normal.
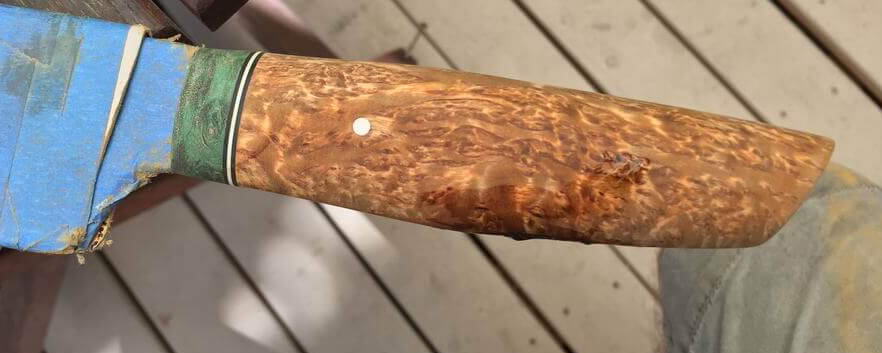
Then after some oil, it looks like this:
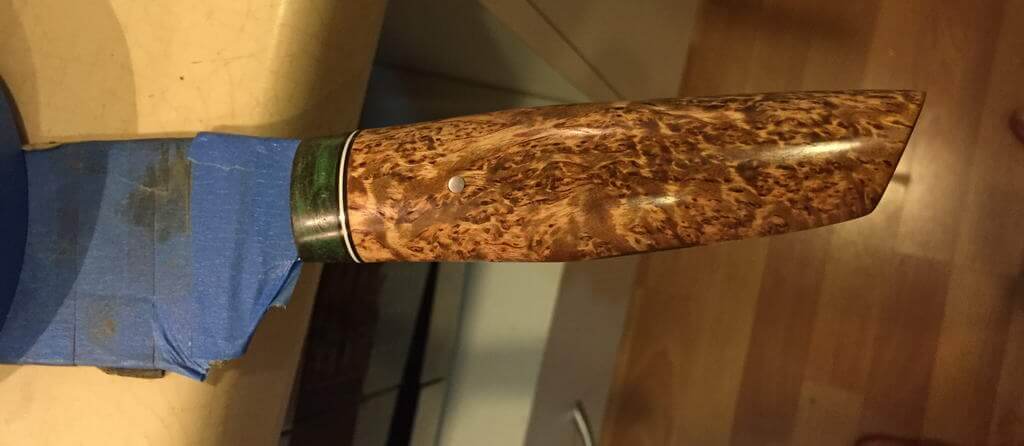
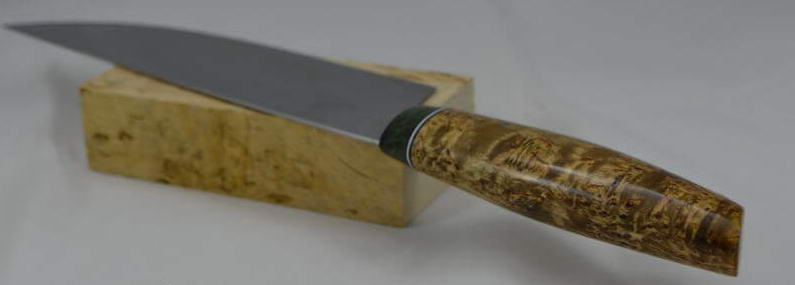
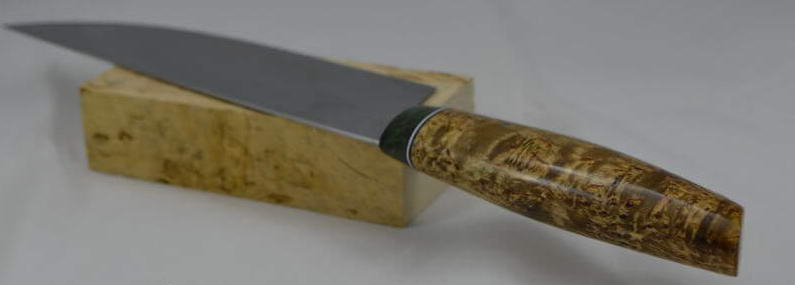
The completed knife: A Scandi Chef with 12c27 stainless steel blade, curly birch handle and stabilised alder bolster.
